2. Get stickers off with heat
Popular means for car owners to show their personalities, support causes, or just add some uniqueness to their vehicles include bumper stickers, decals, and other adhesive decorations. But the annoyance of having to take off these stickers afterward usually eclipses the fun of applying them. Removing tough stickers can be a difficult chore whether your goal is to change the appearance of your car, get ready to sell it, or just undo a former decorative choice. Fortunately, applying heat will help to simplify this operation by just but effective means.
The idea underlying heating stickers off is based on adhesives’ characteristics. Most adhesives used in car stickers are meant to be strong and weather-resistant, hence under normal circumstances they are difficult to remove. These adhesives relax and become more malleable under heat, though, which makes it simpler to peel the sticker from the car’s surface without compromising the paint or leaving a sticky residue.
Starting the sticker removal method requires first cleaning the area around the sticker. To gather any loose dirt or trash, run a moist cloth over the sticker and the surrounding area. This stage is absolutely vital since it keeps any particles from scuffing the surface of the car during removal.
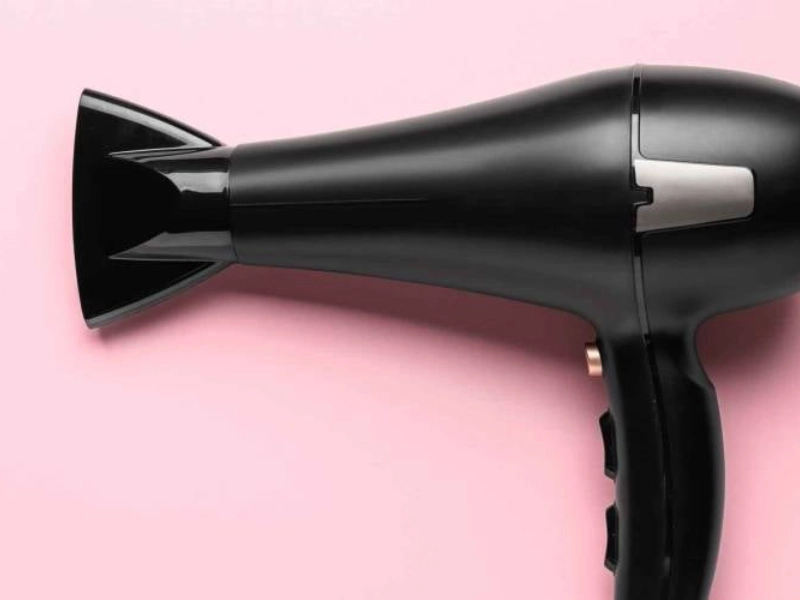
Applying heat to the sticker comes second once the surface is clean. Given its portability and simplicity of usage, a hairdryer is the perfect instrument for this aim. Holding the hairdryer roughly six inches away from the sticker, set it to maximum heat. Start heating the sticker from its center and work outward toward the edges slowly. This method guarantees enough heat to loosen the sticker’s center, which often has the best adherence.
The sticker’s edges will start to curl slightly as you heat it. This indicates the sticker is ready for removal and the glue is softening. During this procedure, one should be patient and avoid rushing to remove the sticker off too fast. A clean removal free of residue or paint damage depends on enough heating.
Once the sticker is heated enough, carefully raise one edge of it with a plastic card—an old gift card or credit card. Starting at a corner, gradually work your way beneath the sticker separating it from the surface with the card acting as a wedge. Should you run across opposition, pause and heat that region more thoroughly before moving forward. If at all feasible, the sticker should be removed in one whole to minimize residue left behind.
The technique is the same for stickers on windows, however for more exact removal you might use a razor blade for a plastic card. Still, great care should be used while cutting with a razor blade to prevent glass scratching. Work gently and precisely always keeping the blade at a low angle to the surface.
Should the adhesive cold and harden once more, you could have to reheat some places as you remove the sticker. This is especially true with bigger stickers or those left on the car for an extended period of time. Throughout the removal process, keep the hairdryer close-by and reapply heat as needed.
There could still be some adhesive residue on the surface once the sticker is totally taken off. One safe and effective way to address this is using distilled white vinegar. White vinegar’s acetic acid aids in the breakdown of any residual adhesive, so facilitating easy wiping. On a fresh cloth, dab a tiny bit of vinegar and gently work the afflicted region. Let the vinegar linger on obstinate residue for a few minutes before wiping.
Should vinegar not totally eliminate the residue, there are commercial adhesive removers suitable for use on vehicle paint. To be sure these treatments don’t damage or discolor the paint, always test them first on a small, inconspicuous spot.
Washing and waxing the area will help to maintain the paint and bring back its gloss once the sticker and any residue have been effectively removed. If the sticker was old, this stage is very crucial since the paint under may have been shielded from UV rays and environmental elements, therefore producing a clear-cut difference in color or gloss from the surrounding region. A decent waxing will assist to harmonize this section with the rest of the car’s surface.
Although most stickers benefit from this heat approach, certain especially old or tenacious decals may call for further work. Under such circumstances, mild polishing compounds or even commercial adhesive removers could be required. Still, always start with the least abrasive technique and work your way up to prevent needless harm to the finish of your car.
Finally, a quick yet easy approach to save time and aggravation is heating automobile stickers off-target. Most stickers may be removed without compromising the paint on your automobile by gently heating it and using the correct tools, therefore avoiding ugly residue. Recall that this technique requires time; hurrying can result in damaged paint or ripped stickers. Using this method in your automobile care tool will help you quickly update its appearance or get it ready for sale without having to deal with difficult sticker removal.