3. Essential Brewing Equipment
Get the tools you need before you begin making plum wine. Having the correct tools will help to streamline and increase enjoyment of the process. Here is a list of necessary home brewing tools for plum wine creation.
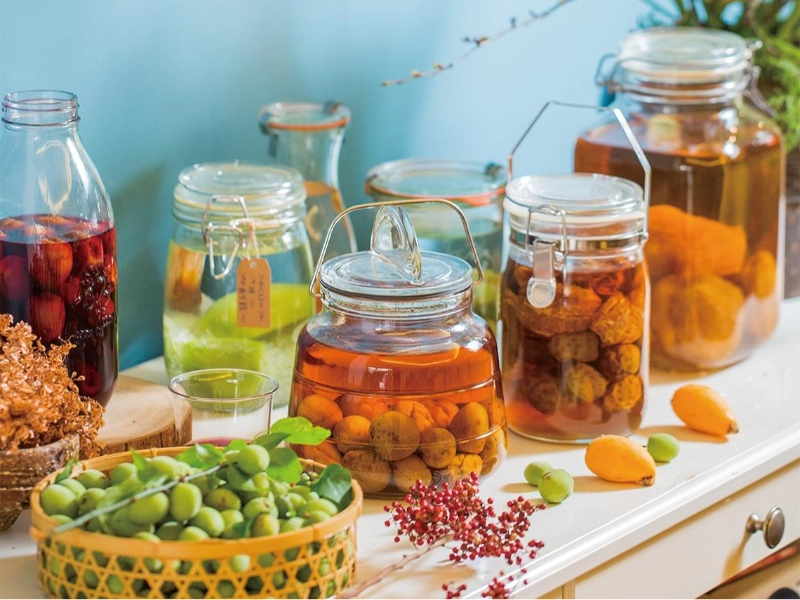
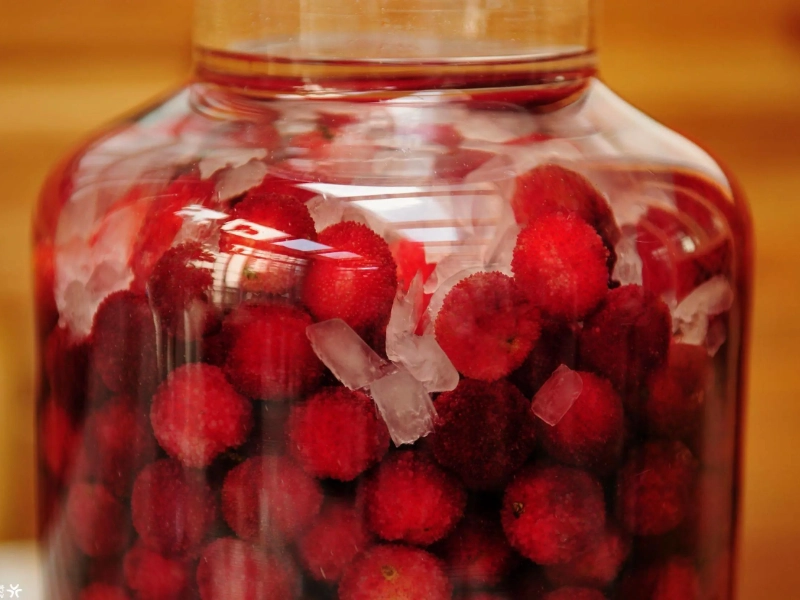
fermenting calls for a glass or food-grade plastic container with an airlock. This vessel keeps pollutants out and lets gases escape. For this use, a food-grade bucket or a carboy performs really nicely.
Your completed wine will need bottles once fermentation is over. Though swing-top bottles are convenient, glass wine bottles with corks are best.
Transferring your wine from the fermenting vessel to the bottles without upsetting the sediment that collects at the bottom is best accomplished with a syphoning instrument, sometimes known as a racking cane.
This instrument gauges the specific gravity of your wine, so guiding your alcohol content calculation and tracking of fermentation development.
Brewing requires great cleanliness. Before use, wipe all equipment using a food-safe sanitising solution to stop contamination.
A desirable sweetness and alcohol level in your wine depend on accurate measures of sugar and water.
Your technique will determine whether you need a juicer or blender to get plums’ juice.
Yeast health and fermenting success depend on your fermentation area’s temperature being monitored.
Having these instruments handy guarantees your readiness for the brewing process. Correct tools not only streamlines the process but also improve the quality of your plum wine. Once everything is ready, you may start the fascinating journey—brewing! Remember that choosing carefully will help you greatly affect the final outcome by means of excellent equipment investments.
4. The Brewing Process
Making plum wine just requires a few important stages in a simple technique. The brewing process starts after your plums and tools are ready. This is a detailed walk-through method for creating great plum wine just at home.
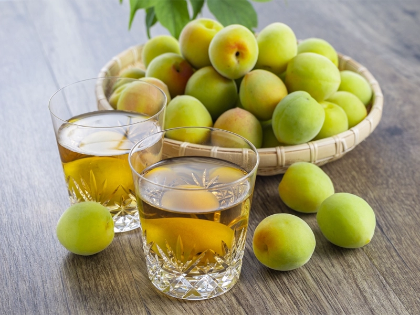
Start by giving your plums careful cleaning. Eliminate the seeds then cut the plums half or quarter. During fermentation, this will help their juices come free.
To extract the juice, run the ready plums through a juicer or blender. Should you want a more rustic style, hand mashing the plums in a bowl can help. The fruit should be broken down such that the most juice can be released.
Combine plum juice with water and sugar in your fermenting vessel. Your taste tastes and the plums’ sweetness will determine the sugar level. Starting from roughly one to two cups of sugar for every gallon of juice is a suitable basis. Whirl the mixture until the sugar dissolves completely.
It is time to add the yeast once your mixture is properly blended. Use a wine yeast meant especially for fruit wines since it will improve the fermenting mechanism. Use the recommended proper amount following package directions. To include the yeast into the mixture, stir just lightly.
An airlock will let gases escape from the fermenting tank while preventing contamination. Ideally, the vessel should be in a cool, dark space with a steady temperature—between 60 and 75°F (15 and 24°C). Check often for indications of fermentation, such bubbling or froth, as the mixture ferments for one to two weeks.
It’s time to syphon the wine into another fresh vessel after fermentation slows down, leaving any sediment at the bottom behind. Known as racking, this procedure clarifies the wine.
Depending on your taste, let the wine age for several weeks to many months after racking. A smoother wine comes from ageing allowing the flavours to deepen and mellow.
These guidelines will help you to be on your way to produce your own great plum wine. Though the fermentation and ageing processes call for patience, the end outcome will be well worth the wait. Brewing is a rewarding pastime since every stage of the process presents a chance for improvement of your technique.