It’s always nice to head off to the salon and get a fresh new set of nails, but the cost can soon add up! Fear not, we’re on hand with a whole load of DIY manicure tips and tricks that require minimal effort and will leave you with long-lasting manicures every time!
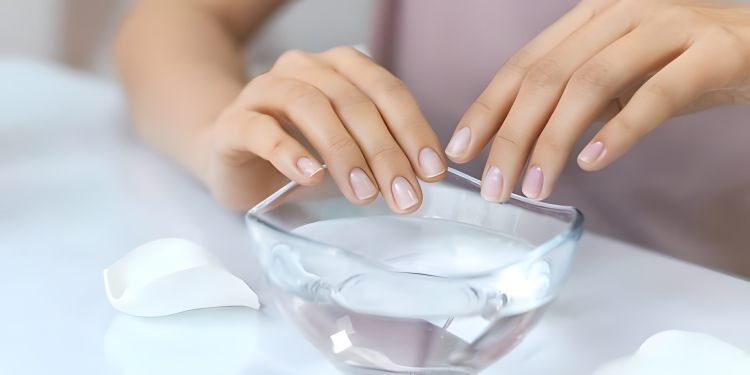
1. Use Ice Water to Dry Your Nails
If you’re in a rush and you don’t want to smudge your perfectly painted nails simply dip them into a bowl of ice-cold water for 3 minutes for dry, safe to touch nails in no time at all!
Shutterstock
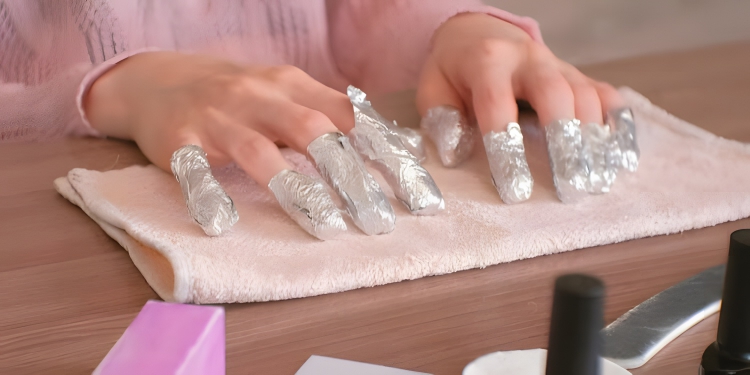
2. Save on the Cost of Removing Gel Manicures and Do It Yourself
Follow these simple steps to remove gel nails without damaging or drying your nails:
• Cut ten nail sized pieces of cotton pads and soak them in nail polish remover that contains acetone
• Place on your nails and wrap in tin foil to keep them heated
• Slide off after 20 minutes to reveal gel free nails
• Wash your hands thoroughly
Shutterstock
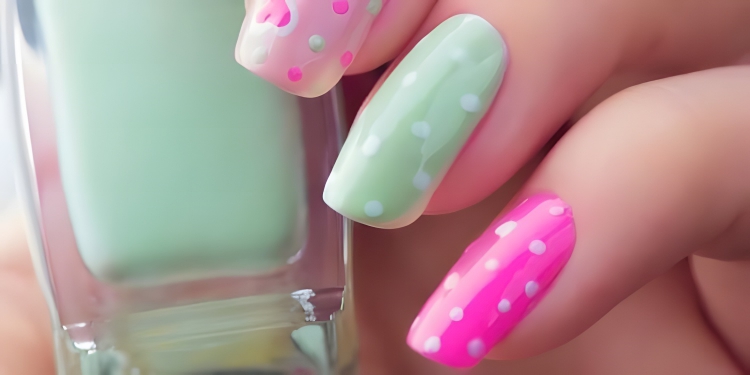
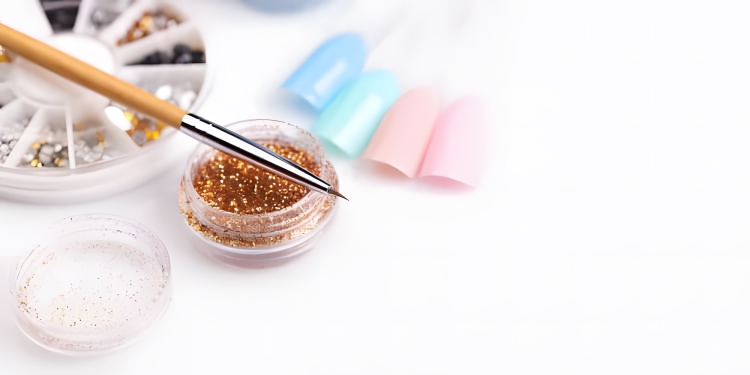
3. Use a Toothpick for Nail Art
If you want to achieve simple nail art minus the fancy tools, a toothpick is great for dotting or creating basic shapes!
Shutterstock
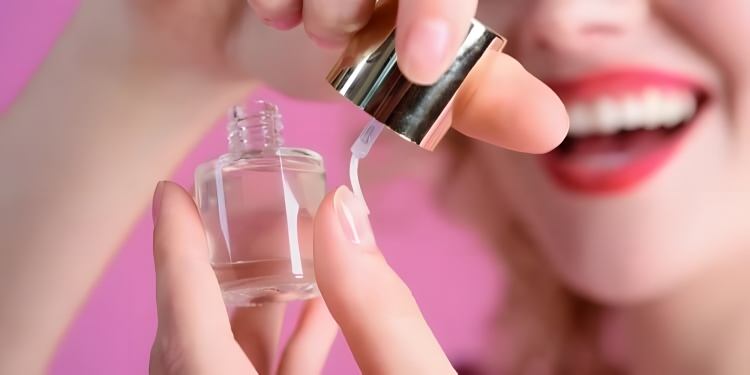
4. Use Nail Polish Thinner to Extend the Shelf Life of Your Polishes
Instead of throwing out bottles of thick nail polish because you think they’re beyond saving, use a nail polish thinner to revive them and they will be good as new!
Shutterstock
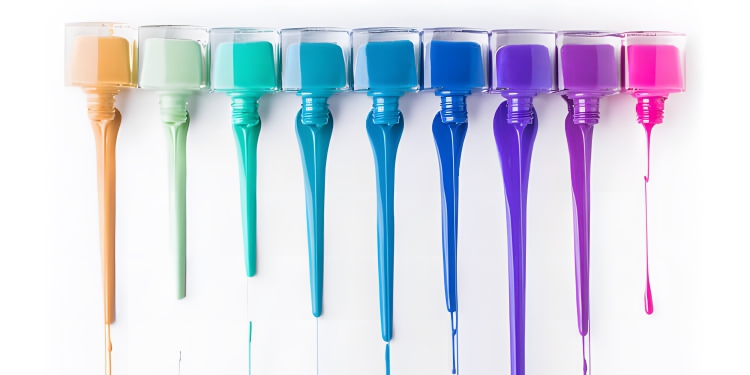
5. Store Your Polishes like a Boss
If you’ve got a whole load of polishes, paint the lid of each with the color inside the bottle so you can easily grab the one you need without turning out your whole collection.
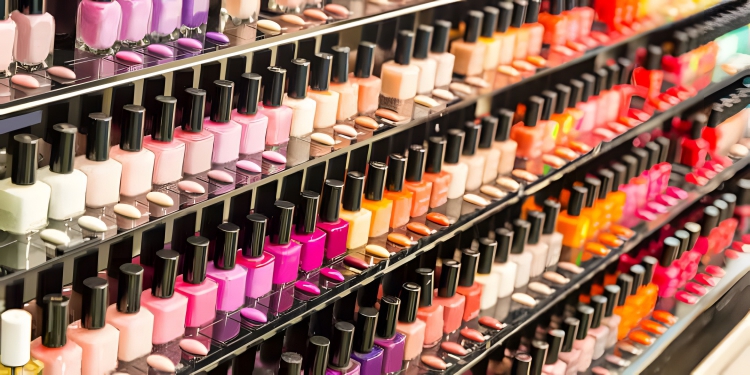
Shutterstock
6. Reach for the Scotch Tape
If you want to create the perfect French tips or straight lines for nail art, the scotch tape will be your new best friend!
Shutterstock
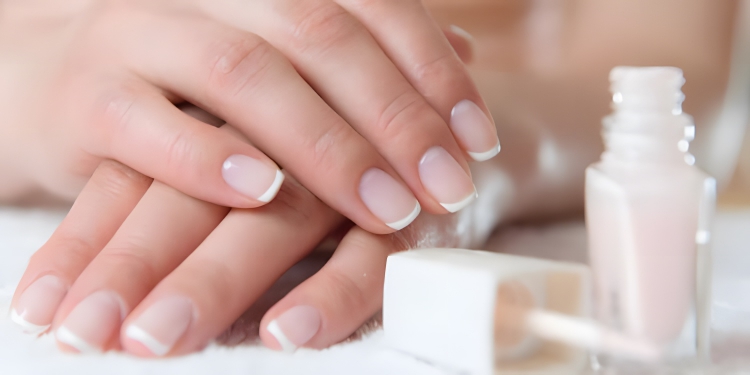
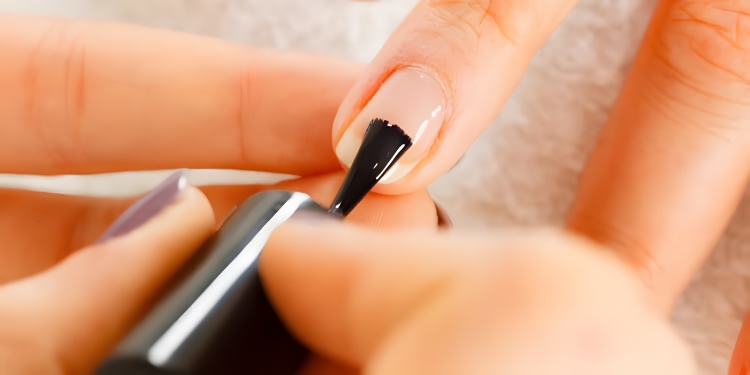
7. Use Base Coat and Top Coat
There’s no need to shell out on one of each, there are plenty of 2 in 1s on offer. Using a base and top coat will create a longer lasting manicure as well as a professional looking finish.
Shutterstock
8. Use a Cuticle Oil
The secret to great nails is a great base, it’s important to look after your nails so be sure to use a cuticle oil before you start your DIY mani.
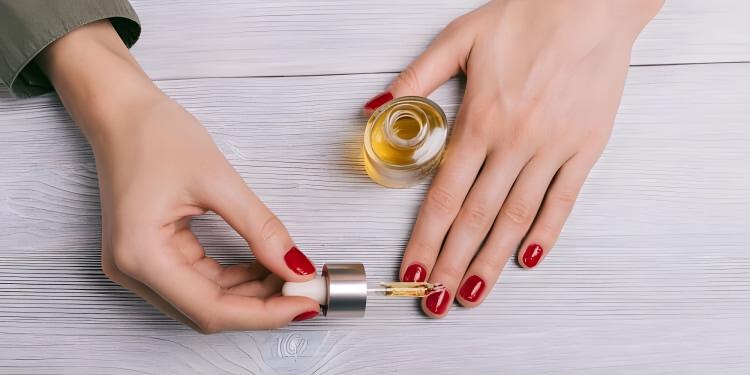
Shutterstock
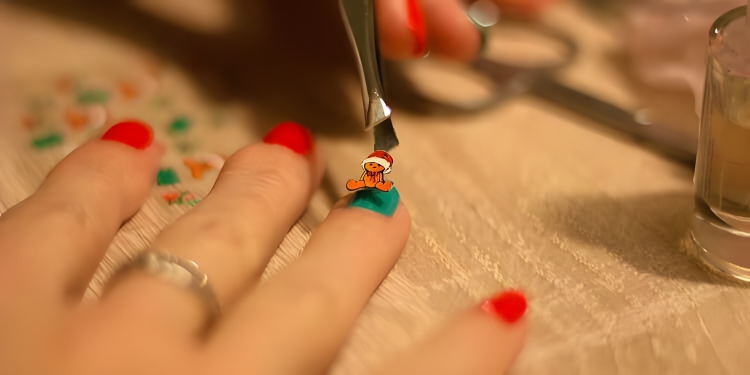
9. Invest in Nail Art Stickers
If painting on your nail art is far too stressful and fiddly for you, invest in some stickers. As long as you finish with a top coat, you will achieve a seamless, painted on appearance and of course, the perfect finish!
Shutterstock
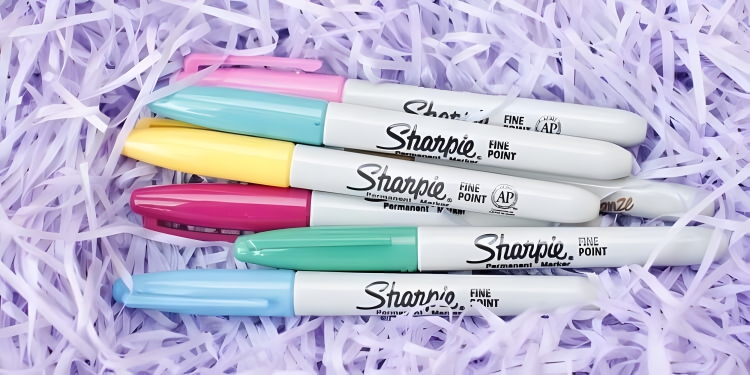
10. Use Sharpies
If you’re not too handy with a nail brush, you might find a sharpie is the hack for you. Be sure to apply a layer or base coat first and then draw away with your desired color and design before finishing with a good top coat to avoiding smudging.
Shutterstock
11. Combine Matte and Gloss for Subtle Nail Art
If you’re not into out their nail art but still want to achieve a salon-quality finish, opt for a hybrid of matte and gloss topcoats or colors for subtle nail art that can only be seen close up.
Shutterstock
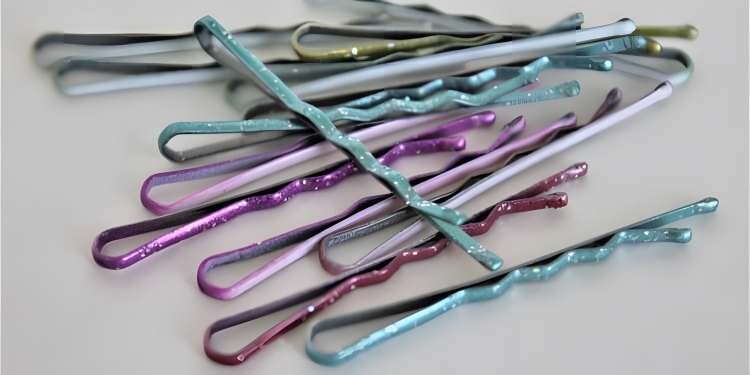
12. Use Hair Grips
If you want to achieve wavy lines, straight edges or polka dots, hair grips are an inexpensive answer to your desires!
Shutterstock
13. Try out a Makeup Sponge
Ombre nails is a perfect trend to try out at home because it doesn’t require too much effort or skill, simple use a makeup sponge and dab it into your nail polish and onto your nail for the perfect faded Ombre effect.
Shutterstock
14. Use a Good Nail Glue
If you want to use sticker or gemstones, it’s worth investing in a strong nail glue, so they last for longer. Remember to NEVER put the glue directly onto your nail, always apply a base coat first to protect your nails.
Shutterstock
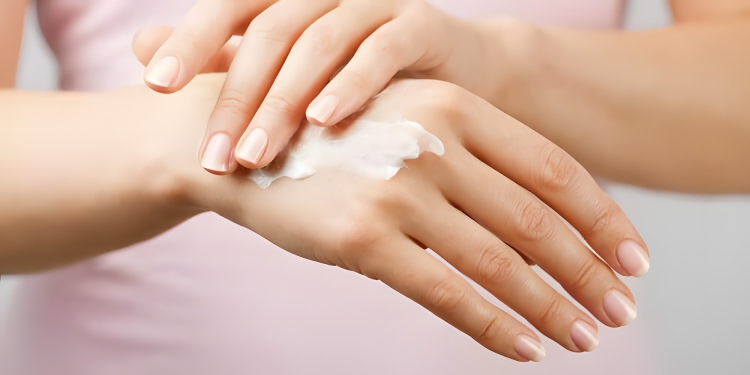
15. Use Hand Cream
If you get a little carried away with these hacks and you’re using a whole host of different products on your nails and skin, be sure to moisturize your hands and nails regularly to keep them hydrated and healthy.
Shutterstock
There you have it, 15 fool-proof DIY nail hacks, which will you be trying out first?