3. Methods for Drying Plums
Each of the various sensible techniques you may employ at home to dry plums has benefits and drawbacks. Among the most often used methods are food dehydrators, oven and air driers. Every one of these techniques can produce outstanding results; however, it is crucial to select the one that best suits your present tools and way of life.
A food dehydrator is among the simplest and fastest ways to dry plums. This device is a fantastic fit for this chore since it is especially meant to dry fruits and vegetables. Just put the ready plum halves or slices on the dehydrator trays such that they do not come into touch. Turn the dehydrator to around 135°F (57°C) and let it run for six to twelve hours. Plum piece thickness and your desired degree of dryness will determine the precise drying time. Periodically checking the plums throughout the drying process helps to guarantee they are drying uniformly.
Should you not have a food dehydrator, plums can be dried in your oven. Usually running at 140°F (60°C), preheat your oven to its lowest setting. Parchment paper lines a baking sheet; arrange the plum halves cut-side up such that they are separated. Leave the oven door ajar just slightly to let moisture escape during the drying process. To track their development, check the plums every hour. The thickness of the plums and the particular features of your oven will determine the six to ten hour drying period in the oven.
Air drying is another choice, however it depends on a warm, dry surroundings. Simply set plums on a dry, clean surface—such as a mesh rack or screen—then let them rest in a well-ventilated area to air dry. Those who have the time and patience to wait will find this approach ideal since the plums need several days to completely dry.
Ultimately, your equipment, available time, and personal tastes will all influence the drying technique you decide upon for plums. Whether your preferred method is air drying, an oven, or a food dehydrator, each one can provide scrumptious dried plums ideal for snacking or adding into other dishes. To get the right texture and taste, one must keep close observation on the drying process.
4. Storing Dried Plums

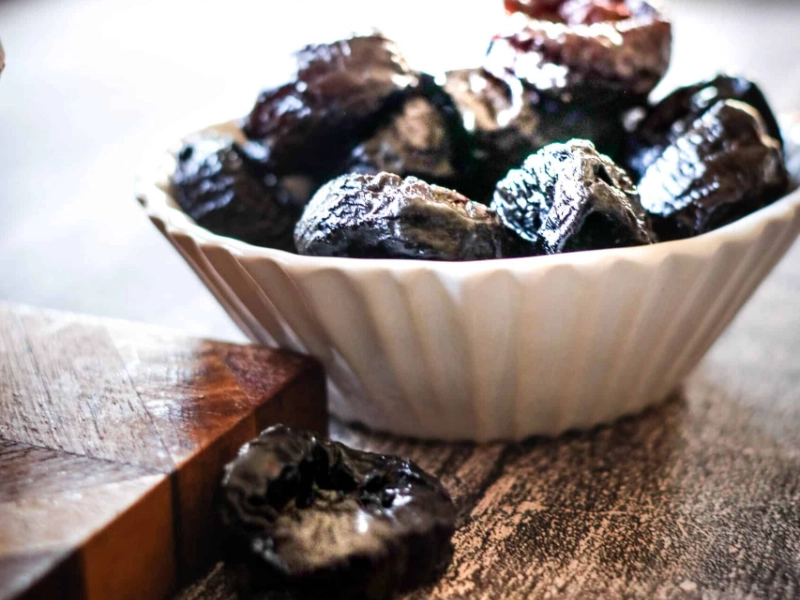
Proper storage is crucial to maintain the flavour, texture, and nutritional worth of your plums once they have dried to your taste. Dried plums should first be stored allowing them to cool totally following drying. This chilling interval is crucial since it helps stop condensation from developing inside the storage container, so preventing over time deterioration and loss of quality.
Dried plums should be kept in sealed containers if one wants to preserve their optimum taste and texture. Appropriate storage choices are resealable plastic bags, vacuum-sealed bags, or glass jars. Before sealing bags, try to empty as much air as you can to reduce moisture and air exposure, therefore degrading the quality of the dried fruit. To enable you to monitor the freshness of the containers, mark their drying date. Dried plums keep for several months when stored correctly; nevertheless, for maximum taste, eat them within six months.
Freeze dried plums if you need them stored for a longer length of time. Tightly wrapped dried plums should be placed in a freezer-safe bag or container. Enjoyed for up to a year, frozen dried plums let you savour your homemade treats even longer. Either use them straight in recipes or defrost them room temperature when you’re ready to consume them.
Apart from maintaining the taste and texture of your dried plums, correct storing methods additionally support their nutritional worth retention. A healthy snack, dried plums are high in vitamins, antioxidants, and dietary fibre. Following these storage rules will help you to make sure your homemade dried plums stay delicious and nutrient-dense, ready for consumption anytime you so want.