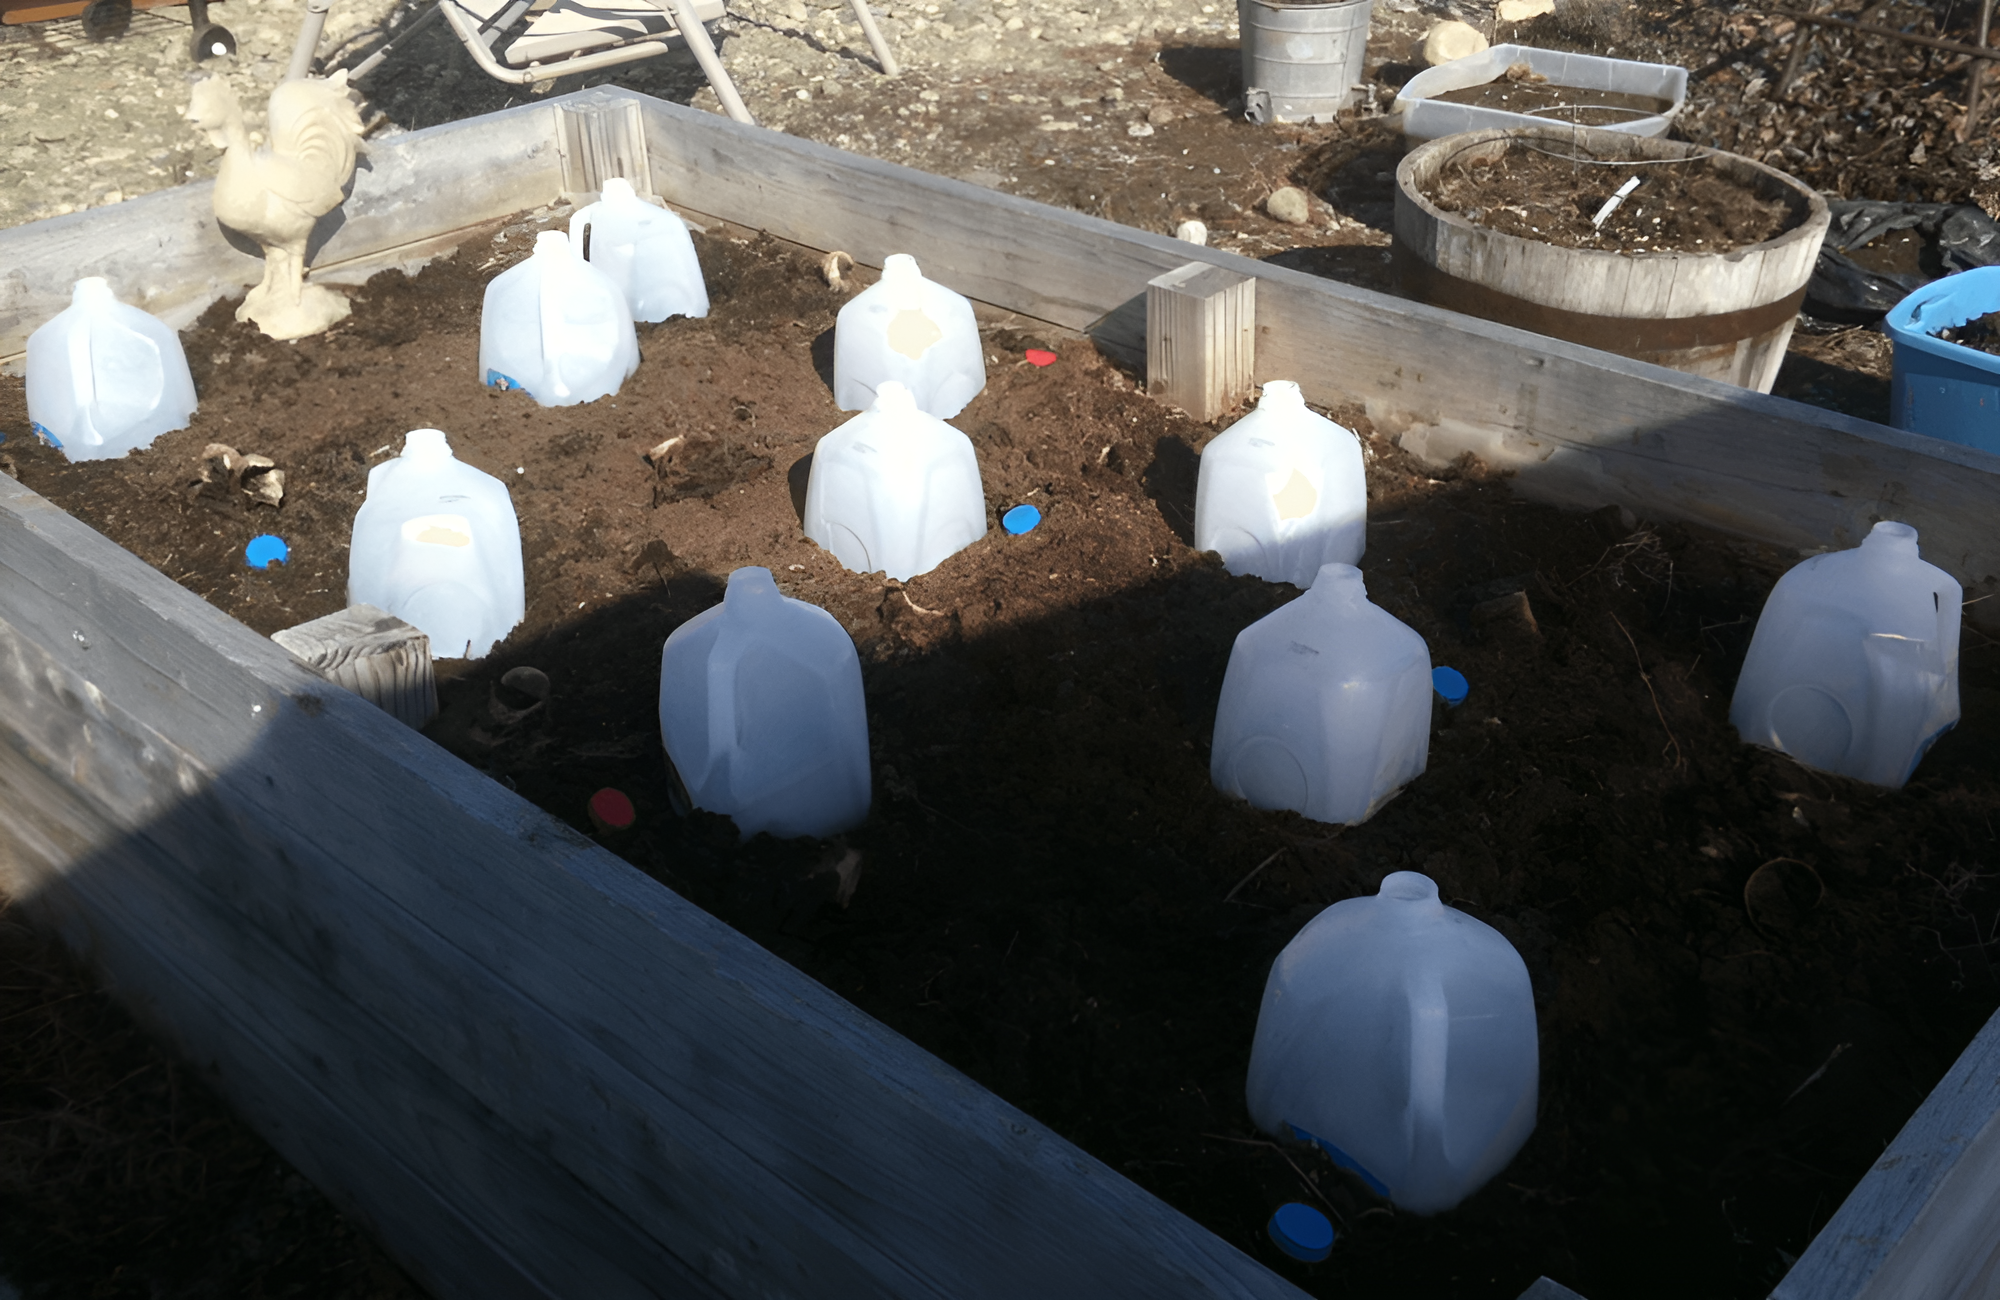
91. Use Gallon Jugs As Mini-Greenhouses For Seeds
Materials Needed: Clean, empty gallon jugs, a box cutter knife, a drill, seeds and seed starter, a five-gallon bucket, small shovel, water, permanent marker, duct tape
Cost to Make: $40*
Greenhouses are a great way to give seedlings a head start on their growth, but you shouldn’t feel like you have to shell out a lot of money for these handy garden helpers. Just make sure you make your greenhouse before the final frost date (there are maps online that will help you know when your date is).
Use Gallon Jugs As Mini-Greenhouses For Seeds @alaskapublic.org /Pinterest
You’ll need clean, empty gallon jugs, a box cutter knife, a drill, seeds and seed starter, a five-gallon bucket, small shovel, water, permanent marker, and duct tape. Cut the top of the jug off and drill holes into the bottom. Pour seed starter and water into the five-gallon bucket, and then transfer the mix to the jug using the shovel. Sow the seeds, and place the “lid” back onto the jug, sealing it with duct tape and labeling the type of plant on the tape with permanent marker.
92. Look At A Soil Chart To Determine What You’re Working With
Materials Needed: Soil chart
Cost to Make: Free online
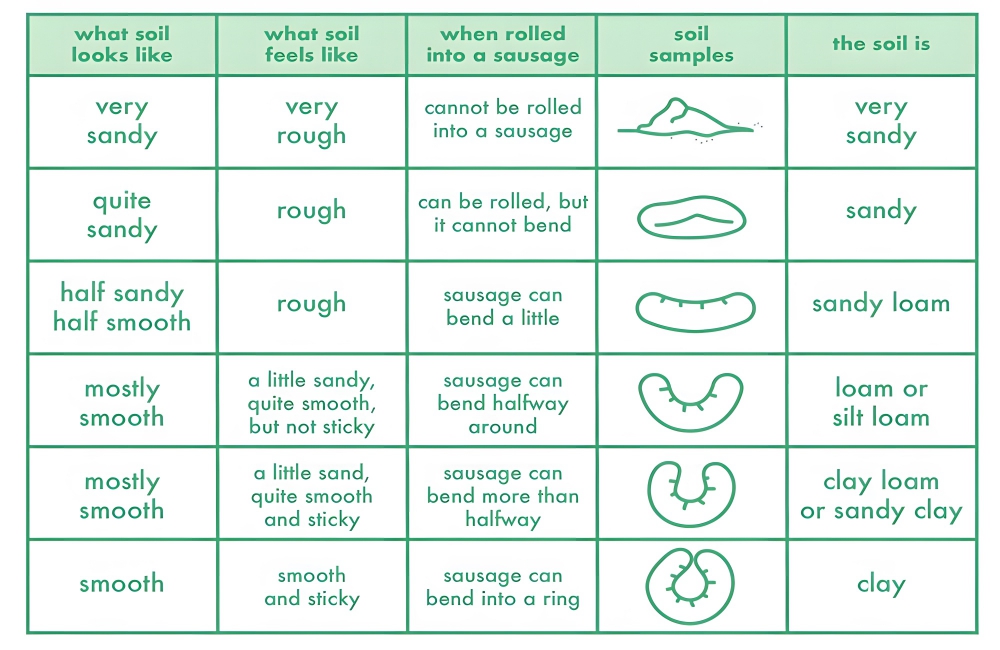
A soil texture chart is a handy tool that will help you determine what type of soil you’re working with. Gardeners use these charts to classify the texture and nature of a soil. For example, a sandy- or coarse-textured soil is composed of sand particles that are medium- to coarse-size.
Look At A Soil Chart To Determine What You’re Working With @shirrleebuka / Pinterest
There are plenty of YouTube videos that will take you, step by step, through how to use a soil chart. The sides of the texture triangle are scaled based on the percentages of clay, silt, and sand. You read clay percentages from left to right, while you read silt from upper right to lower left. You read sand from lower right to upper left.
93. Use A Small Photo Album To Organize Seed Packets
Materials Needed: Photo album, post-its/tabs (optional)
Cost to Make: $10-$15*
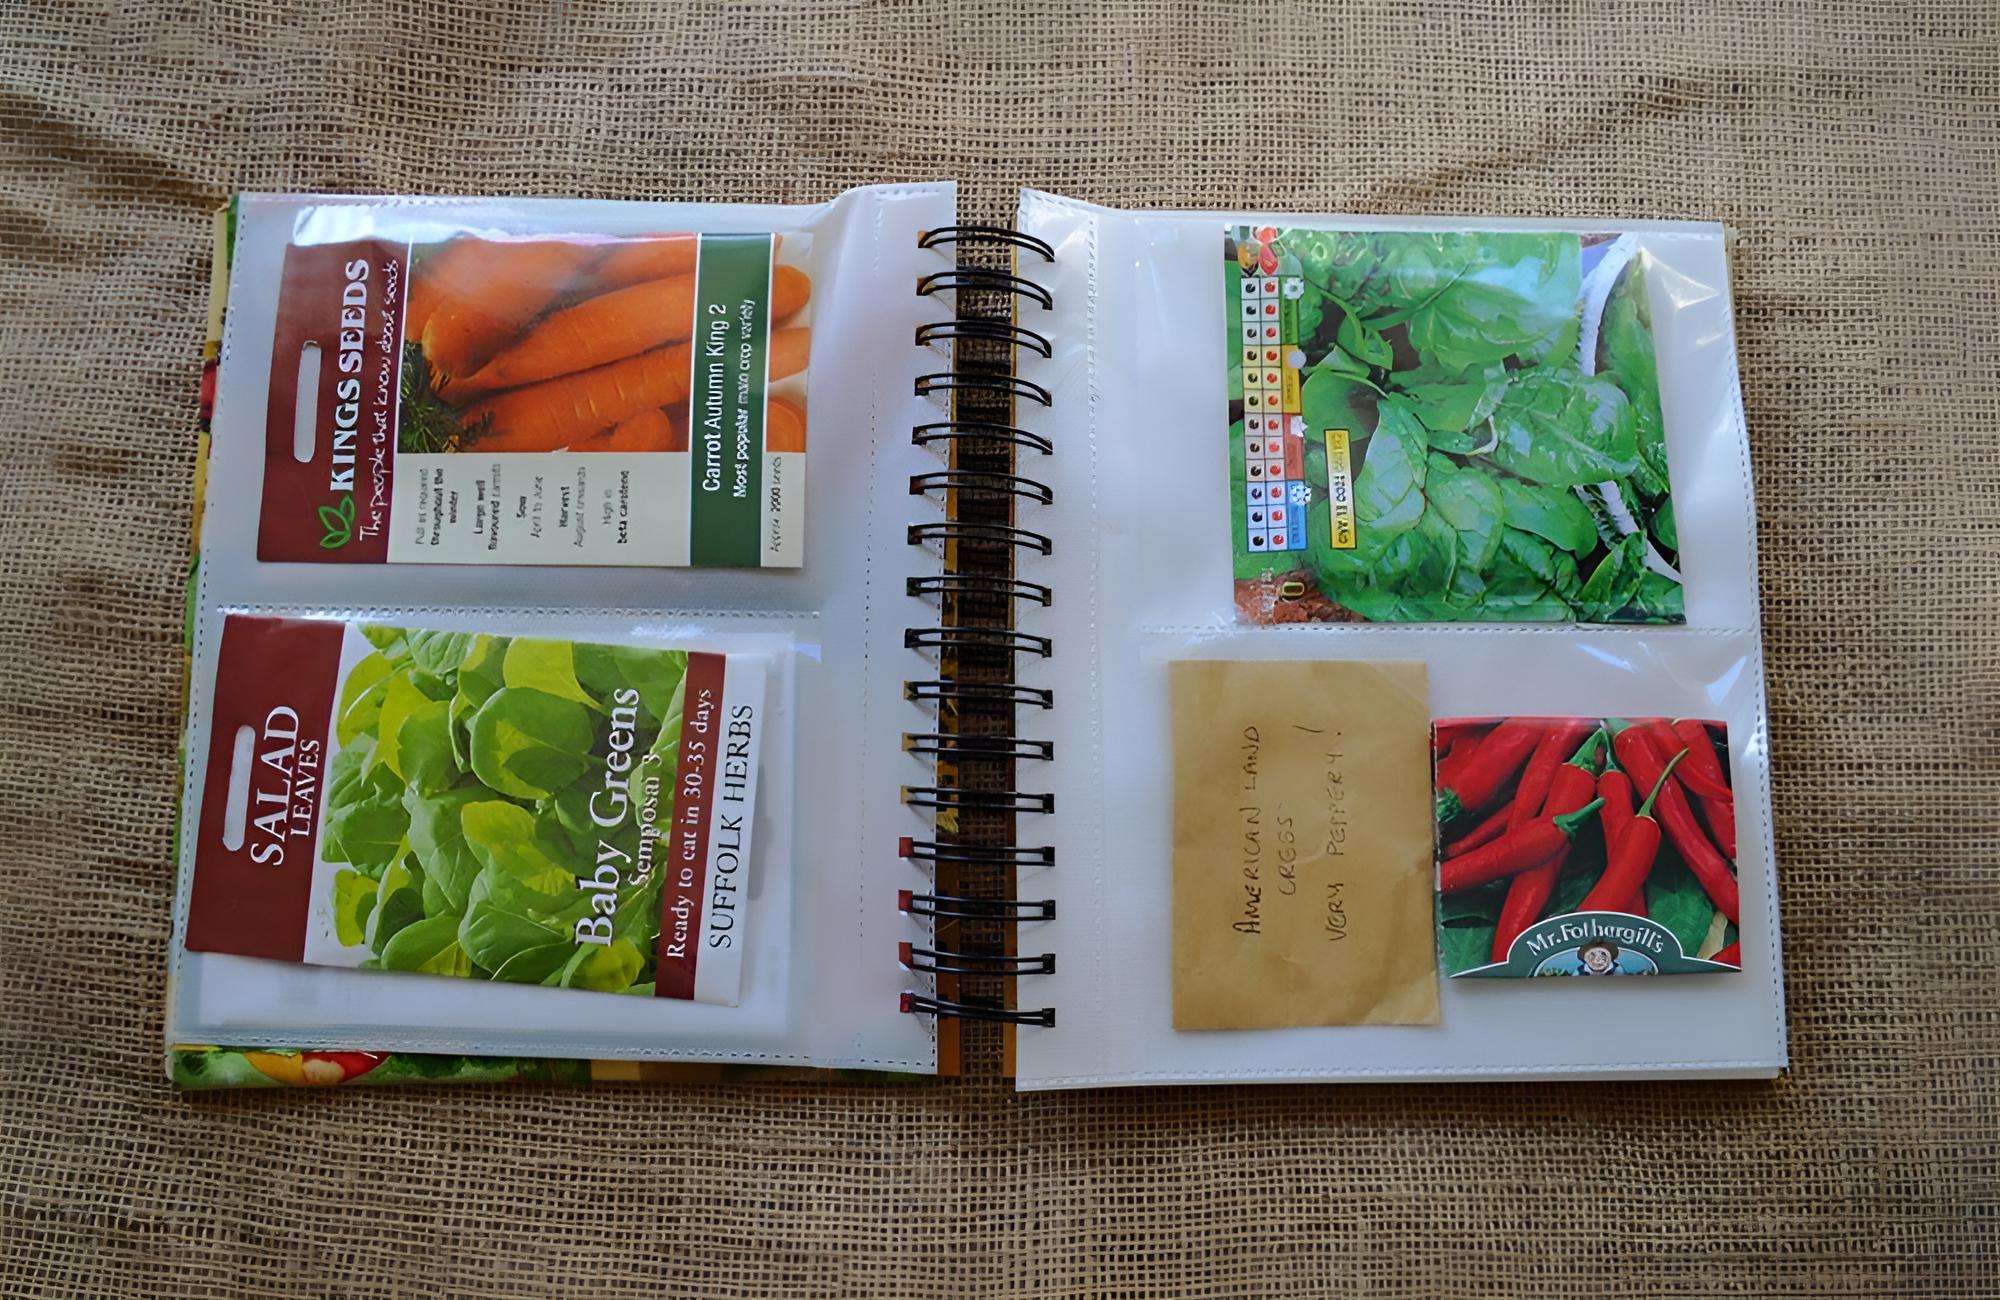
If you’re storing seed packets in a drawer or box, you might have noticed that they can get a little disorganized. Physical photos might seem like a thing of the past, but you can actually get a good use out of your physical albums—just, instead of pictures of you and your friends and family, these albums will hold seed packets.
Use A Small Photo Album To Organize Seed Packets @diyhsh / Pinterest
The pockets of photo albums are usually 4” x 6”, which makes them the perfect size to store one seed packet per pocket. You can also use tabs or post-it notes to delineate various types of vegetables, fruits, and flowers, turning your DIY packet organizer into an index.
94. Rotate Your Vegetables Each Year
Materials Needed: None
Cost to Make: N/A
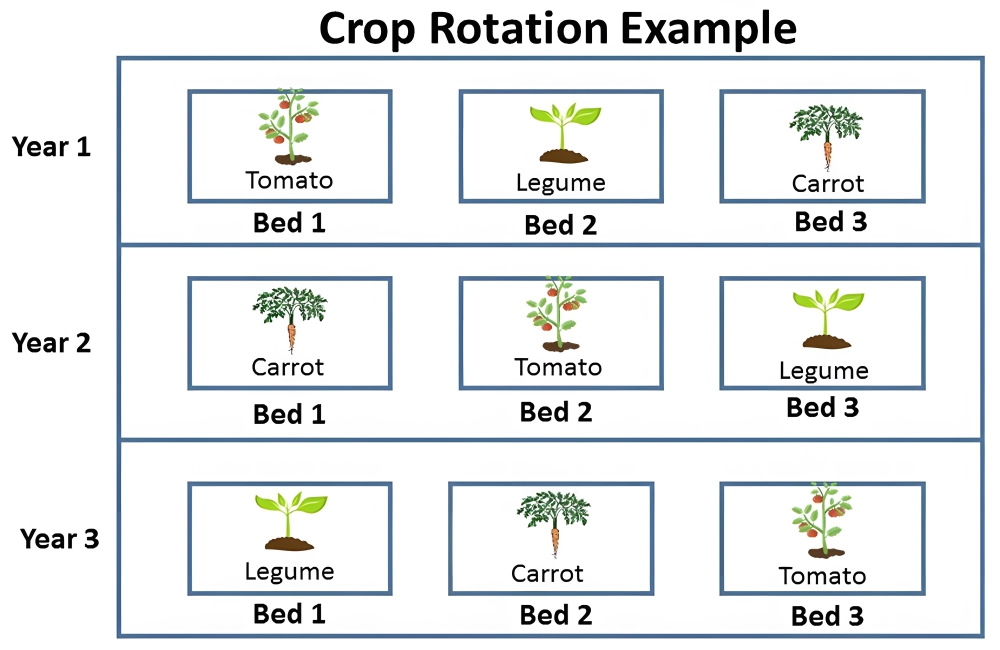
Crop rotation is likely something you’ve heard of in the context of large, thousand-acre-plus farms. However, home vegetable gardens can benefit from the practice, too. Crop rotation involves switching the planting location of the garden’s vegetables each season.
Rotate Your Vegetables Each Year @montrie / Pinterest
Rotate vegetables (or the vegetable’s family) so that it only grows in the same spot once every three or four years. The benefits to crop rotation are quite numerous, and the practice is used to limit the development of harmful vegetable diseases and blights, manage soil fertility, and reduce damage from pests and insects. Legumes, nightshades, chicories, umbels, chenopods, brassicas, and allium are all the vegetable families that should be rotated.
95. Don’t Underestimate A Good Pair Of Gloves
Materials Needed: Gardening gloves
Cost to Make: $10-$35 per pair*
Gardening gloves are a must-have, no matter how frequently you garden. Nature might be beautiful, but it can have some nasty surprises for the unwary. It’s not safe to garden without gloves, and diseases like tetanus, legionellosis, sepsis, melioidosis, and Rose Gardener’s Disease could be lurking, not to mention the potential for small scrapes, calluses, blisters, and cuts.
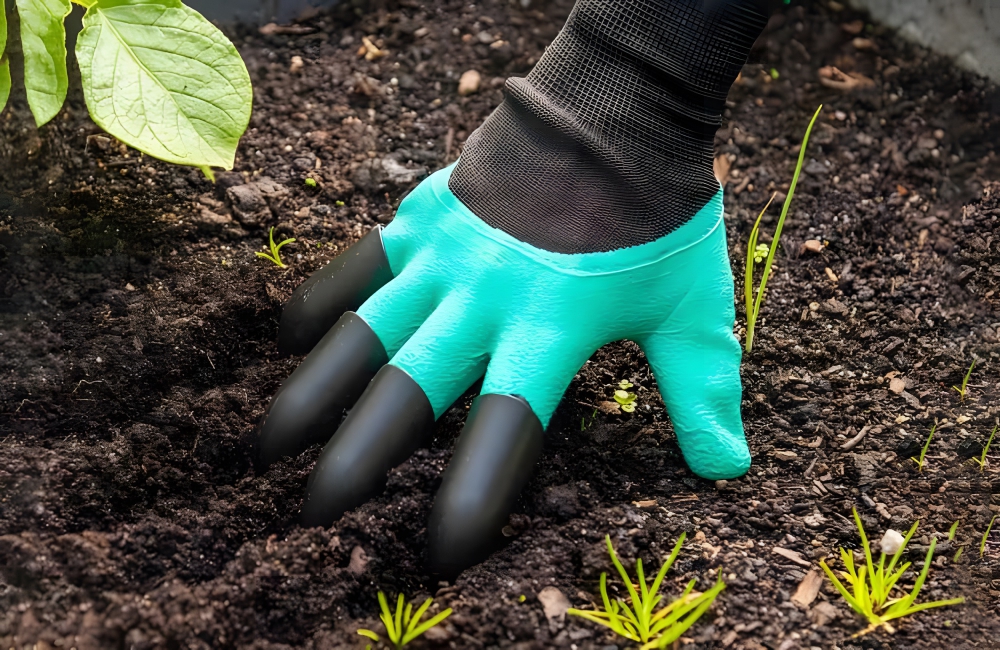
Don’t Underestimate A Good Pair Of Gloves @aftrnooncom/Pinterest
The gloves you’ll buy depends on what work you’ll do in the garden, but New York Magazine said the “Best Overall Gardening Gloves” award goes to Pine Tree Tools Bamboo Working Gloves ($10). If you’re doing heavy-duty work or working with prickly plants, NY Mag says that Gold Leaf Soft Touch Gloves ($35) are the ones to buy.
96. Always Snip Herbs, Don’t Pull Leaves By Hand
Materials Needed: Knife or sharp, clean scissors
Cost to Make: $10-$15*
Though pulling the plants is a few seconds faster than snipping, pulling can wreak havoc on your herbs and even kill them. Always cut herbs with clippers or sharp, clean scissors. This will prevent damage to the plant, and it will also promote growth.
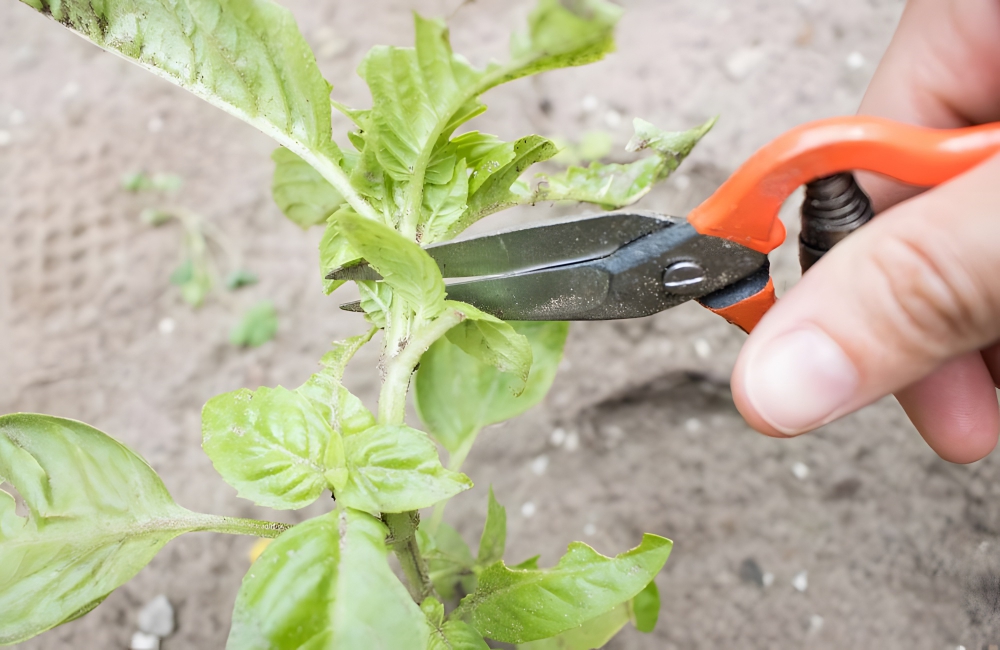
Always Snip Herbs, Don’t Pull Leaves By Hand @sharon6360 / Pinterest
Herbs grow back after cutting, and, if you want them to grow the right way, you’ll need to prune them regularly. Just remove the top portion of each stem every week. It’s a small cut, but it will allow the stem’s dormant leaf buds to flourish. Snipping and harvesting won’t hurt herbs, but pulling leaves by hand certainly will.
97. Don’t Let Your Herbs Flower
Materials Needed: Knife or sharp, clean scissors
Cost to Make: $10-$15*
Speaking of herbs, we have another hack for them. Though many herbs have edible blossoms and it can be tempting to let them flower ASAP, that’s not what you should do if you want them to have a long life cycle.
Don’t Let Your Herbs Flower ©Sinseeho/Shutterstock.com
A plant flowering means that it’s life cycle is near the end. Cut the herbs back before they flower, keeping them focused instead on growing leaves. It’s a bad idea to allow an herb to flower early on in the growing season. If you find them, cut off flower buds with a sharp, clean pair of scissors or a knife.
98. Water Your Plants In The Morning Before It Gets Too Hot
Materials Needed: Watering can
Cost to Make: $10-$15*
This hack is especially helpful if you live in the South, where the temperatures are warmer. If you live in a hot area (or you’re up North in the summer), water plants in the morning. Not only will you be less overheated in the garden, but more water will also enter the soil instead of evaporating into the hot air.
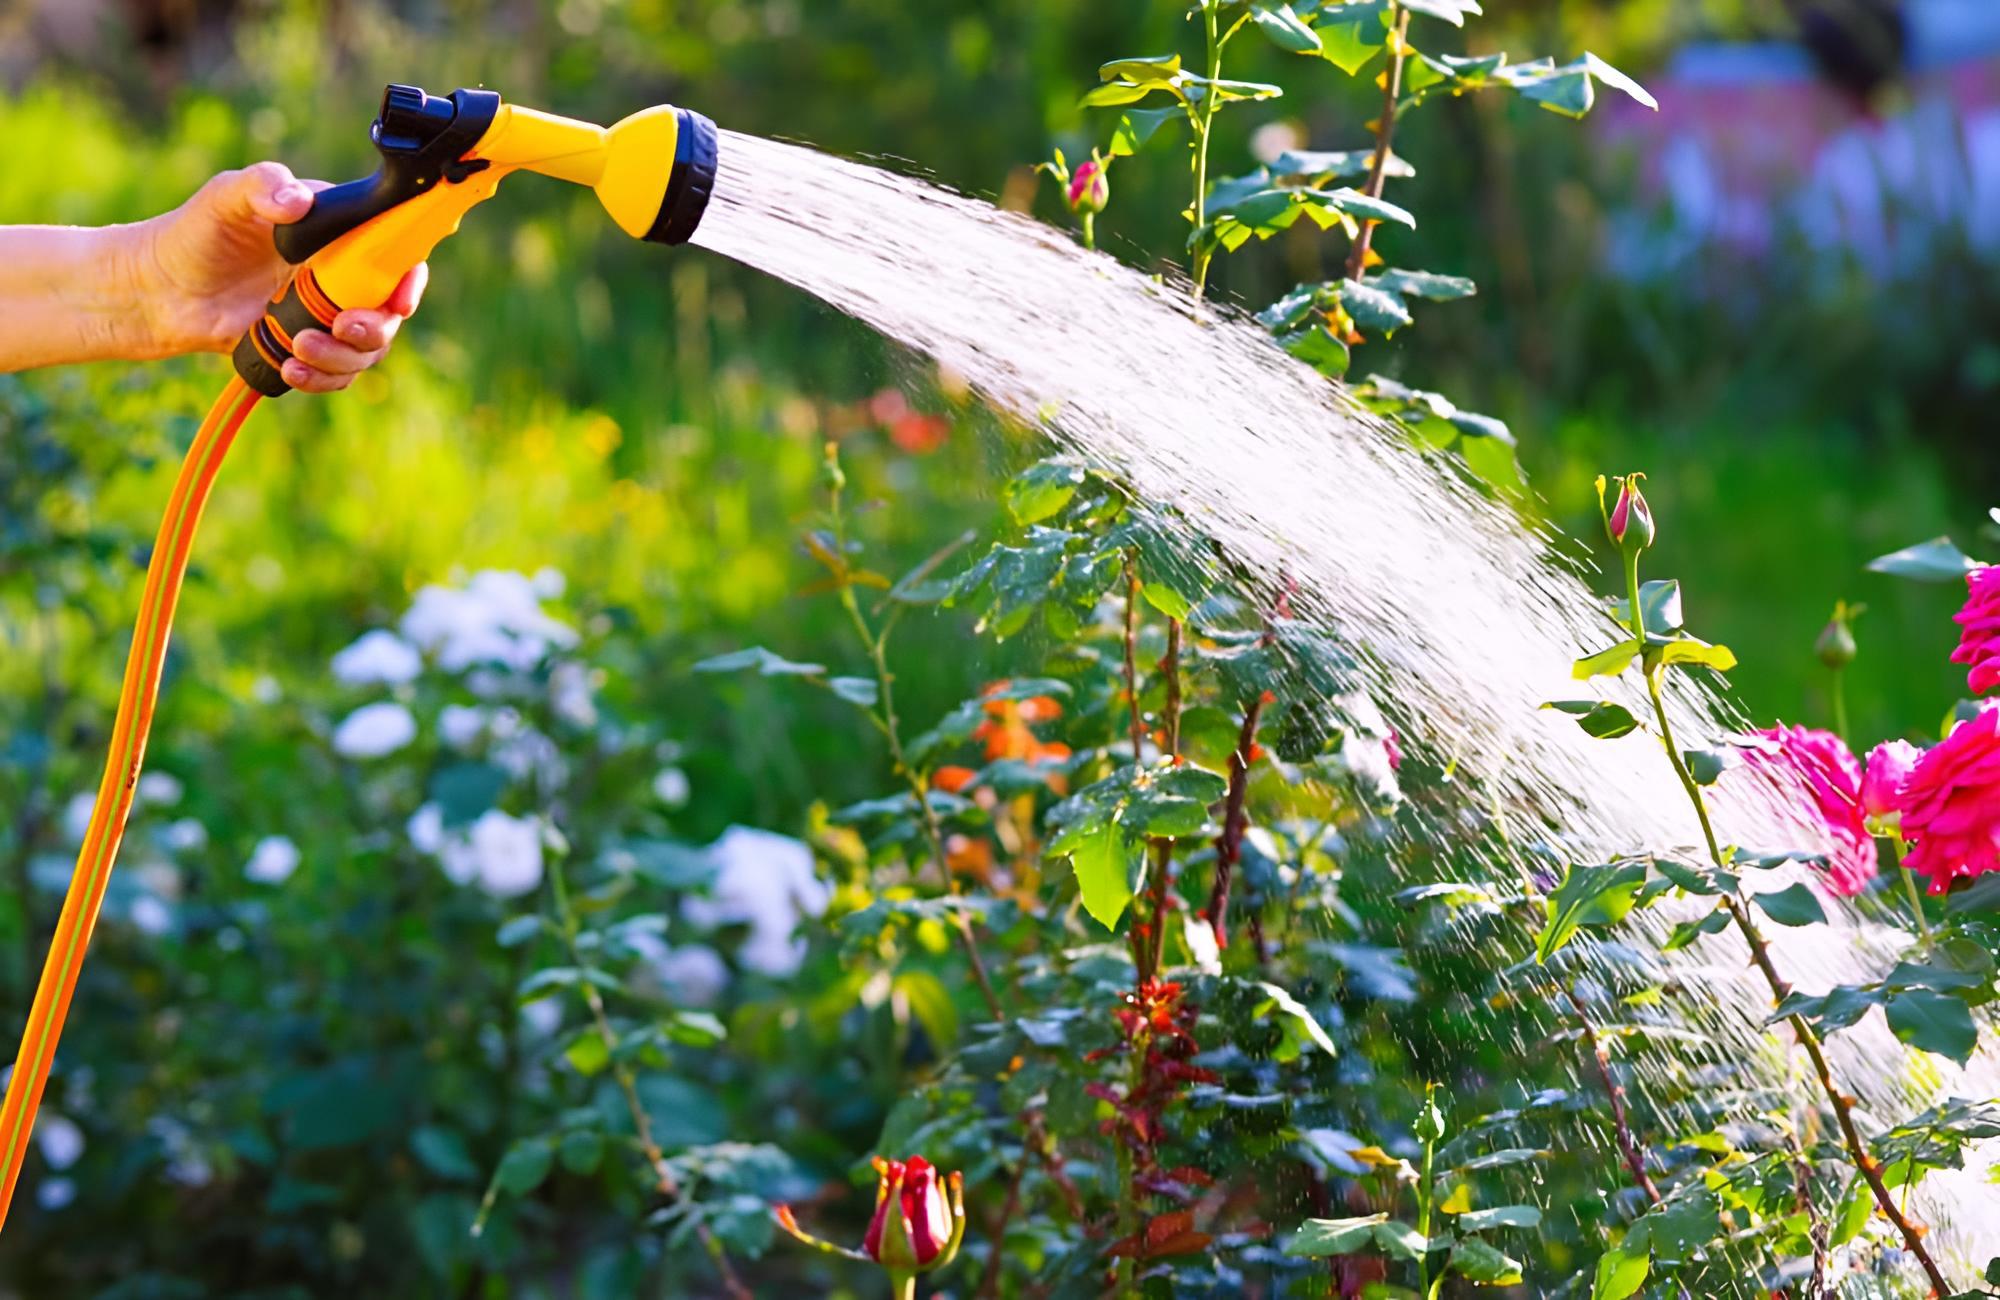
Water Your Plants In The Morning Before It Gets Too Hot ©Zoia Kostina/Shutterstock.com
Watering plants in the morning lets stems, leaves, and flowers dry out quickly, which means that, though the water is absorbed more fully, it won’t stick around and possibly lead to fungal growth. To decrease runoff and to let the water completely soak into the soil, irrigate the plants slowly.
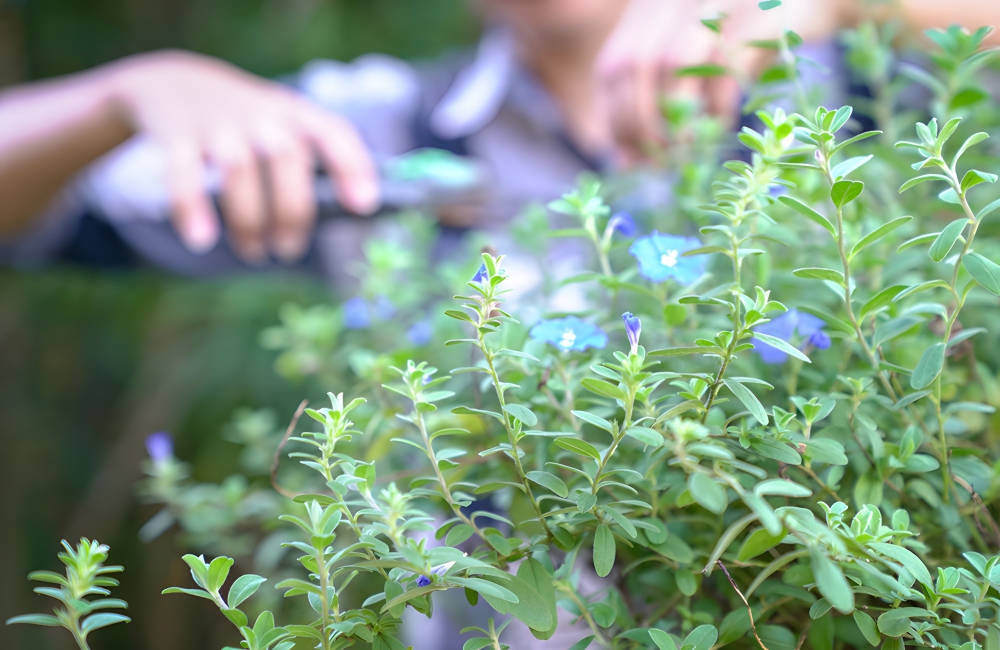
99. Trim Often To Encourage Plants To Grow Fuller
Materials Needed: Pruning shears
Cost to Make: $20-$40*
Though it sounds contradictory on the surface, trimming plants actually makes them grow faster. Pruning lets more light penetrate a plant’s canopy, and it is especially helpful for a young plant. Pruning stimulates shoot growth and keeps flowers and fruit from forming (two things that signal the end of a plant’s life cycle).
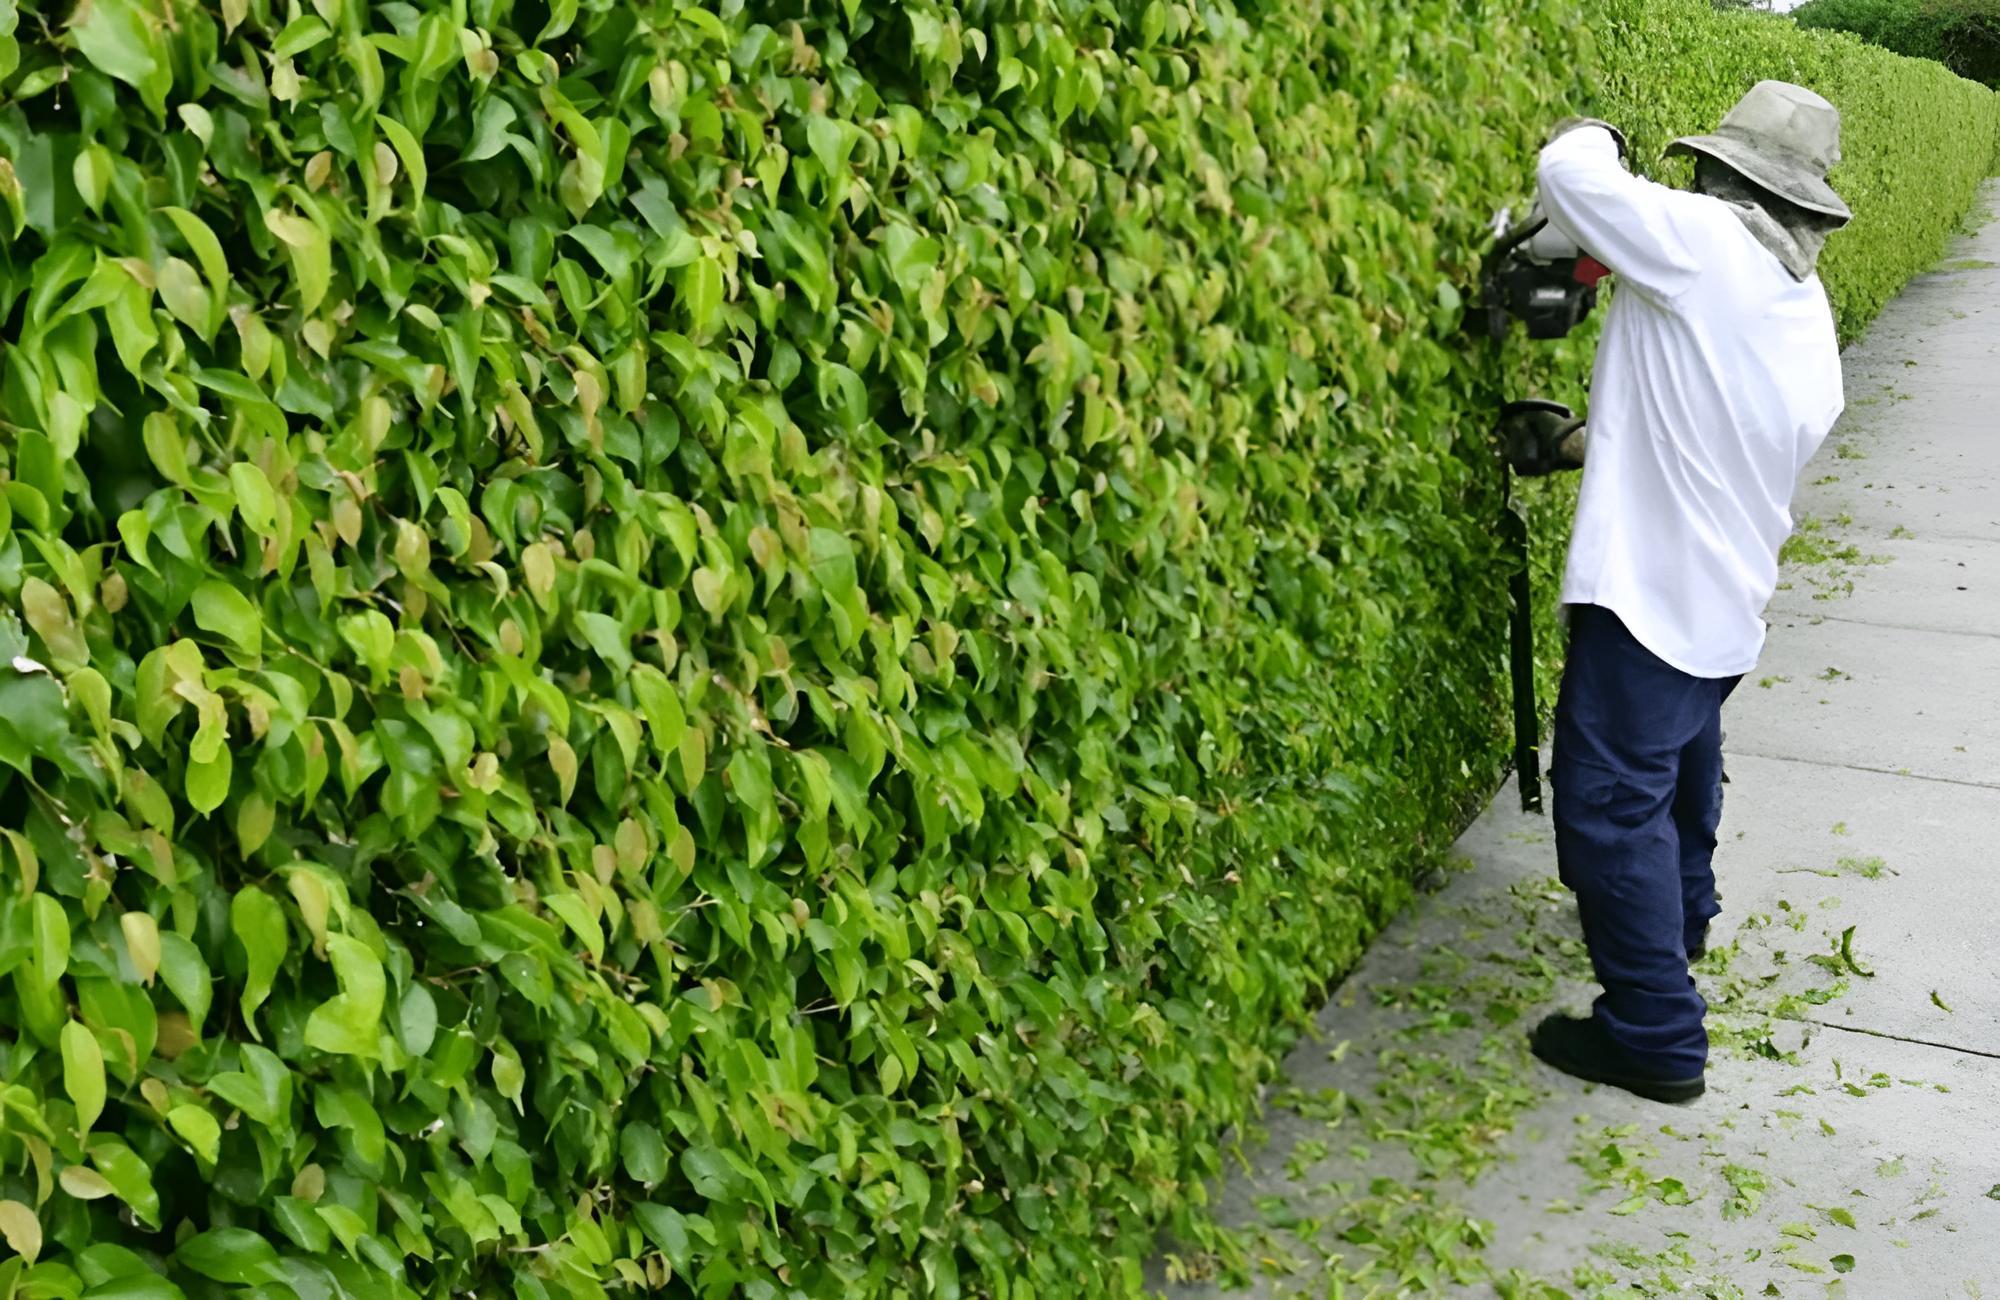
Trim Often To Encourage Plants To Grow Fuller @dengarden0056 / Pinterest
If you have a herbaceous plant, pruning it properly will allow it to make more branches, which results in a fuller plant with dense foliage. If you have a flowering plant, pruning it properly will cause it to produce more buds. To prune, make sure you remove dead matter and deadhead the plant before making cuts.
100. Don’t Plant Bamboo Unless You’re Prepared For the Consequences
Materials Needed: None
Cost to Make: N/A
Bamboo looks beautiful, and it definitely has its benefits. However, you’d be remiss if you didn’t think twice before planting this eco-friendly plant. Bamboo production really is best-left to commercial growers, as its rapid growth and hardiness make it problematic for yards.
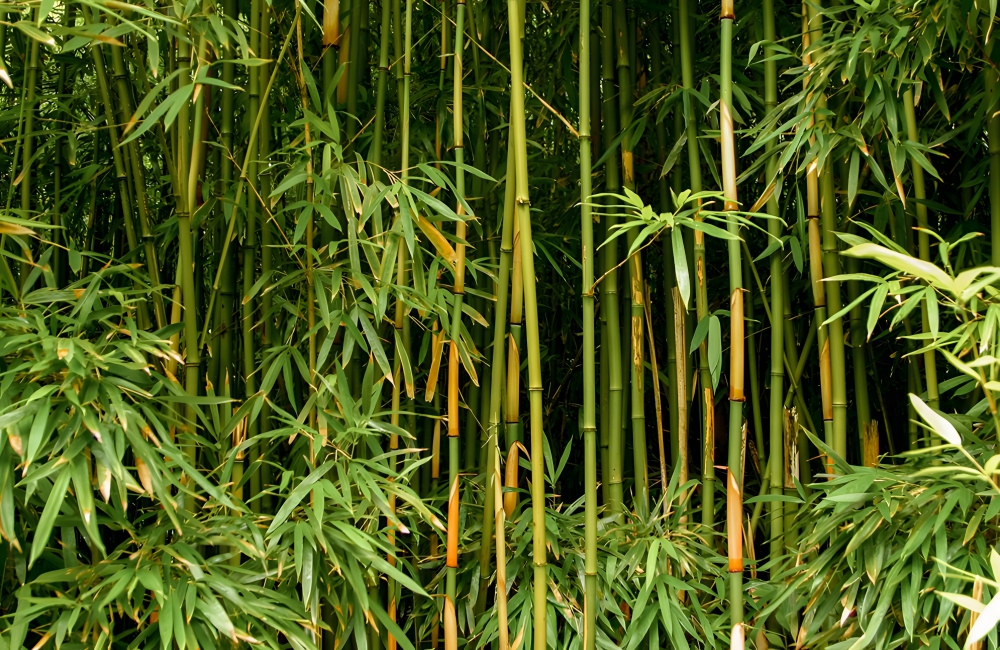
Don’t Plant Bamboo Unless You’re Prepared For the Consequences ©Eric Patterson / Shutterstock.com
Bamboo not only can spread to your neighbors’ yards, it can also be a threat to biodiversity if it escapes your yard. Getting rid of bamboo can take months, if not years, and it often requires heavy herbicides to accomplish. Though it might seem like an attractive garden addition, bamboo is best left growing in a small indoor pot, if you’re not a commercial grower.
101. Do Your Research On What Plants Are Local
Materials Needed: None
Cost to Make: N/A
Local plants, also known as native plants, are those that have adapted over long periods of time to specific conditions in the area. They know how to grow in the area, and they’re more likely to thrive than other plants from different regions. If you want a good chance at a successful garden, choosing local plants is one way to do so.
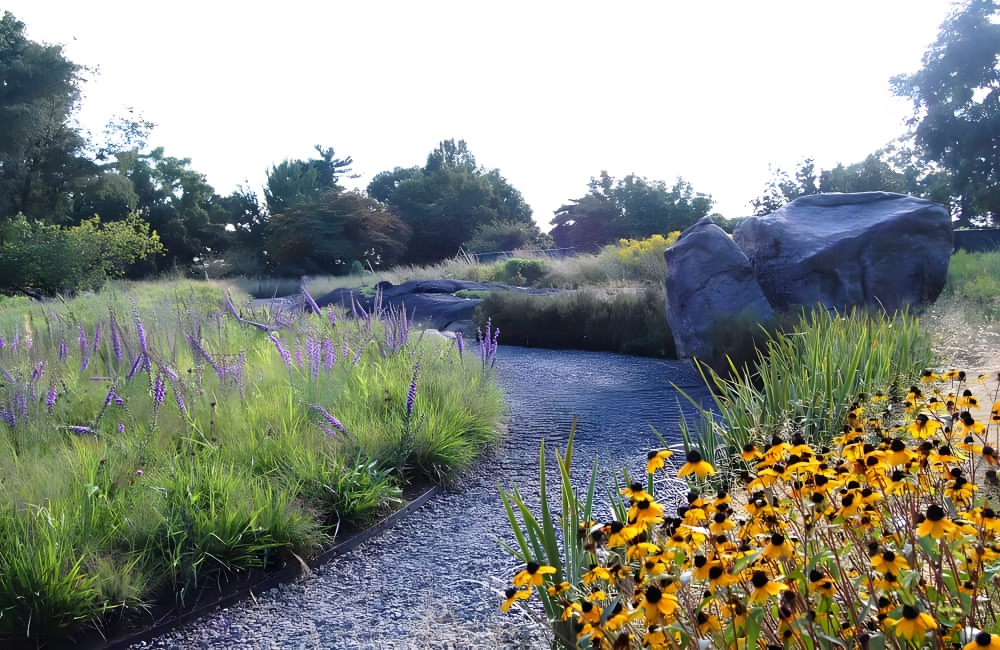
Do Your Research On What Plants Are Local @Yardzen/Pinterest
To find native plants in your area, you can explore resources like the Wildflower Center database, NWF Plant Finder, or even a plant book from the library or a bookstore. There might even be a local plant society in your area or a nursery that only sells local plants.
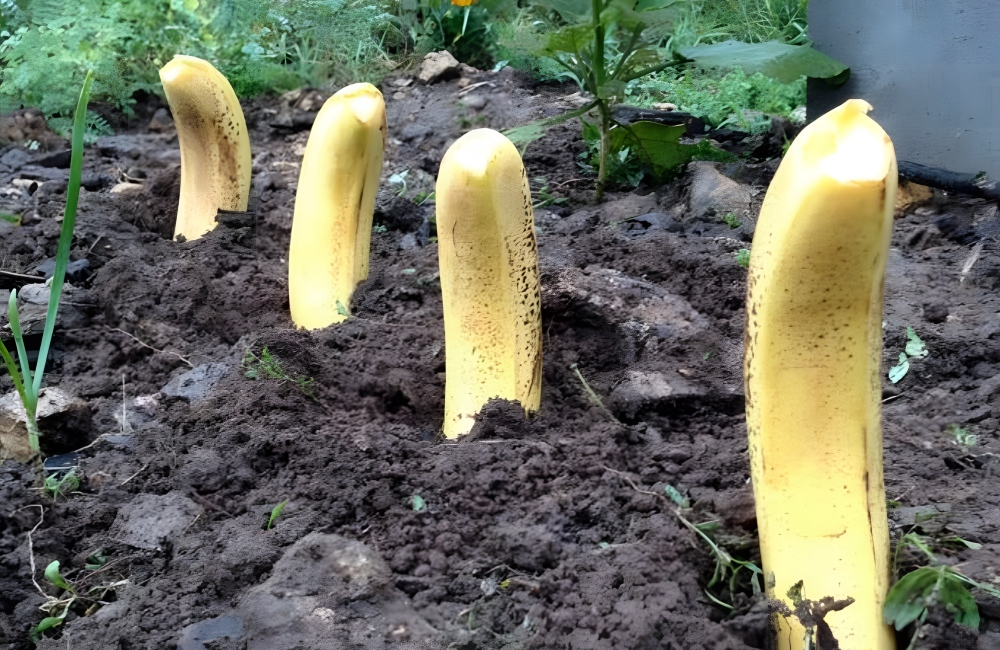
102. Make Fertilizer With Banana Peels
Materials Needed: Banana peels
Cost To Make: $0.21*
Everyone knows that a good fertilizer can make your plants grow strong, healthy, and beautiful. It is also true that this product can be kind of pricey, but we have great news: you don’t need to invest absolutely anything in garden fertilizer: you can make it yourself.
@wattpad / Pinterest
To do so, you’ll only need… bananas! Bananas are rich in potassium, which aids plants in moving nutrients and also contributes to the formation of flowers and fruits. So instead of throwing away banana peels, cut them into small pieces and bury them near your plants. Alternatively, you can also boil the peels, wait for the water to cool down, and use it for your plants.
103. Drill Holes In Planters For Drainage
Materials needed: Drill, planter
Cost To Make: Free if you have the drill
Making sure plants have sufficient drainage is one of the most important things when it comes to gardening. However, most of us don’t really put enough thought into it. It’s easy to buy a pretty planter and stick a plant in it, hoping it will stay healthy throughout its lifespan.
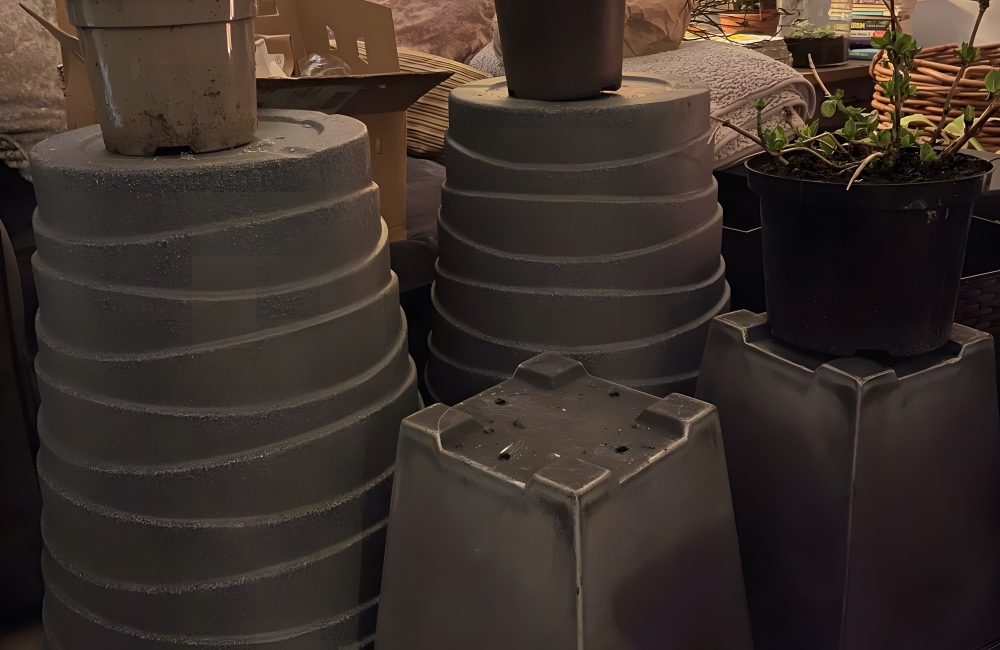
Drill Holes In Planters For Drainage @taysump/Twitter
Instead of leaving it up to chance, take a drill and drill a couple of holes in the bottom of the planter. It’s a two-second job that won’t cost you anything if you already have the drill, but it can save you a lot of time and effort.
104. Turn Wellies Into Whimsical Planters
Materials needed: Old wellies, soil, plants
Cost To Make: $5-$10*
Buying planters that aren’t just plain and plastic can be costly, adding a significant amount to your garden budget. Instead of splashing the cash on something fancy, why not have a dig around in your shoe cupboard and see if you have any old wellington boots lying around?
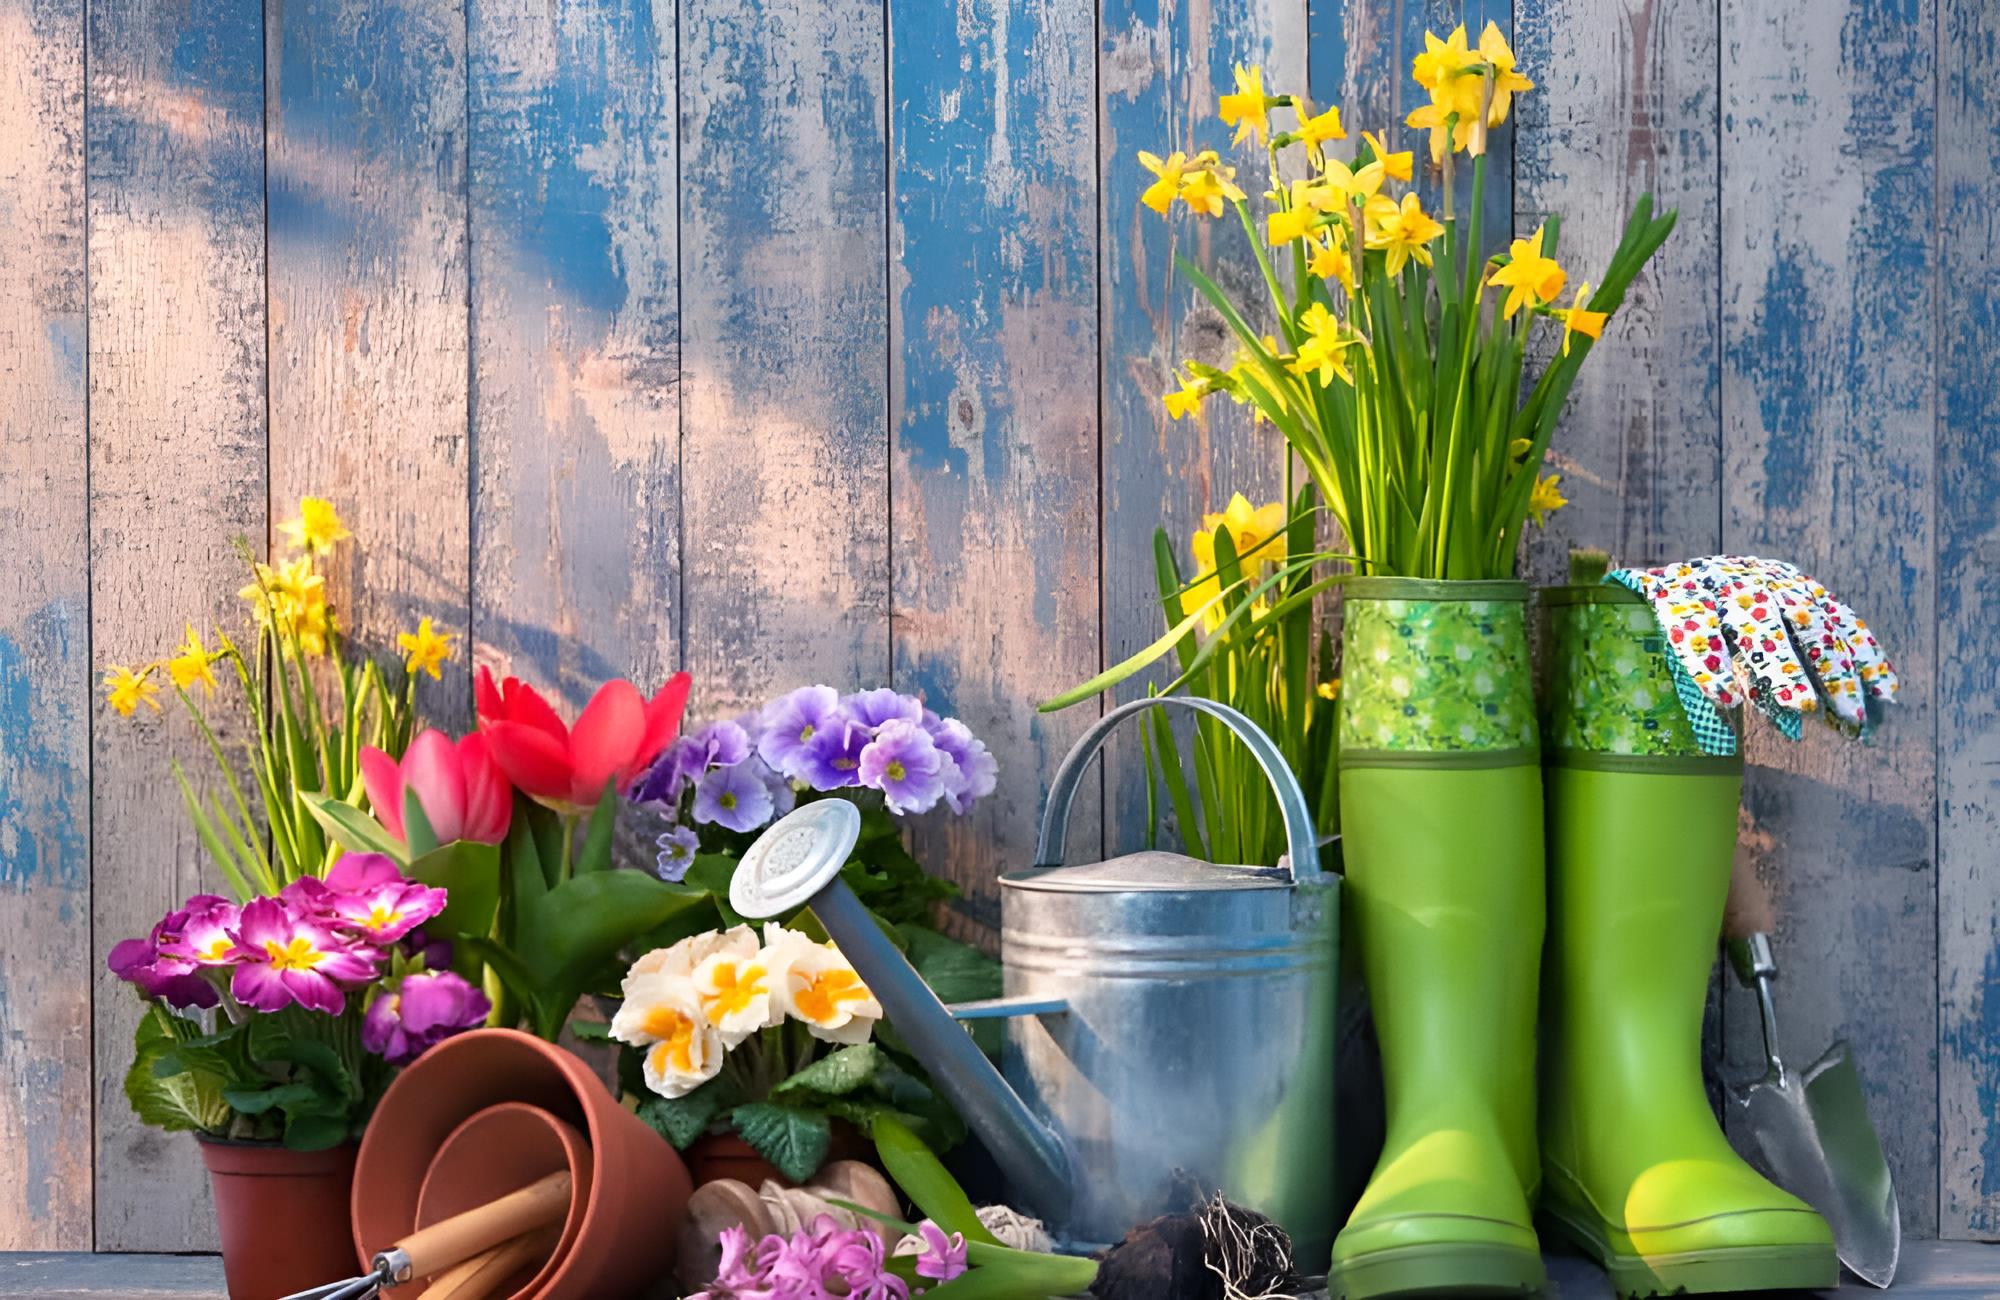
Turn Wellies Into Whimsical Planters ©Alexander Raths/Shutterstock.com
You can fill the boots with soil and use them as planters that can be stood or hung around your garden. It makes for a unique, whimsical feature – and what’s more, it’s also recycling so you’re saving the environment while making your garden look gorgeous.
105. Make Your Own Greenhouse
Materials needed: Plywood, plastic sheeting
Cost To Make: $50*
Buying a brand new greenhouse can be a really expensive thing that most people avoid. It’s a shame, as greenhouses can be perfect places for seeds to spring to life. Instead of admitting defeat and choosing not to get one, there could be another option.
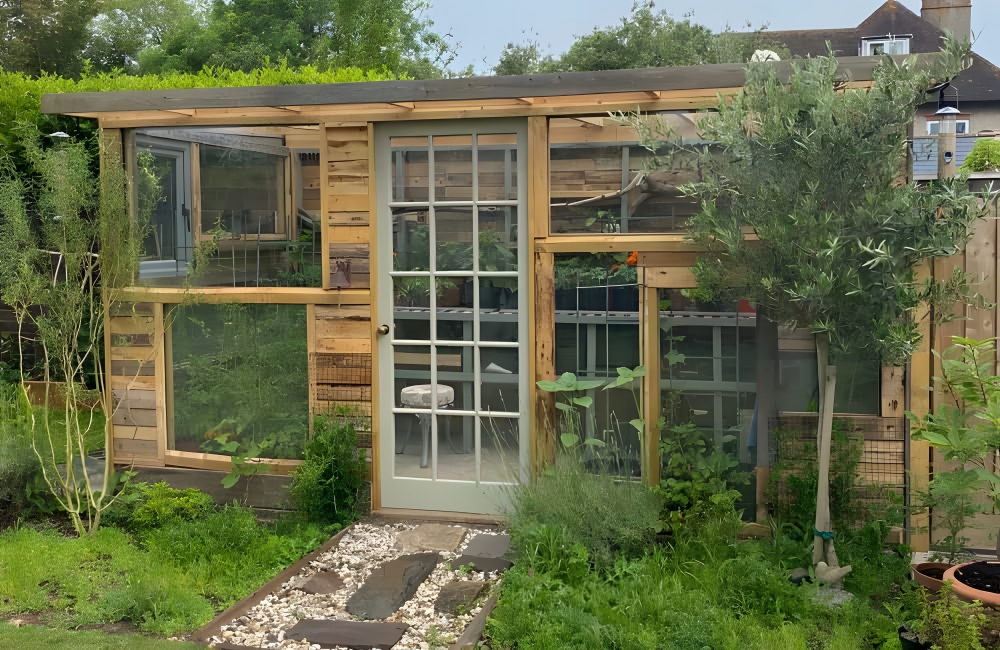
Make Your Own Greenhouse @idealhome/Twitter
There are plenty of DIY tutorials online that show you how to make a perfectly decent greenhouse with plywood and plastic sheeting. You may need to be a little bit skilled in the woodworking department, but if you can “nail” it, you’ll save cash!
106. Easily Grow Your Own Potatoes
Materials needed: Dustbin, big bucket, soil, potatoes
Cost To Make: $10-$20*
Growing your own potatoes may seem like a daunting task if you don’t have green fingers, but the truth is that it’s easy as pie. You can buy special growing kits, but all you really need is a big enough place to plant them such as a dustbin, a liner, soil, and some potatoes.

Easily Grow Your Own Potatoes @ItSustainable/Twitter
As long as you plant the potatoes in the correct way and they have plenty of darkness, then they will be sprouting in no time. Before you know it, you’ll have a crop of your very own to chop up, fry, mash, or bake to your heart’s content.