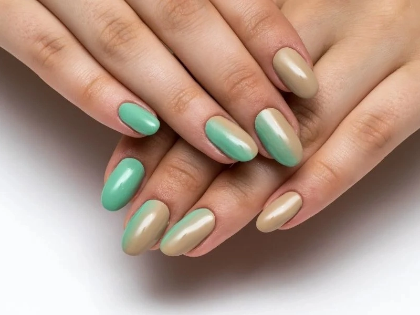
5. Dotting and Simple Patterns
One of the most flexible nail art techniques available to novices is dotting. Either make your own with toothpicks or bobby pins or use appropriate dotting tools. Experiment with different sized dots with variable tool size and pressure. Beginning with basic designs like polka dots or flowers, keep constant size and distance. Work fast since polish dries and gets stringy. Once the base layer dries totally, apply dots of various colors to create depth. Practice on paper first to develop your technique for more difficult patterns. Remember that symmetry isn’t always required; occasionally random dot arrangement produces more intriguing designs.
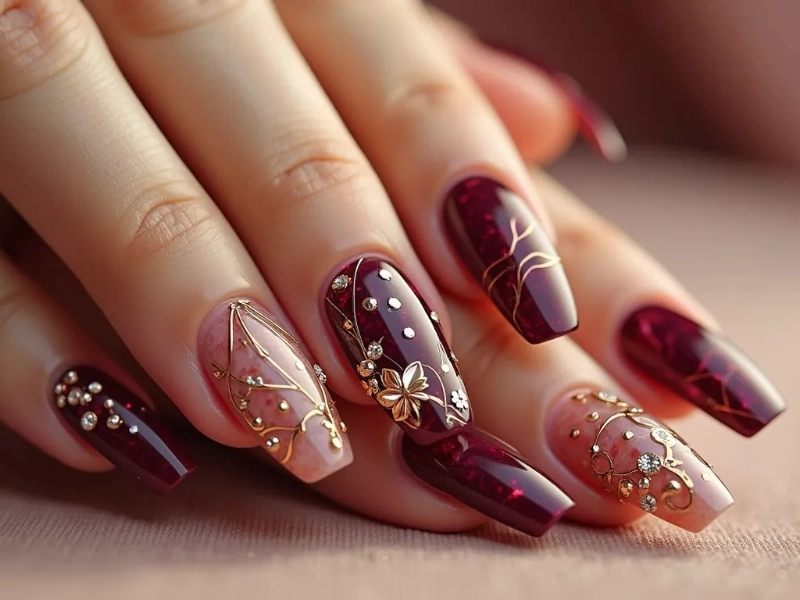
6. Striping and Linear Designs
Making neat lines and stripes calls both good tools and steady hands. Purchase thin brushes or striping tape especially intended for nail art. Before applying striping tape as a guide, make sure the base color is absolutely dry. Laying tape in several angles and painting over it will create geometric designs. Take off tape while polish is still wet to stop peeling. Rest your hand on a steady surface and apply soft, continuous strokes for freehand stripes. From basic stripes to chevrons and plaids, practice building several line widths and patterns. For expert results, clean edges with a tiny brush soaked in polish remover.