Fruits and vegetables are our sources of vitamins in the winter. However, some of them are moody and require special care: for example, onions shouldn’t be stored next to potatoes. We’ll tell you how to keep your fruits and vegetables fresh for as long as possible.
Onions
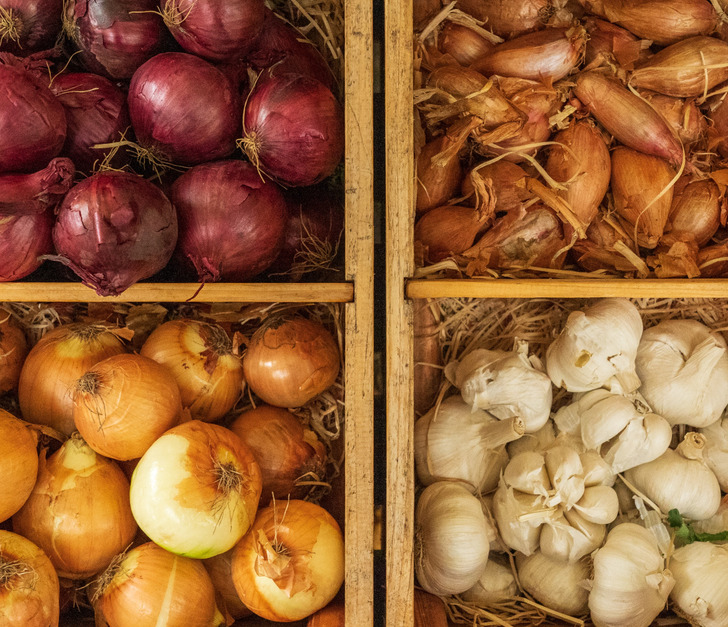
To implement this storage method, simply place your onions in clean, unused tights, tying a knot between each onion to keep them separated. This separation is important as it prevents any potential rot from spreading quickly from one onion to another. You can then hang these onion-filled tights in a cool, dry place in your kitchen or pantry. Not only does this method keep your onions fresh for longer, but it also saves valuable counter or shelf space.
While the tights method is effective, it’s crucial to remember that onions should never be stored near potatoes. This is a common mistake many people make, often due to limited storage space or the misconception that all vegetables can be stored together. However, potatoes release moisture and gases that can cause onions to spoil more quickly. The excess moisture from potatoes can lead to mold growth on onions, while the ethylene gas released by onions can cause potatoes to sprout prematurely. Therefore, always keep these two vegetables in separate storage areas.
For those who prefer a more aesthetically pleasing storage solution than hanging tights in their kitchen, consider investing in a beautiful, well-ventilated basket. A basket made of natural materials like wicker or rattan can provide the necessary airflow while adding a rustic charm to your kitchen decor. When using a basket, arrange the onions in a single layer if possible, and avoid overcrowding to ensure each onion gets adequate air circulation. You can also line the basket with newspaper to absorb any excess moisture and change it regularly to maintain a dry environment.
Regardless of the storage method you choose, always inspect your onions regularly and remove any that show signs of sprouting or softening. By following these storage tips, you can extend the shelf life of your onions, reduce food waste, and always have this essential ingredient on hand for your culinary creations.
Potatoes
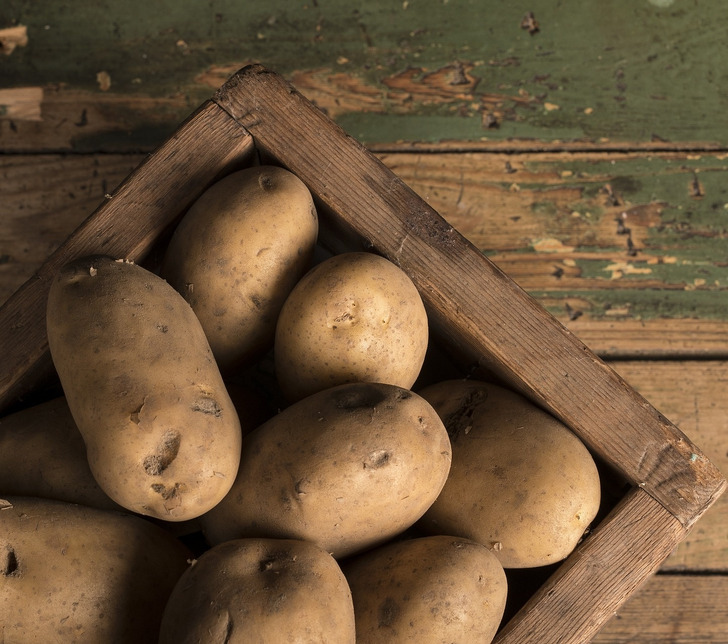
Potatoes, a staple in many cuisines worldwide, require specific storage conditions to maintain their quality and prevent spoilage. The two key factors in potato storage are darkness and cold temperatures. Exposure to light can cause potatoes to produce chlorophyll and solanine, turning them green and potentially toxic. Therefore, a dark environment is crucial for proper potato storage. As for temperature, cool conditions are ideal, typically between 45°F to 50°F (7°C to 10°C). This temperature range slows down the natural aging process of potatoes, preventing them from sprouting or becoming soft prematurely.
An interesting and lesser-known tip for potato storage involves the use of rowan leaves. Rowan, also known as mountain ash, is a tree species that produces leaves with natural antifungal and antibacterial properties. These leaves release phytoncides, which are antimicrobial compounds that can help protect potatoes from decay. To use this method, simply place a few rowan leaves among your stored potatoes. This natural preservative technique can significantly extend the shelf life of your potatoes.
It’s crucial to be mindful of what you store near your potatoes. As mentioned earlier, onions should not be stored with potatoes due to the moisture they release. Similarly, apples should be kept away from potatoes. Apples emit ethylene gas, a natural plant hormone that can cause potatoes to sprout and spoil more quickly. This gas can also affect the flavor of potatoes, potentially making them sweeter than desired.
When storing potatoes, use a breathable container such as a paper bag, mesh bag, or a basket lined with newspaper. Avoid plastic bags or airtight containers, as these can trap moisture and accelerate spoilage. If you have a cool, dark basement or cellar, this would be an ideal location for potato storage. In the absence of such a space, a dark cupboard or pantry away from heat sources can work well.
Regularly inspect your stored potatoes and remove any that show signs of sprouting or softening. These potatoes can release moisture and ethylene gas, which can affect the rest of the batch. If you notice any green spots on your potatoes, it’s best to discard them, as these can contain higher levels of solanine, which can be harmful if consumed in large quantities.
By following these storage guidelines, you can keep your potatoes fresh for several weeks to months, ensuring you always have this versatile vegetable on hand for your cooking needs.
Beetroot
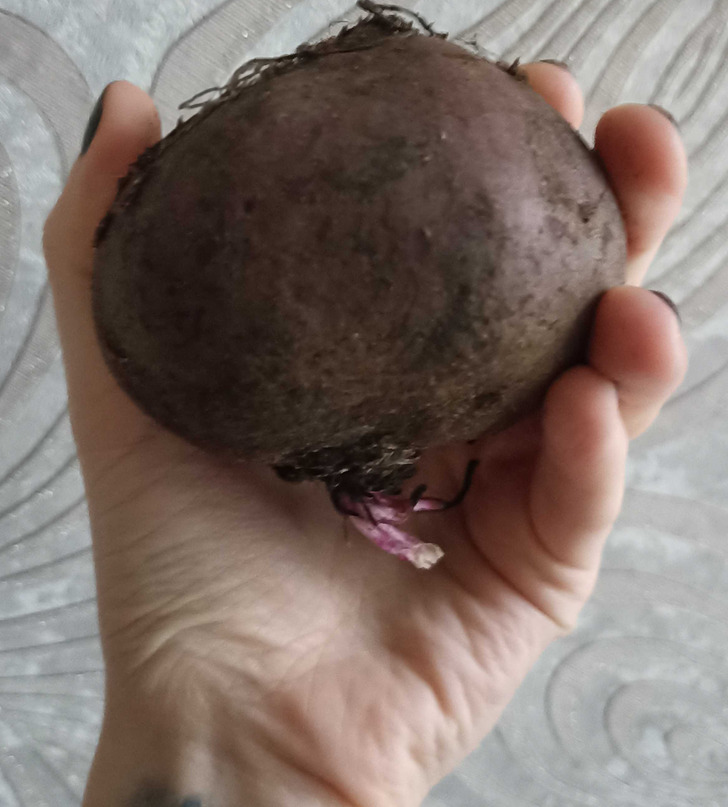
Beetroot, often overlooked in discussions about vegetable storage, is actually a remarkably resilient root vegetable that can be an excellent companion to potatoes in storage. This vibrant, nutrient-rich vegetable has unique properties that make it not only easy to store but also beneficial to its storage companions. Beetroots are known for their ability to absorb excess moisture from their environment, which is precisely why they make such good neighbors for potatoes.
When stored together, beetroots act as natural dehumidifiers for potatoes. They absorb the excess moisture that potatoes naturally release, creating a more stable environment that’s less conducive to rot and mold growth. This symbiotic relationship benefits both vegetables: the potatoes are protected from excess moisture, while the beetroots become even more resilient in the process. The increased resilience of beetroots in this storage method is due to their natural adaptation to slightly drier conditions, which helps to concentrate their sugars and preserve their firm texture.
To implement this storage method, place your beetroots on top of the potatoes in your storage container or area. This arrangement allows the beetroots to effectively absorb rising moisture from the potatoes below. It’s important to ensure that both vegetables are clean and dry before storage, and that any beetroots showing signs of damage or disease are removed to prevent potential spread to the potatoes.
While this storage method is effective, it’s crucial to regularly check both the beetroots and potatoes. Despite their resilience, beetroots can eventually become soft or develop mold if exposed to too much moisture over time. Similarly, potatoes should be monitored for any signs of sprouting or softening. Rotate the vegetables periodically, moving the bottom layer to the top, to ensure even moisture distribution and to check for any spoiling vegetables.
This storage technique is particularly useful for those who grow their own vegetables or buy in bulk during the harvest season. It allows for longer-term storage of both beetroots and potatoes without the need for refrigeration, which can alter the taste and texture of these root vegetables. Additionally, storing these vegetables together can save space in your pantry or root cellar.
It’s worth noting that while beetroots and potatoes make good storage companions, they should still be kept away from other vegetables that emit ethylene gas, such as onions and apples. The ideal storage temperature for this beetroot-potato combination is between 32°F to 40°F (0°C to 4°C), with relatively high humidity but good air circulation. A cool, dark basement or root cellar is perfect, but a dedicated drawer in a cool part of your kitchen can also work well.
By utilizing this natural and effective storage method, you can extend the shelf life of both your beetroots and potatoes, reduce food waste, and always have these versatile root vegetables on hand for your culinary creations.
Apples
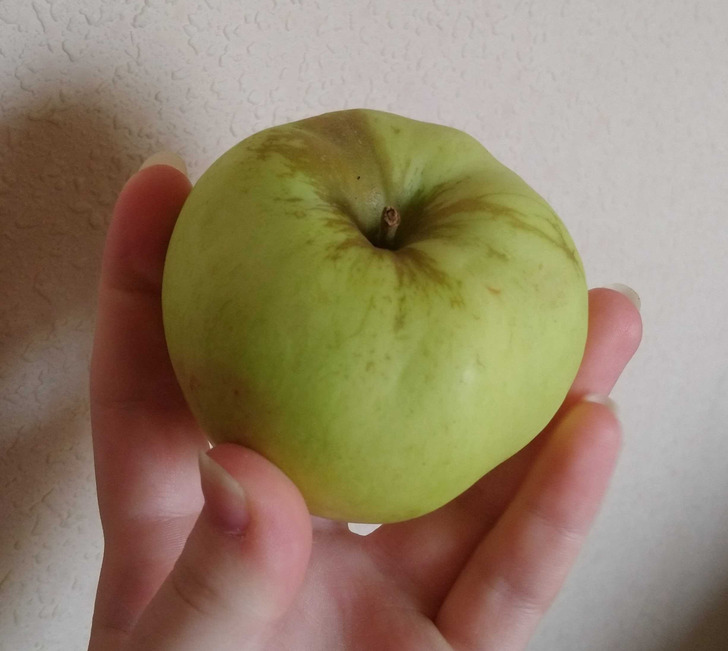
Apples, one of the most popular fruits worldwide, require specific storage conditions to maintain their crispness, flavor, and nutritional value over extended periods. The key to successful apple storage lies in providing the right combination of temperature, humidity, and ventilation. Ideally, apples should be stored in cool, dark places such as a cellar or a refrigerator’s crisper drawer. The optimal temperature range for apple storage is between 32°F to 44°F (0°C to 6°C). This temperature range slows down the ripening process and helps preserve the apples’ texture and flavor.
For those without access to a cellar, a creative solution is to use a double cardboard box placed in a cool hallway. The double layer of cardboard provides insulation, helping to maintain a more stable temperature. However, it’s crucial to remember that apples need ventilation. Make sure to punch several small holes in the box to allow for air circulation. This ventilation is essential as it helps prevent the buildup of ethylene gas, which apples naturally produce and which can accelerate ripening and potentially lead to spoilage.
If you’re fortunate enough to have a balcony, this can be an excellent location for apple storage, especially during the cooler months. In cold climates, apples can be stored on a balcony for 2-4 months. If temperatures are consistently cool but not freezing, you might be able to extend storage up to 6 months. When using a balcony for storage, it’s important to protect the apples from freezing temperatures, which can damage the fruit’s cellular structure and lead to a mealy texture upon thawing.
A time-tested method for storing individual apples is to wrap each one in paper. This technique helps to isolate each apple, preventing the spread of rot if one apple begins to spoil. It also helps to absorb excess moisture. When wrapping apples, use plain paper rather than newspaper, as the ink can potentially transfer to the fruit. After wrapping, place the apples in a single layer in a box, being careful not to stack them too high to avoid bruising.
For those looking for more advanced storage techniques, there are a couple of methods worth considering. One involves rubbing each apple with glycerin before storage. Glycerin creates a thin, protective layer on the apple’s skin, which can help prevent moisture loss and slow down the ripening process. Another method is to wash the apples in a weak potassium permanganate solution before storage. This acts as a mild disinfectant, helping to eliminate any surface bacteria or fungi that could lead to spoilage.
Regardless of the storage method you choose, it’s important to regularly inspect your stored apples. Remove any that show signs of spoilage immediately to prevent the spread to other apples. Also, remember that different apple varieties have different storage lives. Generally, late-season apples tend to store better than early-season varieties.
By following these storage guidelines, you can enjoy crisp, flavorful apples long after the harvest season has ended, ensuring a steady supply of this nutritious and versatile fruit for snacking, baking, and cooking throughout the year.
Carrot
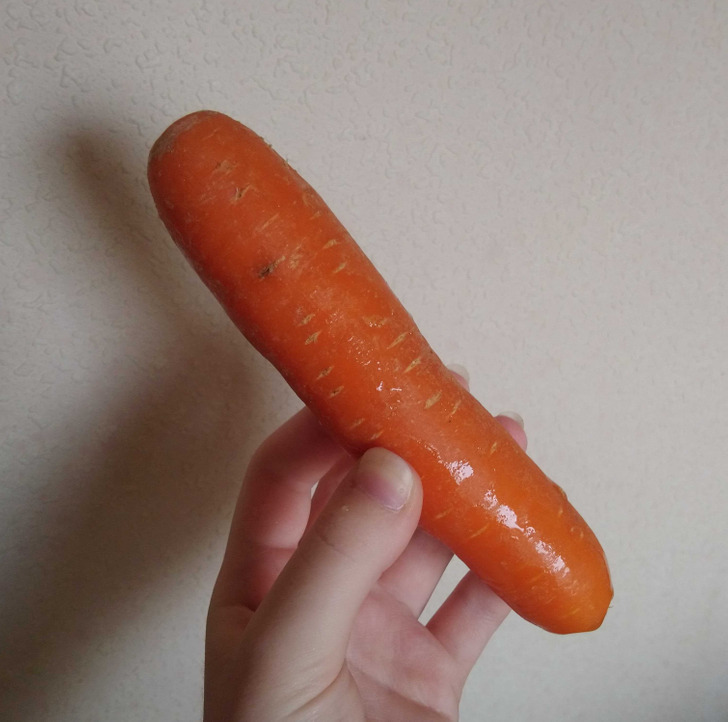
When using this traditional method, layer the carrots in a box or container, alternating between layers of carrots and your chosen moisture-absorbing material. Ensure that the carrots don’t touch each other, as this can lead to moisture buildup and potential rot. The ideal storage temperature for carrots is between 32°F and 35°F (0°C to 1.7°C), which is typically found in a root cellar or a dedicated refrigerator drawer.
For those without access to a cellar, storing carrots in your apartment is still possible for a couple of months. In this case, wrap the carrots in slightly damp paper towels and place them in a plastic bag with several small holes punched in it. Store this bag in the coolest part of your refrigerator, typically the crisper drawer. The damp paper towels provide the humidity carrots need to stay crisp, while the holes in the bag allow for necessary air circulation.
An innovative life hack for those who frequently use carrots in soups and stews is to prepare them in advance for freezing. Start by peeling the carrots and then either grating them or cutting them into small pieces suitable for your typical recipes. Once prepared, wrap the carrot pieces tightly in plastic wrap, ensuring to remove as much air as possible to prevent freezer burn. These pre-prepared carrots can be stored in your freezer for several months, ready to be added directly to your cooking without the need for thawing.
When freezing carrots, it’s important to note that their texture will change slightly upon thawing. They may become softer, which is why this method is best for carrots intended for cooked dishes rather than raw consumption. To maintain the best quality, use frozen carrots within 10-12 months.
For those who prefer to keep their carrots fresh rather than frozen, regular inspection is key. Remove any carrots that show signs of softening or mold to prevent spread to the others. Also, if you’ve purchased carrots with the greens attached, remove these before storage as they can draw moisture from the root, causing it to become limp more quickly.
By employing these storage techniques, you can extend the life of your carrots, reduce food waste, and always have this versatile vegetable on hand for your culinary creations, whether you’re making a hearty winter soup, a crisp summer salad, or a sweet carrot cake.
Garlic
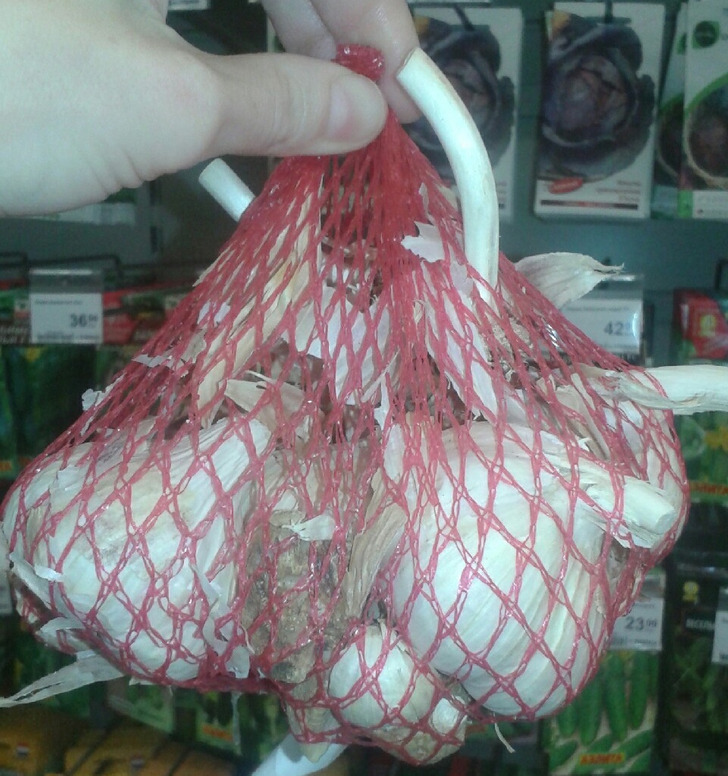
The ideal storage conditions for garlic include a dark place with good air circulation and relatively low humidity. Many people choose to hang garlic in their kitchens, which is an effective method as long as the area isn’t too humid or exposed to direct sunlight. Hanging garlic not only provides good air circulation but also adds a rustic, decorative touch to your kitchen.
When hanging garlic, you can braid the stalks together if you’ve harvested your own, or use nets or mesh bags for store-bought garlic. Ensure that the garlic bulbs have enough space between them to allow air to circulate freely. This prevents moisture buildup, which can lead to mold or sprouting.
For those who prefer not to have garlic on display, shallow boxes can be an excellent storage solution. The boxes should be at least 6 inches deep to provide enough space for the garlic and allow for proper air circulation. It’s crucial to make several holes in these boxes for ventilation. You can line the bottom of the box with newspaper or brown paper to absorb any excess moisture.
When storing garlic in boxes, arrange the bulbs in a single layer if possible. If you need to stack them, do so carefully to avoid bruising. Remember to check your stored garlic regularly and remove any bulbs that show signs of sprouting or softening.
The ideal temperature for storing garlic is between 60°F and 65°F (15°C to 18°C). However, garlic can tolerate temperatures as low as 32°F (0°C) for short periods. Avoid storing garlic in the refrigerator, as the cool, humid environment can cause the bulbs to sprout.
If you have more garlic than you can use before it spoils, consider preserving it. You can make garlic-infused oil (being careful to follow proper safety procedures to avoid botulism), or you can roast and freeze garlic cloves. Peeled garlic cloves can also be preserved in wine or vinegar.
For those who grow their own garlic, proper curing is essential before storage. After harvesting, allow the garlic to dry in a well-ventilated area out of direct sunlight for about two weeks. Once cured, trim the roots and cut the stalks about an inch above the bulb before storing.
By following these storage guidelines, you can keep your garlic fresh and flavorful for several months, ensuring you always have this aromatic ingredient on hand for your culinary creations.
Cabbage
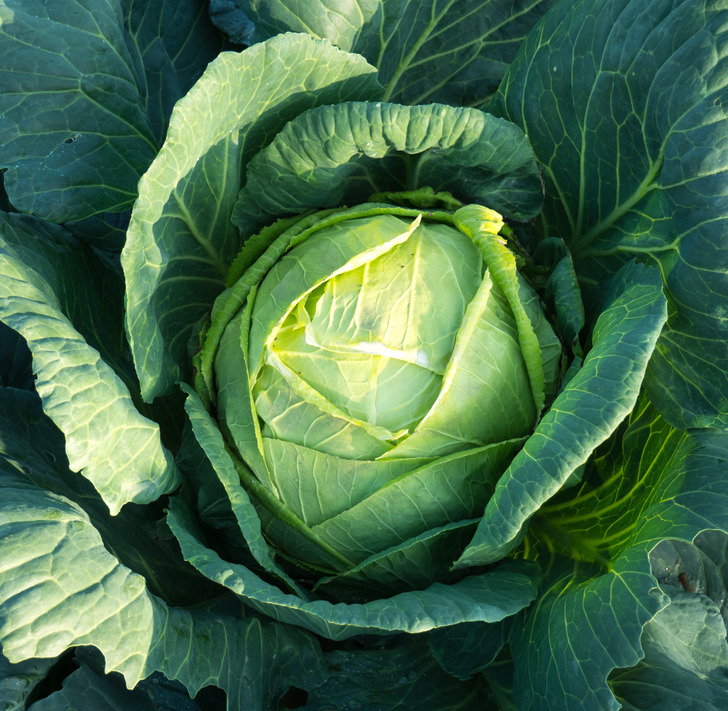
Achieving these ideal conditions at home can be difficult without a root cellar or a dedicated refrigerator. However, with some careful preparation, you can still store cabbage effectively in a home setting. Start by selecting firm, heavy heads of cabbage without any signs of damage or decay. If you’re harvesting your own cabbage, choose heads that are mature but not overripe.
Before storage, it’s important to prepare the cabbage properly. Begin by removing any loose or damaged outer leaves. These leaves are more prone to decay and can affect the rest of the cabbage if left on. Next, gently clean the cabbage by wiping it with a damp cloth to remove any dirt or debris. Avoid washing the cabbage thoroughly, as excess moisture can lead to faster spoilage.
Once cleaned, wrap each cabbage head individually in paper or plastic wrap. This wrapping serves two purposes: it helps to retain moisture within the cabbage, preventing it from drying out, and it also helps to contain the strong odor that cabbage can emit during storage. When using plastic wrap, make sure to perforate it slightly to allow for some air circulation, which can help prevent condensation and mold growth.
If storing in a refrigerator, place the wrapped cabbage in the crisper drawer. The crisper provides a more humid environment, which is beneficial for cabbage storage. If you don’t have space in your crisper, you can store cabbage on a shelf, but be aware that it may dry out more quickly in the main compartment of the refrigerator.
For those with a cool basement or garage, these can serve as alternative storage locations, especially during the cooler months. In these settings, place the wrapped cabbage in a perforated plastic bag or a box lined with paper to absorb excess moisture. Ensure the storage area is dark, as exposure to light can cause the cabbage to spoil more quickly.
Regularly inspect your stored cabbage and remove any that show signs of decay. A small amount of discoloration on the outer leaves is normal and these can simply be peeled away before use. However, if you notice any soft spots or strong, unpleasant odors, it’s best to discard the entire head to prevent spread to other vegetables.
It’s worth noting that different varieties of cabbage have different storage lives. Generally, late-season varieties tend to store better than early-season ones. Green and red cabbages typically store well, while Savoy and Napa cabbages have a shorter storage life and should be used more quickly.
By following these storage techniques, you can keep cabbage fresh for several weeks to a few months, depending on the variety and storage conditions. This allows you to enjoy this nutritious vegetable in a variety of dishes, from crisp salads and slaws to hearty soups and stews, long after the growing season has ended.
Pumpkin
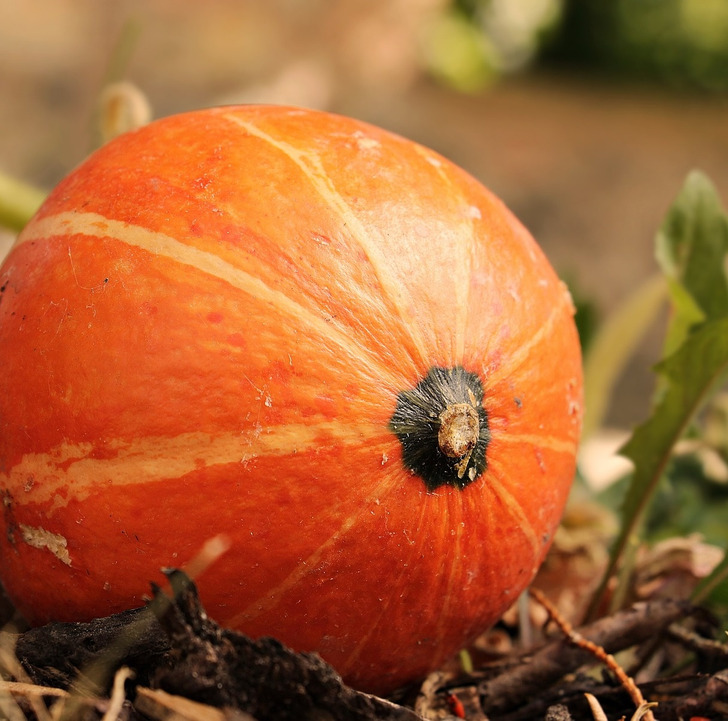
As you mentioned, pumpkins can indeed be stored under a bed if the room temperature is consistently below 68°F (20°C). This unconventional storage method can work well in cooler climates or during autumn and winter months when indoor temperatures naturally drop. The space under a bed provides a dark environment, which is beneficial for pumpkin storage. However, it’s crucial to ensure that the area is dry and well-ventilated to prevent mold growth.
The warm balcony option you suggested is an excellent alternative, provided the temperature never drops below 37°F (3°C). This method takes advantage of natural cooling while protecting the pumpkins from freezing temperatures. The ideal temperature range for storing pumpkins is between 50°F and 55°F (10°C to 13°C), but they can tolerate a wider range as long as it’s consistent.
Your suggestion of placing pumpkins on wood or cardboard is spot-on. This practice helps to absorb any excess moisture and prevents direct contact with cold surfaces, which could lead to rot. Covering the pumpkins with newspapers is also a good idea as it provides an additional layer of insulation and helps maintain a more stable temperature.
The advice to avoid letting pumpkins touch each other is crucial. When pumpkins are in contact, it can create areas where moisture accumulates, potentially leading to rot that can spread quickly from one pumpkin to another. Spacing them out allows for better air circulation, which is essential for long-term storage.
Covering the pumpkins with a warm blanket, as you suggested, can provide extra protection against temperature fluctuations, especially in outdoor storage situations. However, make sure the blanket doesn’t trap moisture, which could promote mold growth.
Here are some additional tips for storing pumpkins:
Choose the right pumpkins: Select fully mature pumpkins with hard rinds. Avoid any with bruises, cuts, or soft spots.
Cure before storing: After harvesting, cure pumpkins in a warm, dry place (about 80-85°F or 27-29°C) for 10-14 days to harden the skin and heal any minor cuts.
Clean the pumpkins: Wipe them down with a mild bleach solution (1 part bleach to 16 parts water) to kill any bacteria or fungi on the surface.
Check regularly: Inspect your stored pumpkins every week, removing any that show signs of decay to prevent it from spreading.
Stem intact: Store pumpkins with the stem attached, as this helps prevent moisture loss and decay.
Humidity control: Aim for a relative humidity of 50-70%. Too high humidity can lead to rot, while too low can cause the pumpkins to dry out.
By following these storage methods, you can keep pumpkins fresh for 2-3 months or even longer, depending on the variety and storage conditions. This allows you to enjoy homemade pumpkin pies, soups, and other dishes well into the winter months, long after the autumn harvest has ended.