©Mdv Edwards/stock.adobe.com
Having a green and glorious outdoor space is totally invaluable. After all, enjoying summer from inside isn’t quite the same. That being said, gardening can be an expensive hobby if you’re often tempted to buy the latest products that you see advertised.
In reality, there are much more affordable solutions than shelling out hundreds at Home Depot that would keep your garden looking perfect, and perhaps even improve it. Simple household items already lurking in your shed could be utilized, from tin cans to old boots. These incredible garden hacks will see your wallet – and your shrubbery – bursting with joy. You may even be able to turn one spot into a fishing hole…
1. Protect the Fruits of Your Labor
Materials Needed: Ziploc baggies
Cost to Make: $4.99* (36-pack gallon bags)
Caterpillars and bugs love ripening fruit, and keeping those pesky little insects from ruining your fruit crops can be troublesome. Sure, you can go the chemical spray route, but there are a million and one valid reasons why you might want to avoid that. Chemical sprays are still chemicals, after all.
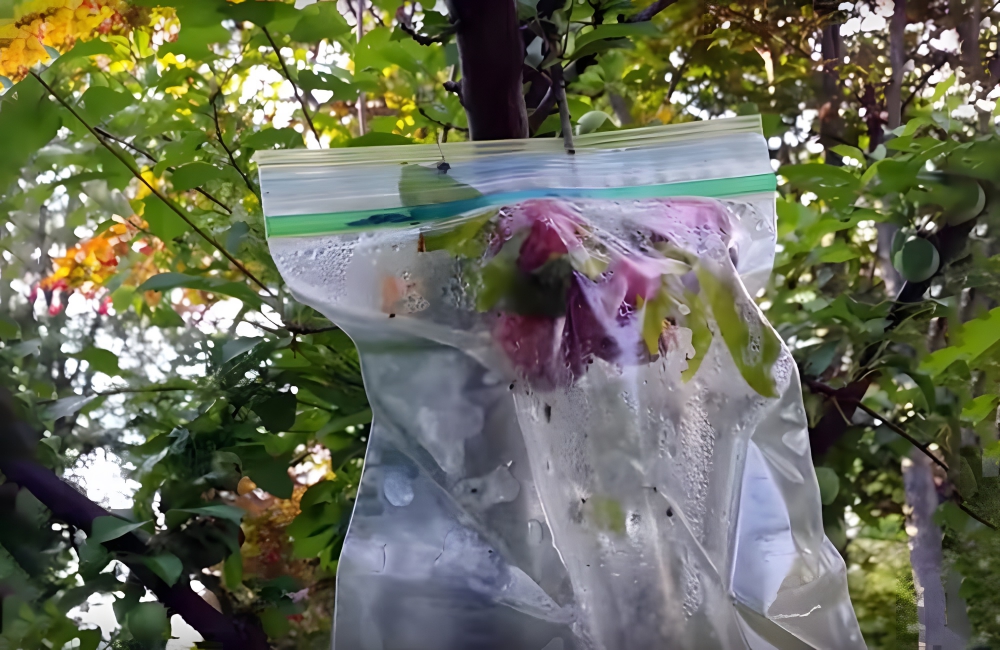
Protect the Fruits of Your Labor @bobvilahome / Pinterest
You will be able to protect your fruit without chemicals by using Ziploc bags. Slide a Ziploc bag over the fruit after it has set. Seal the Ziploc as closely to the stem as possible and leave it alone. Once it’s ripe, you’ll be able to harvest your fruit, blemish- and bug-free.
2. Use Old Cans for Drainage
Materials Needed: Old cans
Cost to Make: $0*
Almost every single household consumes some type of canned drink at least a few times a month. Instead of sticking them in the recycling when you’re done, you might want to think about saving them. They could actually be a very valuable – and totally free – gardening resource.
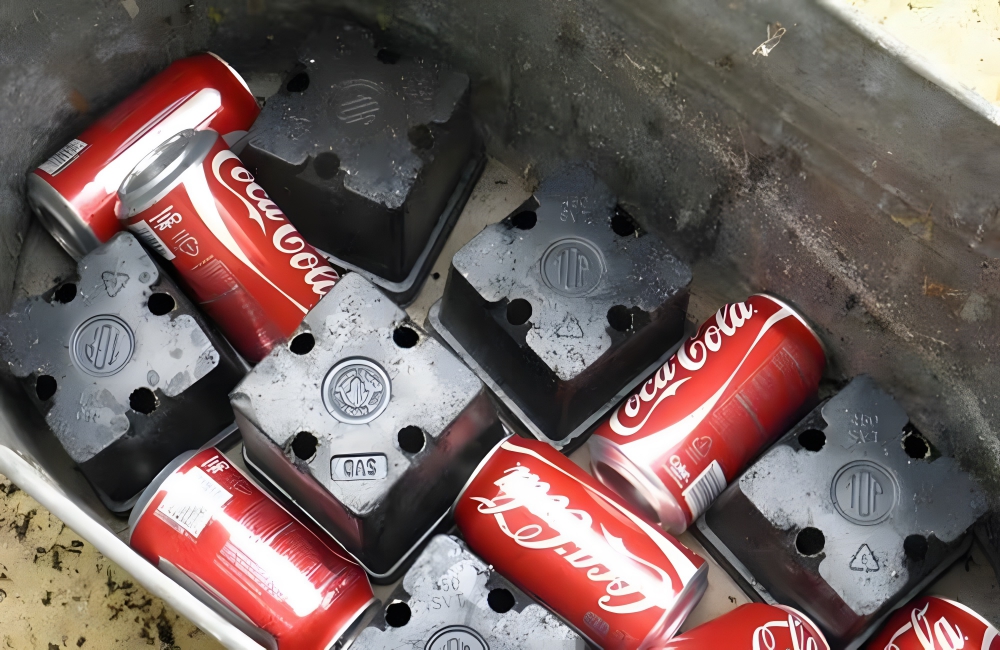
Old Cans as Drainage @paulaswetland15 / Pinterest
Placing a few old Coke cans at the bottom of a planter before you fill it up with compost acts as a drainage aid, making sure your plants don’t wither and die before they’ve even got off the ground. After all, the aim is for things to live!
3. Make A Soda Bottle Sprinkler
Materials Needed: Soda bottle, knife, hose, tape
Cost to Make: $1/free*
Sprinkling systems can vary in price, ranging from $15 to considerably more depending on what kind of product you choose. Not everyone can afford to shell out that type of cash, but we can all agree that watering the lawn with a can isn’t ideal, either.
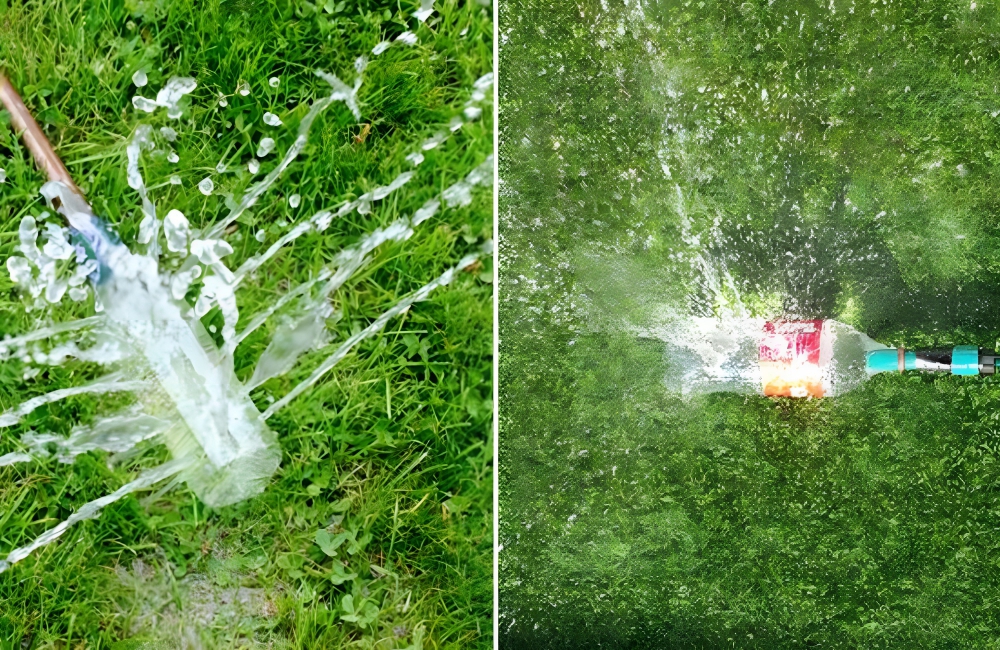
Soda Bottle Sprinkler @balconygardenwe / Pinterest
Luckily, we’ve got a solution. Take a large soda bottle, make several holes in it with a knife, and tape it to the end of your garden hose. In no time at all and for an almost non-existent cost, you’ve got your very own garden sprinkler!
4. Eggshell Seed Starter
Materials Needed: Eggshells, compost, seeds
Cost to Make: $1.46*
Getting seeds to start can be a risky business. They need just the right conditions to grow and thrive, but buying seed starter trays can cost you upward of $10 a time on sites like Amazon. Instead, you could have the answer already lying in your compost bin: eggshells!
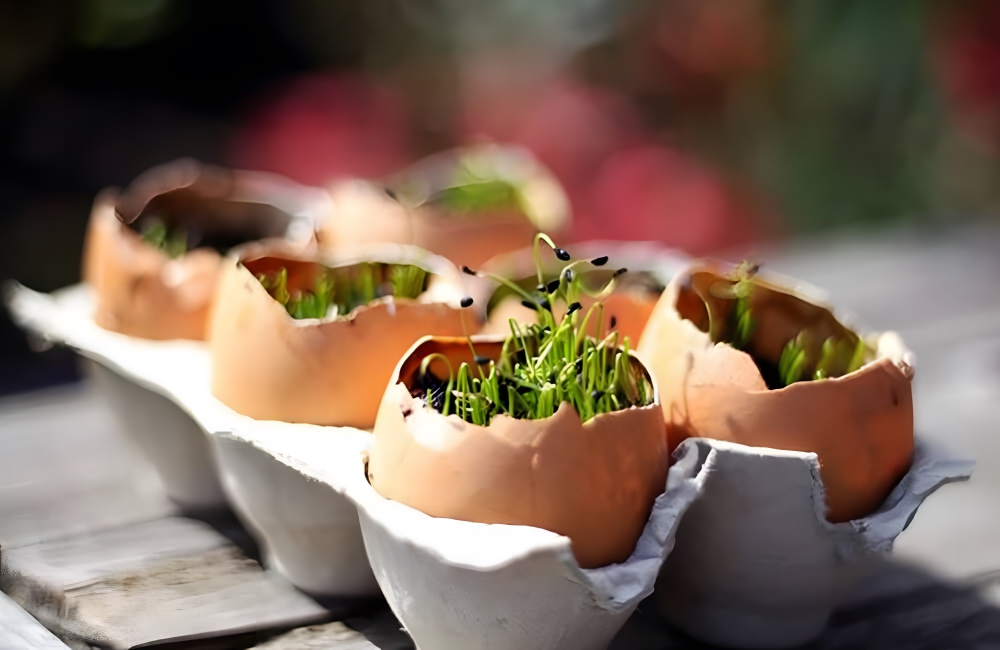
Eggshell Seed Starter @survivallife / Pinterest
Eggshells provide the perfect safe, warm space for seeds to get started. All you need to do is carefully place soil and seeds within the shell and wait for the magic to happen. The box itself can act as a stand. Even if you don’t have eggs at home, you can pick a dozen up at Walmart for less than $2.
5. Make Purse Planters
Materials Needed: An old purse, waterproof lining, plants
Cost to Make: $15-$25*
There are many different ways to brighten up a garden, but if you go to a major retailer you’ll find garden ornaments can be pricey. The more elaborate they are, the higher the spend, but that doesn’t have to be the case.
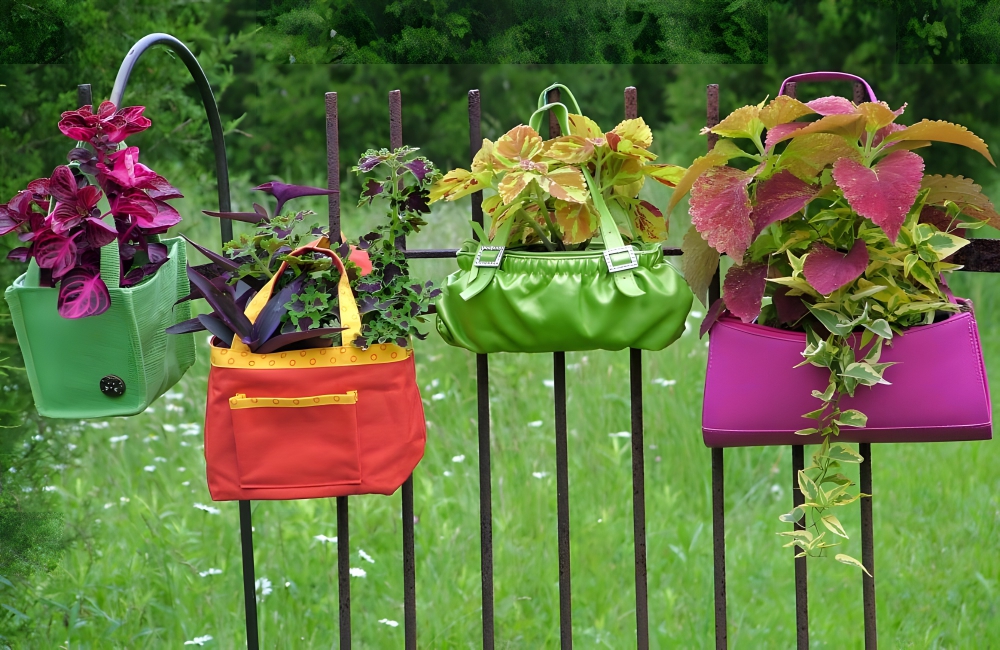
Purse planter @balconygardenweb/Pinterest
If you’ve got an old purse lying around, you can line it with waterproof lining and use it as a very fancy, very unique planter. You might want to varnish it to make sure it withstands the weather, but this creative idea will still cost you less than buying something new from Home Depot.
6. Mix Annuals and Perennials In Your Garden
Materials Needed: Perennials, annuals
Cost to Make: $10-$20 per plant*
When you’re thinking about what to plant, you’re probably focused on getting healthy plants. Secondarily, you should think about the way you want your garden to look. Do you want leafy greens? Or a pop of color? If you want color all year ‘round, don’t be afraid to mix annuals and perennials together.
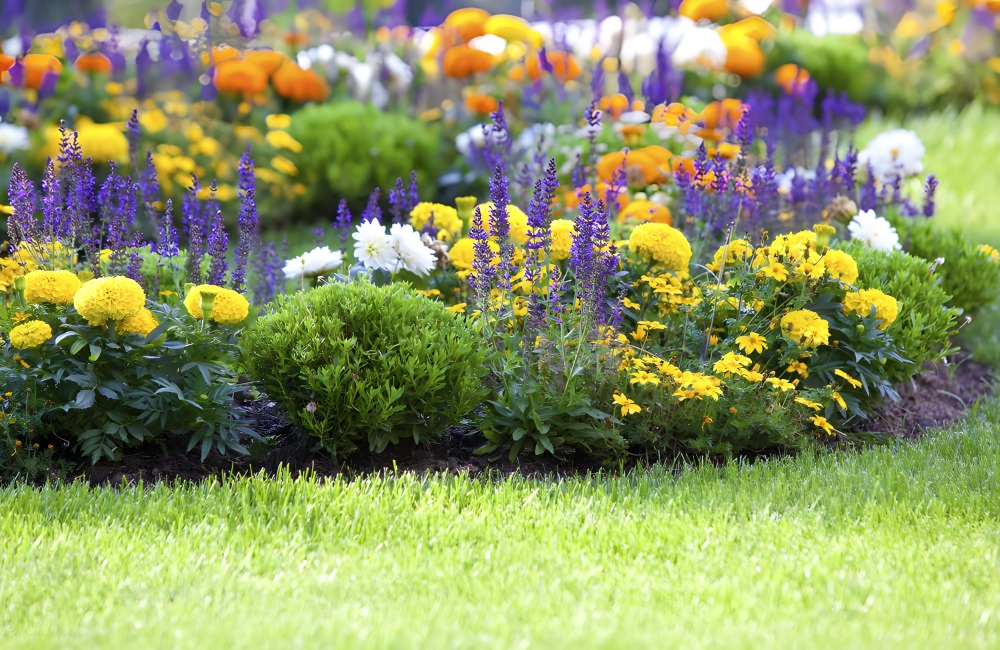
Mix Annuals and Perennials In Your Garden ©dvoevnore/Shutterstock.com
Interplanting perennial varieties with annual flowers will keep your garden colorful as the perennials bloom. For example, marigold, zinnia, and calendula, all annuals, go well when they are teamed with perennials such as daylily and coreopsis. You can even sometimes combine the two in a pot, as long as they have needs that are compatible.
7. Wine Bottle Plant Waterer
Materials Needed: Wine bottle, water
Cost to Make: $5*
Even novice gardeners know that keeping plants watered is the key to keeping them alive, but it’s not always as easy as it looks. For a start, what happens when you go on vacation and can’t get someone to water the garden for you?
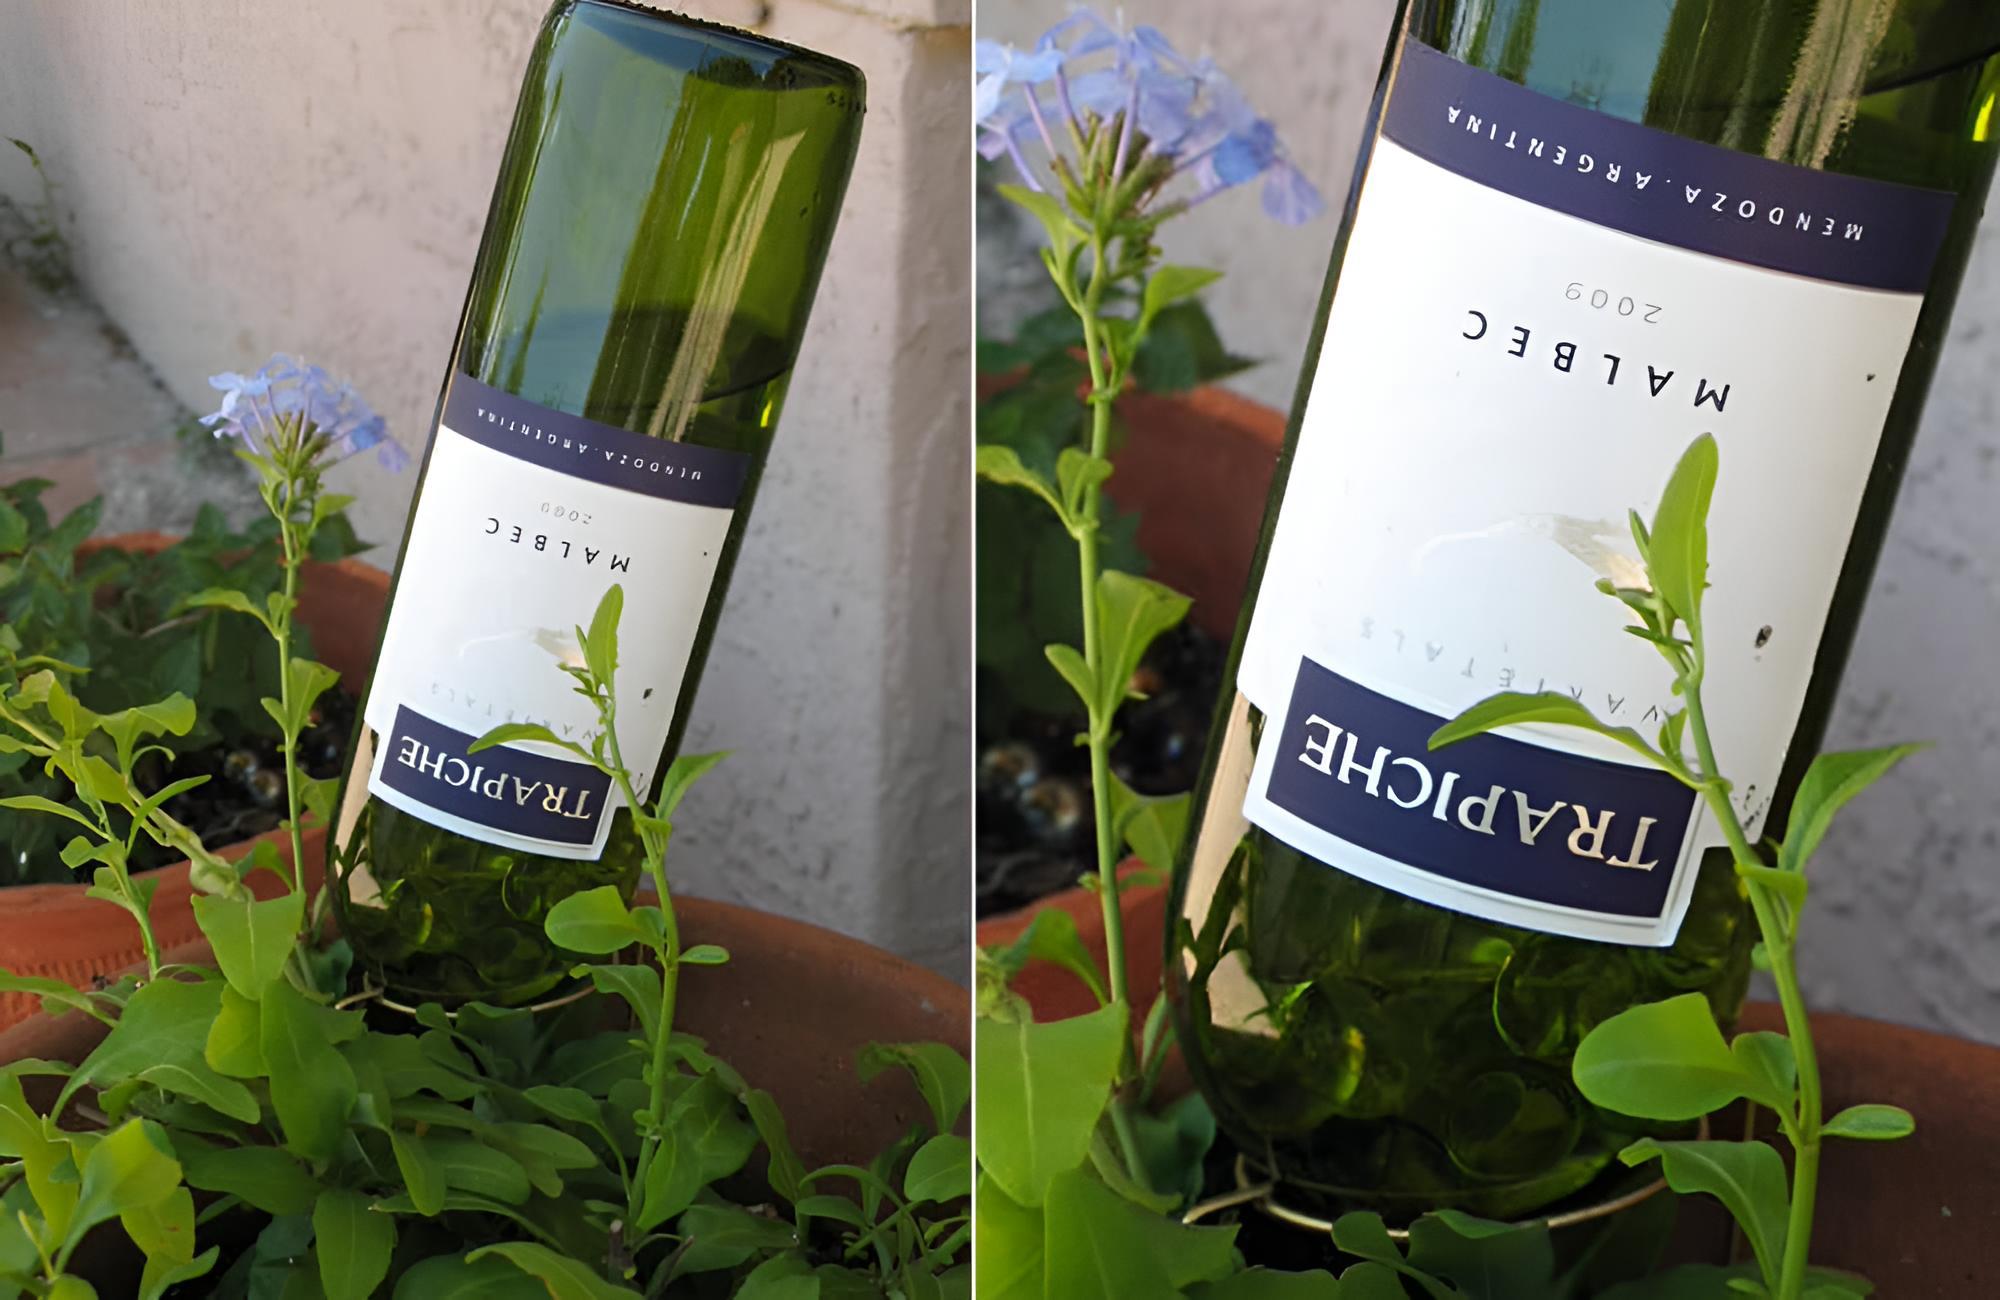
Wine Bottle Plant Waterer @soapwarehouse / Pinterest
As it turns out, all you need is a few empty wine bottles. If you’ve got them lying around the house, then this hack will cost you nothing, but you can pick up a bottle for under $5 at stores like Walmart. All you have to do is fill it up with water and stick it into the planter. The water slowly seeps out, keeping the compost moist.
8. Old Spoons Signs
Materials Needed: Metal spoons, paint, hammer
Cost to Make: $5*
If you’re lucky enough to have a herb garden, then identifying the different plants might be easy – but if you’re new to the herb game, it can be a challenge, especially when the seeds are just starting to grow. Signs solve this problem, but the standard ones can be quite boring.
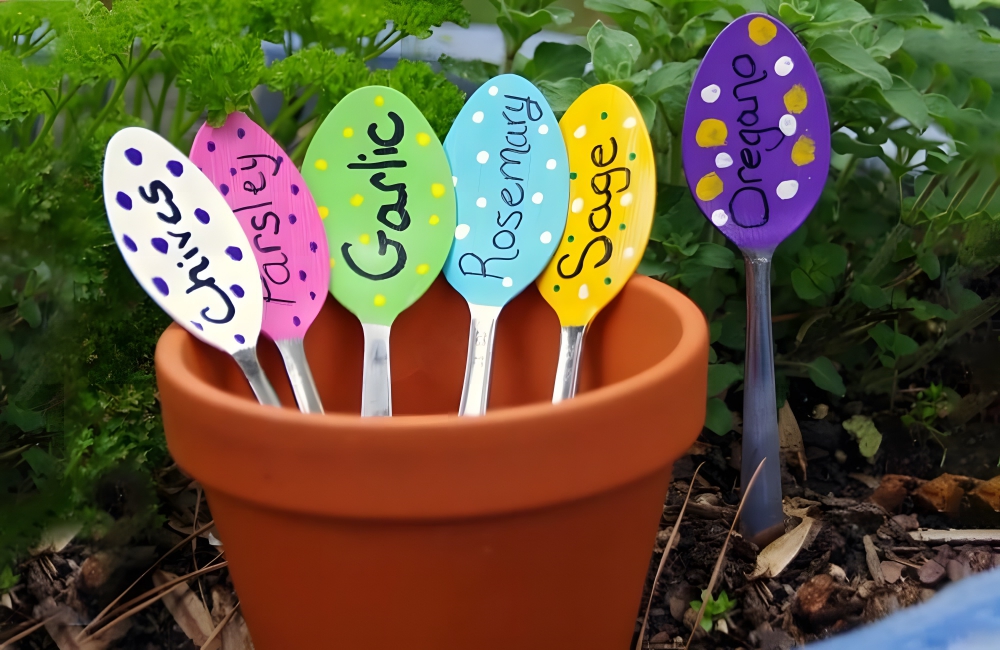
Old Spoons for Signs @enora82 / Pinterest
If you feel like flexing your creative muscles you can buy some all-surface paint on eBay. Use a hammer to flatten the spoons out, decorate them as you wish, and there you have it – fun, colorful signs that will put an end to herb-induced confusion.
9. Glow-in-the-Dark Planters
Materials Needed: Planters, glow-in-the-dark paint
Cost to Make: $12*
When summer comes around, lighting in the garden can be a nice way to add ambiance, but getting creative can often mean spending an awful lot of money. In reality, the solution to a chic outdoor space might actually lie in a coat or two of paint.
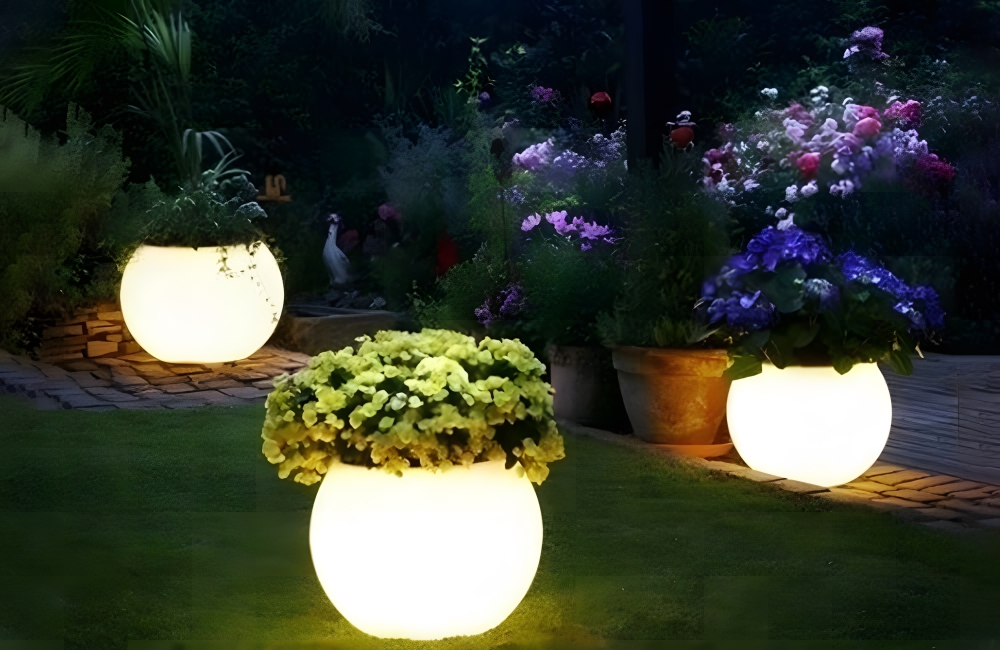
Glow-in-the-Dark Planters @lucilouholley / Pinterest
If you’ve already got the planters, then all you need to do is shell out around $12 for some glow-in-the-dark paint from somewhere like Amazon. Simply coat the planters in the paint and watch your garden come to life at night! Even if you need to spend $15 on buying pots, it’s still a bargain.
10. Epsom Salt Fertilizer
Materials Needed: Epsom salt, spray bottle, water
Cost to Make: $9.48* (Pennington, 7 lb. bag)
When you think of Epsom salt, you probably assume it’s for a home remedy. However, humans aren’t the only things Epsom salt can help. Our plant friends can also benefit from the magnesium the salt has. For under $10, you can score a seven-pound bag of Pennington Epsom Salt at Home Depot.

Epsom Salt Fertilizer @family_handyman / Pinterest
The magnesium in Epsom salt helps seed germination, nutrient absorption, and chlorophyll production. Dilute two teaspoons of Epsom salt in a gallon of water. Pour the mix into a spray bottle, and mist plants once a month. This gardening hack works especially well on roses and vegetables.
71. Chimney Flue Planter
Materials Needed: Chimney flue, circular saw, gravel
Cost to Make: $50*
If you want to make your own terracotta planter, considering using a chimney flue. You’ll need to go to a brick supplier to purchase three-foot lengths of clay flue liner (around $15 each). Cut the chimney flues to different heights with a circular saw that has been fitted with a cutting wheel.
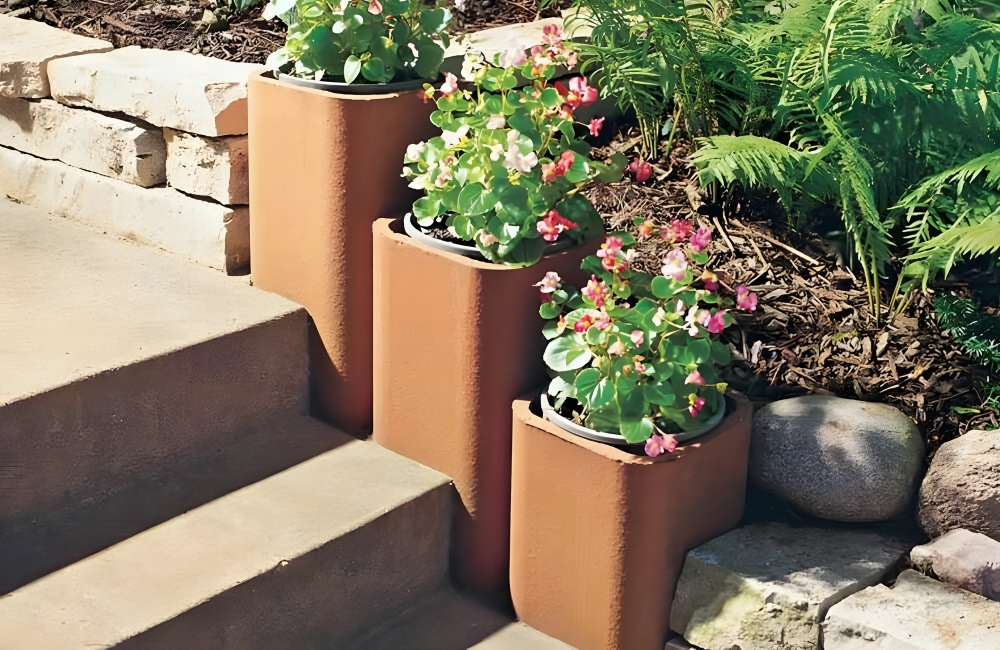
Chimney Flue Planter @family_handyman / Pinterest
Fill each of the flues with gravel for drainage. Leave eight inches at the top, as that’s where you’ll place the potting soil. Place the flues anywhere in your yard, burying the ends slightly in the soil. Even if the flues freeze, the liners won’t crack.
72. Use a Laundry Basket to Grow Berries
Materials Needed: Laundry basket, coco liner, drill
Cost to Make: $20* (Minus Drill)
You can make a planter out of pretty much anything, including an old laundry basket. First, take an old basket you’re no longer using, and drill drainage holes into the bottom. Then, line the sides of the laundry basket with coco liner, which will keep the soil in and encourage proper drainage.

Use a Laundry Basket to Grow Berries @vanessacrafting / Pinterest
Choose your preferred plants. Berries are best for this particular planter, though some gardeners reported that they had success with parsley and basil, Sweet Slice cucumbers, green peppers, potatoes, and Better Bush tomatoes, all of which are also deliciously valid choices. You can even add in decorative flowers for a pop of color.
73. Turn Old Jeans Into a Garden Apron
Materials Needed: Scissors, old jeans
Cost to Make: $5*
If you have an old pair of jeans that are too small or raggedy, you don’t have to throw them away. Instead, create your own gardening apron from the jeans. You can do this without sewing. Cut to the side seam underneath the waistband, leaving the entire band intact. When you’re done, you should have the back pocket area hanging from the waistband.
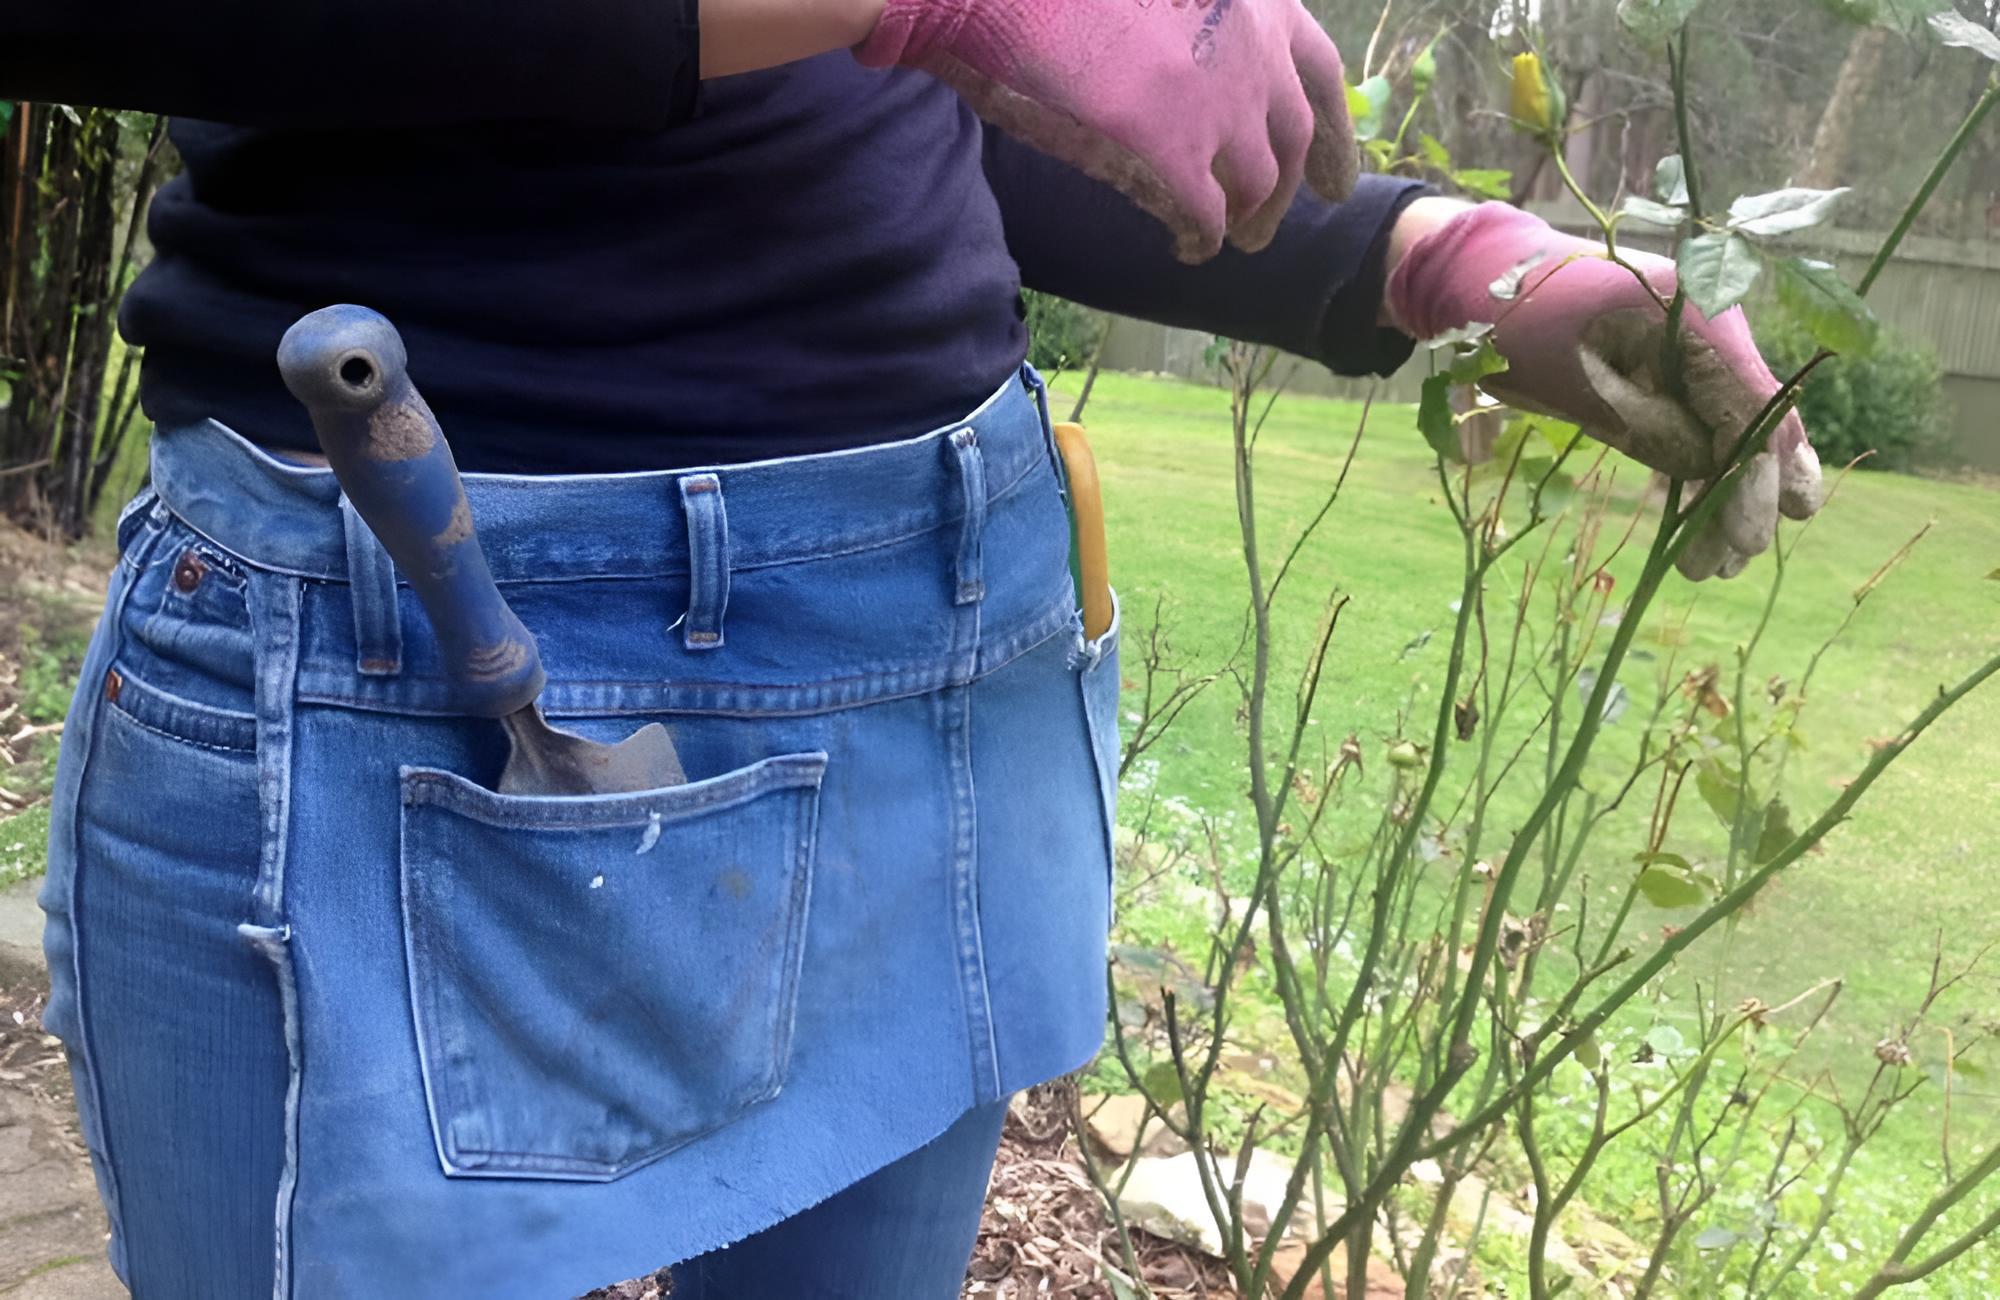
Turn Old Jeans Into a Garden Apron @vanessacrafting / Pinterest
You can use the pockets to hold your tools while you garden. If the waistband is too small, you can cut it and extend it using ribbon or extra lengths of fabric. Remember, it doesn’t have to be fancy; it just has to be functional.
74. Encourage Bees With Weeds
Materials Needed: None
Cost to Make: $14* (Sign)
Bees might have a nasty sting, but we need them and they need us. Bees are a necessity if you want a healthy, pollinated garden. One way to encourage bees to fly over and pollinate your flowers is to designate an area of your yard or garden for weeds and wildflowers.
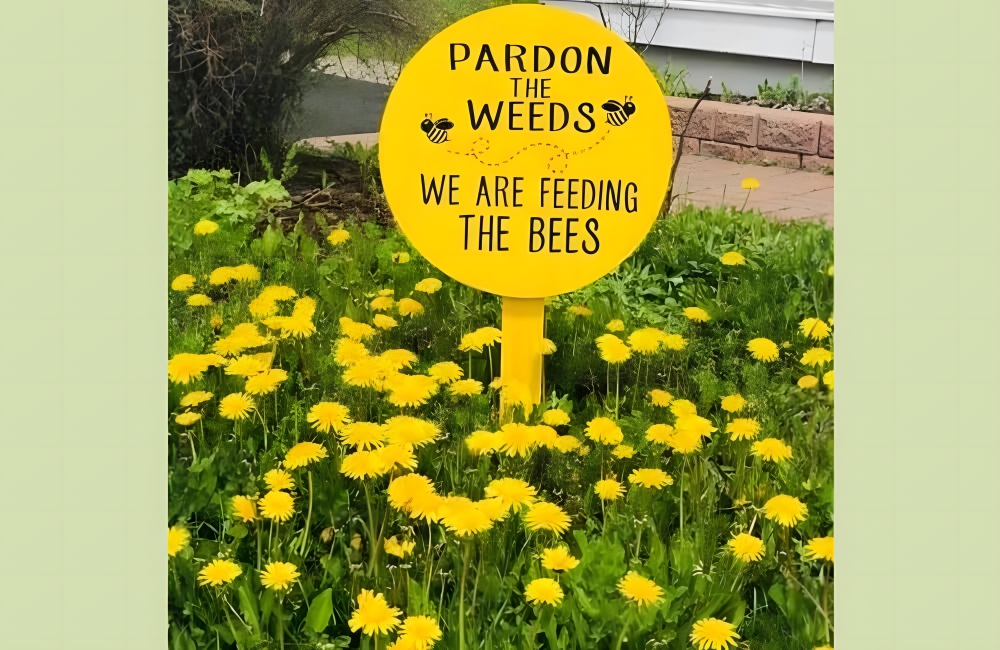
Encourage Bees With Weeds @IngridsFreya / Pinteret.com
The bees will enjoy this area. You can even add a little yard sign from Etsy seller “TheBeedsWeeds,” which says, “Pardon the weeds, I’m feeding the bees.” This 9” x 12” yard sign costs just $14 on Etsy and, as you can imagine, it’s a 5-star bestseller.
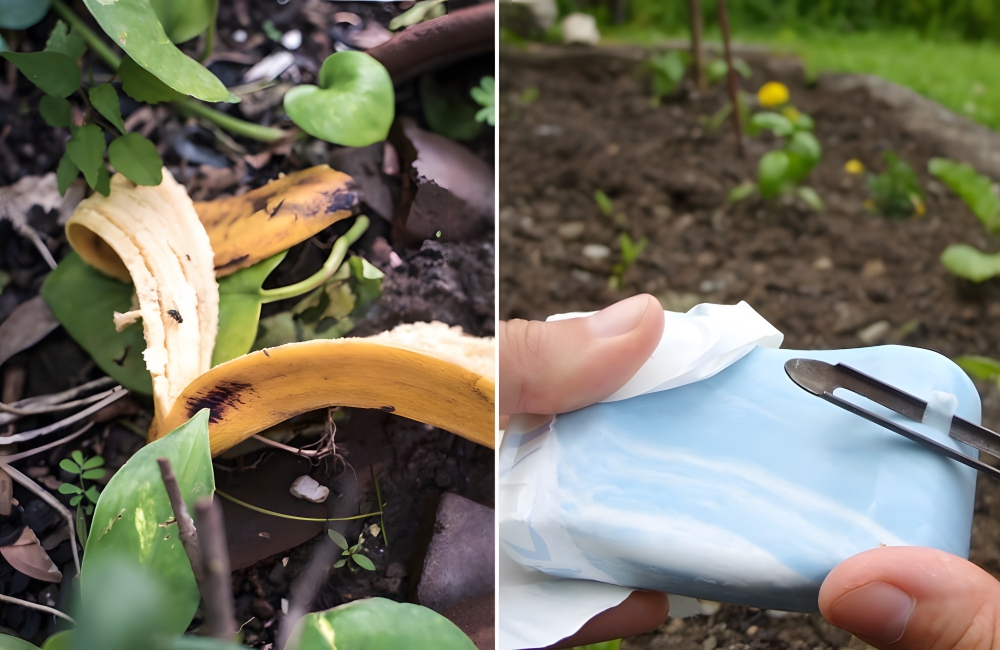
75. Make Your Own Insecticidal Soap
Materials Needed: Castile soap, lemon essential oil, water, spray bottle
Cost to Make: $10*
Protecting your beloved plants from creepy crawlers is a must-do, but it can be hard to find an insecticide that doesn’t kill everything else in its path too. The solution is to make your own, non-toxic insecticidal soap that you can spray on plants.
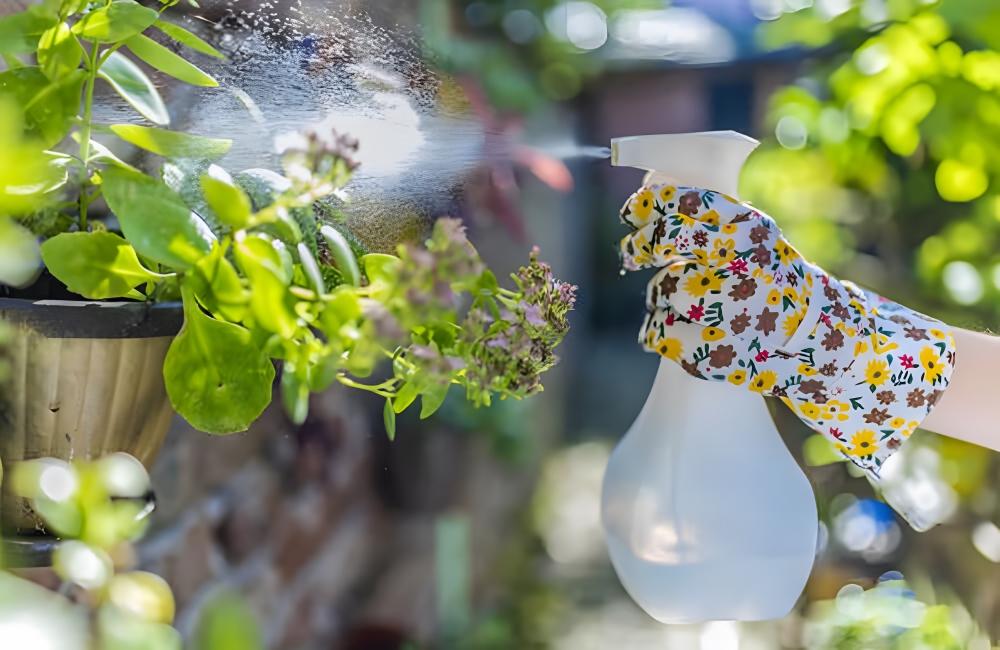
Make Your Own Insecticidal Soap @bobvilahome / Pinterest
Mix one tablespoon of pure liquid soap (such as castile soap), one to two drops of lemon essential oil, and one quart of water. Pour the mixture into a spray bottle. Don’t use dish soap, as the ingredients are ineffective against bugs and can hurt plans. Spray the contents of the bottle onto your plants to ward off pesky insects.