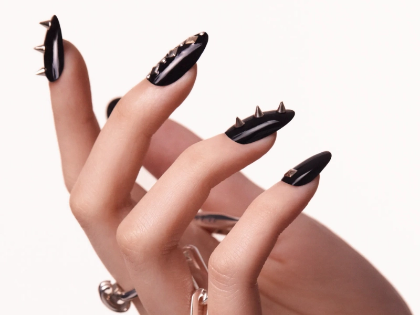
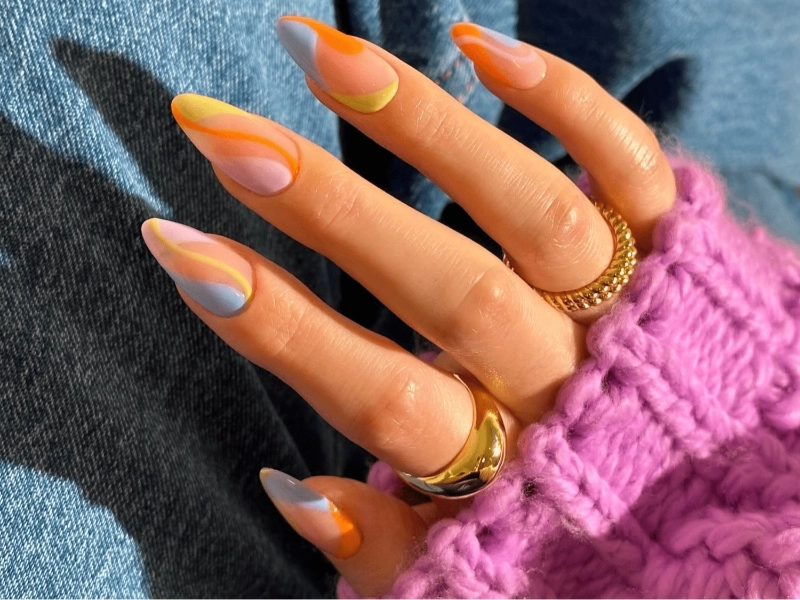
Beautiful, long-lasting nails represent grace and self-care. Maintaining the lifetime of your manicure is crucial regardless of your inclination for plain, classic look or nail art. Ten tried-and-true methods and professional advice will be covered in this all-inclusive guide to enable you to get strong, beautiful nails resistant to daily wear. These techniques will transform your nail care schedule from basic preparation to sophisticated maintenance techniques and guarantee perfect manicure for weeks.
1. Proper Nail Preparation Techniques

Any long-lasting manicure starts with careful preparation, hence this vital stage cannot be skipped if you wish for your nail polish to last. Start by using a non-acetone remover to completely remove all remnants of previous polish; this is milder on your nails and helps to avoid needless damage to the nail bed. Always filing in one direction to avoid splitting and peeling, carefully shape your nails using a premium file. Remember that severe filing can weaken your nails, hence use a light touch all through the treatment. For no more than five minutes, immerse your hands in warm water using a light soap; over-soaking can cause nail growth and consequent polish chipping. Once soaked, carefully push back your cuticles with a wooden stick; never cut them since this could cause infections and uneven nail development. To get rid of any oils or debris that can stop polish application, carefully clean every nail using alcohol or nail prep solution This stage guarantees that your nail bed is in best condition for longest-lasting effects. Using a professional dehydrator product will help tremendously greasy nails to improve polish adhesion. Since common issue areas where polish usually lifts first are the sides of your nails and the area near the cuticles, pay very close attention to these. At last, gently buff the surface of your nails to produce a somewhat rough surface that aids in polishing adhesion; but, be careful not to over-buff since this will thin and weaken your nails.
2. Base Coat Application Secrets
Serving as the basic layer bridging your natural nail and coloured paint, a premium base coat is your friend in manicures and the secret to great durability. Start by choosing a base coat that fits your type of nail: either they need additional strength or they are prone to peeling or splitting. Among the specialised formulas the market provides are hydrating base coats for dry, brittle nails, strengthening base coats for weak nails, and ridge-filling base coatings for uneven nails. Cap the free edge of every nail as you apply the base coat in thin, uniform strokes. Considered “wrapping the tip,” this method greatly increases wear time and stops polish from lifting. Before moving on, let every layer dry totally for at least two minutes; hurrying this stage could ruin the whole manicure. Apply two thin layers of base coat for best durability, particularly on troublesome nails or areas prone to easy chip-off. Additionally acting as a protective layer, the base coat smooths the surface for colour application and stops nail discolouration. Apply the base coat especially carefully to any ridges or flaws in your nail so that they are correctly filled and polished out. Store your base coat correctly to keep it free from direct sunlight and heat, therefore preserving its efficacy. As the formula might thicken and become less effective over time, regular renewal of your base coat every three to four months guarantees best effectiveness.