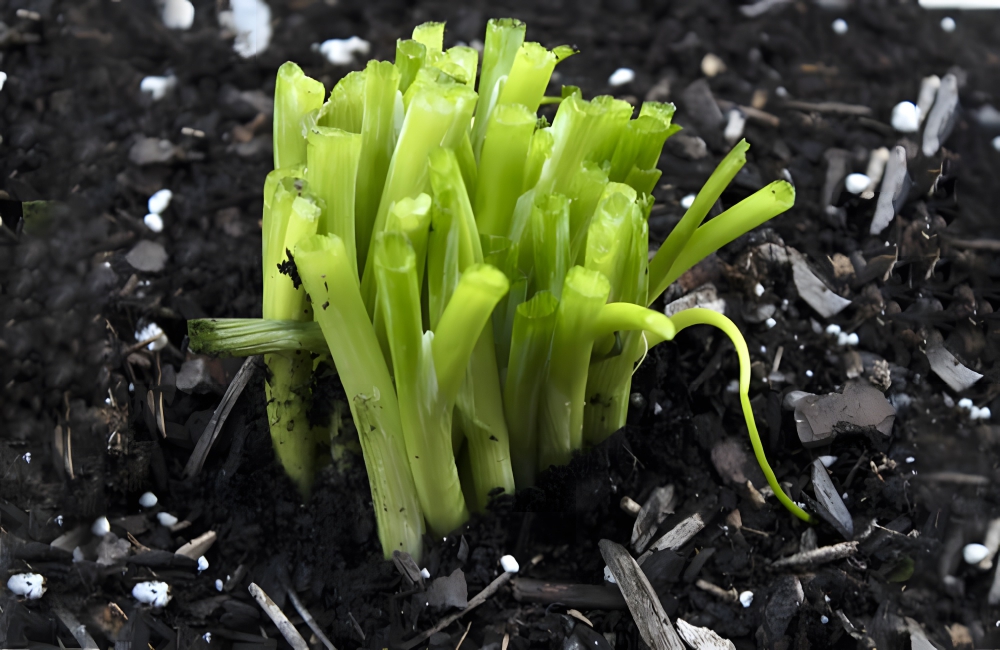
41. Regrow Green Onions
Materials Needed: Green onion scraps, soil, water
Cost to Make: $0.50 per bunch*
You’ll never have to go to the store for green onions again with this trick, as they are extremely easy to regrow again and again. All you’ll need are green onion scraps, a sunny outdoor spot in your garden, and potting soil (or just good dirt). Place the scraps into a pot or raised bed garden.
Regrow Green Onions @frugalgirls / Pinterest
Make sure the roots and bulb are totally covered. Water the scraps regularly, at least three to five times per week. They’ll grow quickly, and, the next time you need them for a recipe, just go outside and snip what you need. Repeat this process to grow them again.
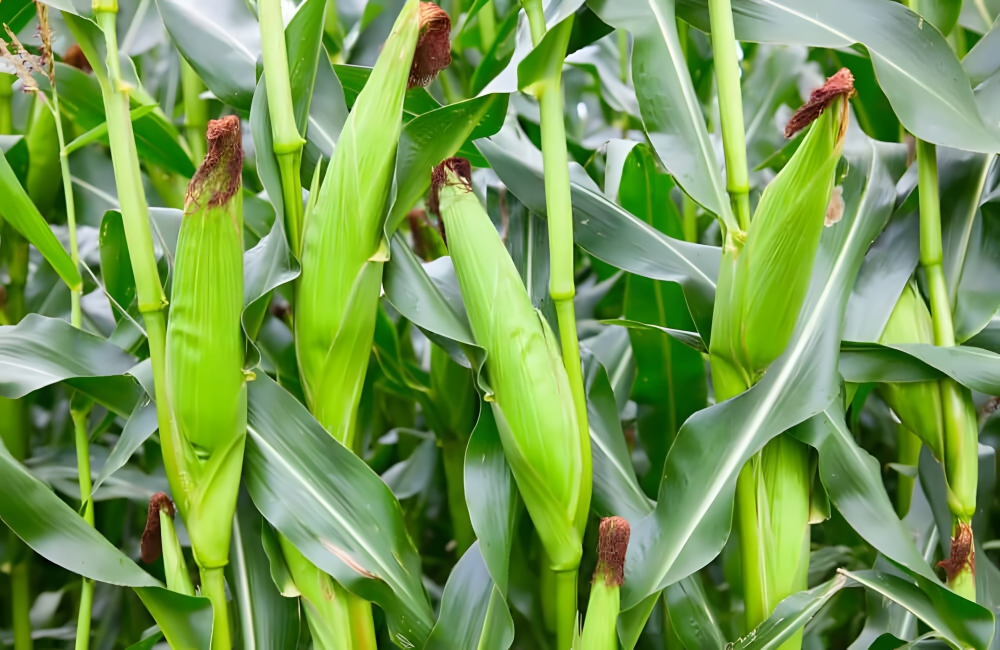
42. Grow Corn From Popcorn Kernels
Materials Needed: Popcorn
Cost to Make: $4.99*
There are always a few kernels in the popcorn bag that don’t pop, even after the microwave is beeping. You might be able to grow corn from these kernels. Place them between two damp paper towels to germinate. You can tell when a seed has germinated because it will sprout a tiny root and stem with leaves.
Grow Corn From Popcorn Kernels © Fedor Selivanov / Shutterstock.com
After the kernels have germinated, plant them in the ground in blocks of three (corn is wind-pollinated). Each short row should be spaced a foot apart. Keep the corn watered in dry spells while it grows. Leave the ears on the corn until the corn’s leaves have turned brown.
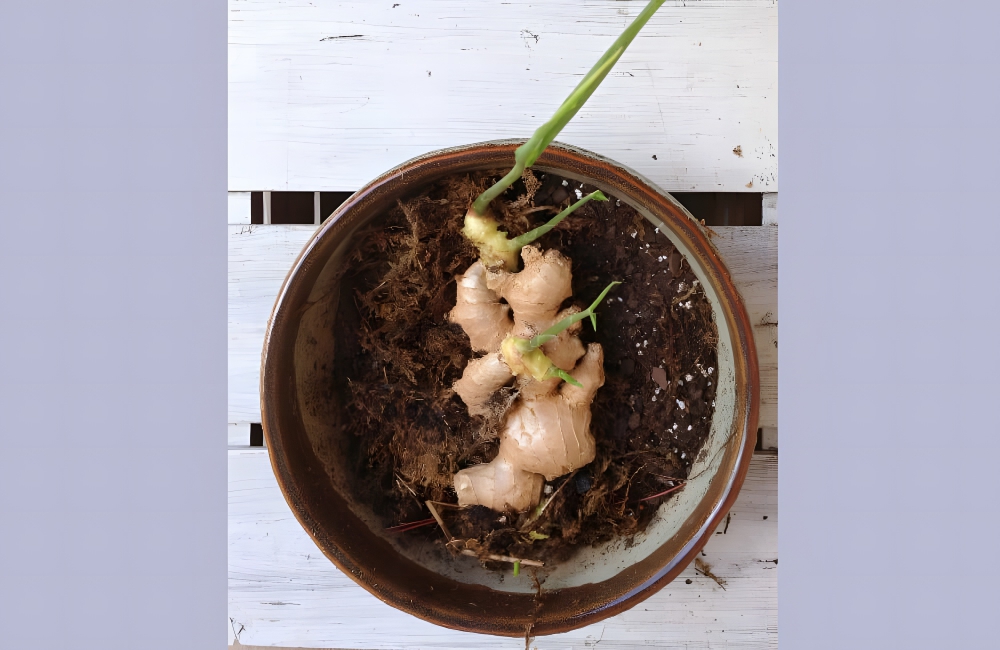
43. Plant Ginger Scraps
Materials Needed: Plastic pot, ginger, soil
Cost to Make: $4*
Ginger has a ton of health benefits, thanks to its gingerol. It can treat pretty much any form of nausea, and it’s long been a home remedy for morning sickness during pregnancy. Another great thing about this miracle plant is how easy it is to grow your own.
Plant Ginger Scraps @ifjann771136 / Pinterest
Replanting ginger scraps is easy and quick. First, you should fill a plastic pot with potting soil. The pot should be six inches wide and four or five inches deep. Place the ginger root in the soil until it is half-submerged. Water the ginger until you see water seep from the pot’s drain. Place the pot in an east-facing window with at least four to six hours of direct sunlight per day.
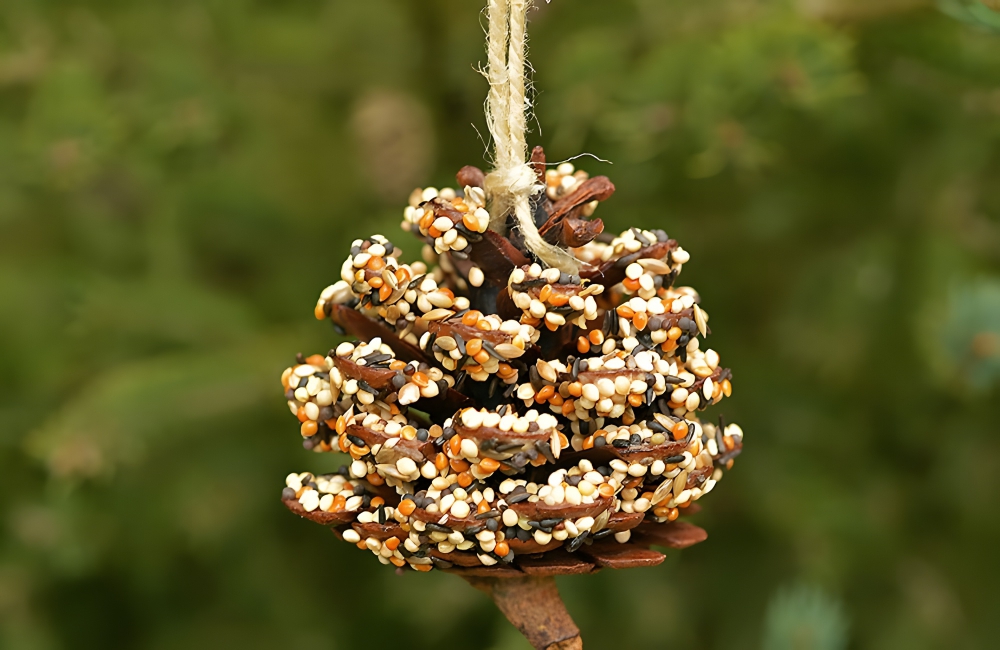
44. Pinecone Wild Bird Feeder
Materials Needed: Pinecones, peanut butter, small bowls, a paper plate, birdseed, popsicle stick, twine, scissors
Cost to Make: $15-$25*
If you’re looking for a project to do with your kids, consider making a pinecone bird feeder. It’s an easy, expensive way to provide a tasty treat for our feathered friends. You’ll need pinecones, peanut butter, small bowls, a paper plate, birdseed, popsicle stick, twine, and scissors.
Pinecone Wild Bird Feeder @onelittleproject / Pinterest
First, scoop some peanut butter into a small bowl. Add birdseed and cut a piece of twine that is eight inches long. Place the pinecone onto the paper plate and spread the seed-peanut-butter mix onto it with a popsicle stick. Tie the string to the top of the pinecone and hang it from the nearest tree.
45. Coffee Grounds Deter Bugs
Materials Needed: Coffee grounds
Cost to Make: $10-$11 per bag of ground coffee*
There are a lot of ways to keep pests away, but not all of them are eco-friendly. Instead of using harsh chemical sprays to prevent insects from ruining your garden, you can try something more natural: coffee ground. The EPA says that coffee grounds are both a safe and effective method of keeping pests away.
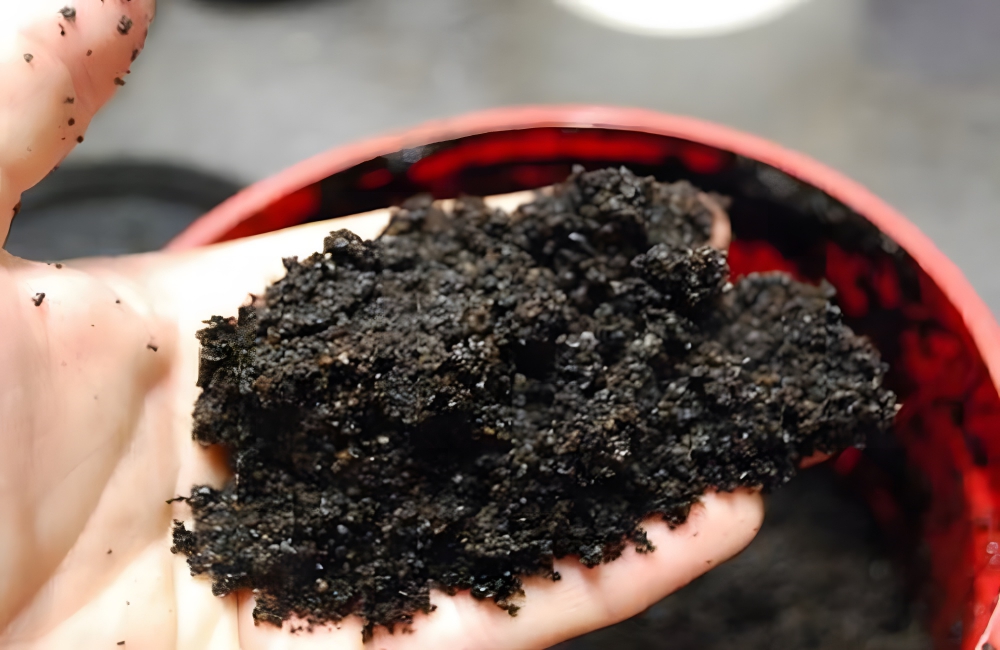
Coffee Grounds Deter Bugs @pcentrone / Pinterest
First, let your used coffee grounds try. Place the grounds on a flat surface or in a bowl outside. Burn the grounds, the same way you would incense. Choose an upwind spot, as that will get the smell moving. Pests hate the smell of coffee grounds, especially when they’re burned, and they will avoid the area for a long time after.
46. Grow Pineapples From a Crown
Materials Needed: Pineapple, water, jar of warm water
Cost to Make: $2.75 per pineapple*
This one will take a lot of patience, as it could be years before your plant bears sweet, juicy pineapple. First, take the top of your pineapple (AKA “the crown”) and remove it by grasping the leaves and twisting. Remove the lower leaves of the crown so the bottom two inches are exposed. You’ll be able to see little brown nubs, out of which new roots will form.
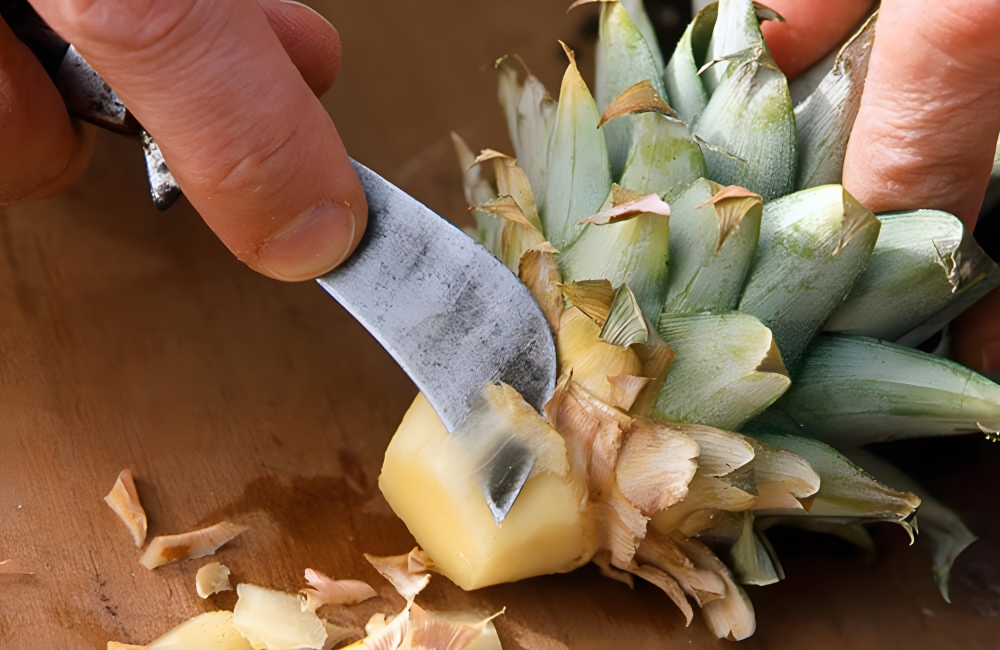
Grow Pineapples From a Crown @florangelagreda / Pinterest
Place the leaf-free area of the crown in warm, clean water. Change the water every other day. The leaves might turn brown, but that doesn’t mean it’s over. If the crown dries out entirely, you’ll have to try a new pineapple. If roots sprout, you can transplant the crown into a pot of soil and start the growing process.
47. Reuse Broken Terra Cotta For Signs
Materials Needed: Broken terracotta pot
Cost to Make: $1.48* (Terracotta pot at Lowe’s)
Alas, a dropped pot is always an eventuality in the garden, and it’s a pain to clean up the broken terra cotta. However, if the pieces aren’t in smithereens, you might be able to salvage them for a creative art project. You can use the terracotta pieces as labels in your garden, demarcating the different plants.
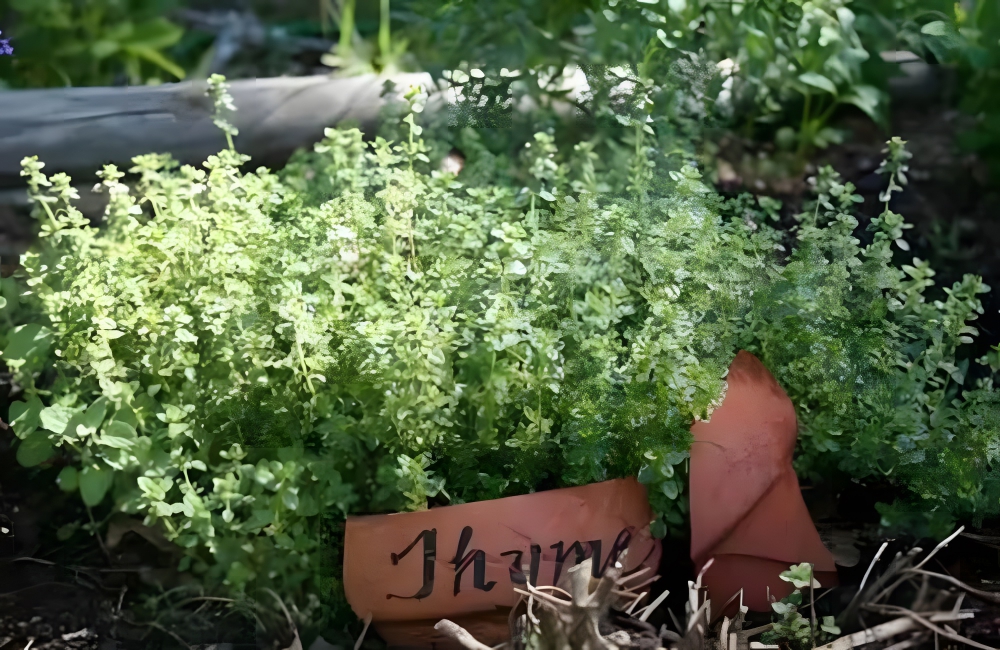
Reuse Broken Terra Cotta For Signs @hometalk / Pinterest
You can also use the terracotta pieces in the bottom of new pots as drainage. The usual method is to add rocks to the bottom of pots, but terra cotta works as well. Plus, since the material is lighter, your pots won’t be as heavy and cumbersome.
48. Hanging Pallet Tool Storage
Materials Needed: Old pallet (40” x 48”), Phillips head screwdriver, hanging materials, paint
Cost to Make: $20-$30*
This project requires only basic tools, and it’s easy to complete, leaving you with a neat way to store your hanging tools. You’ll need an old shipping pallet, preferably one that measures 40” x 48”. You’ll also need materials to hang the pallet up and attach hooks to it to hang your tools and gardening gloves.
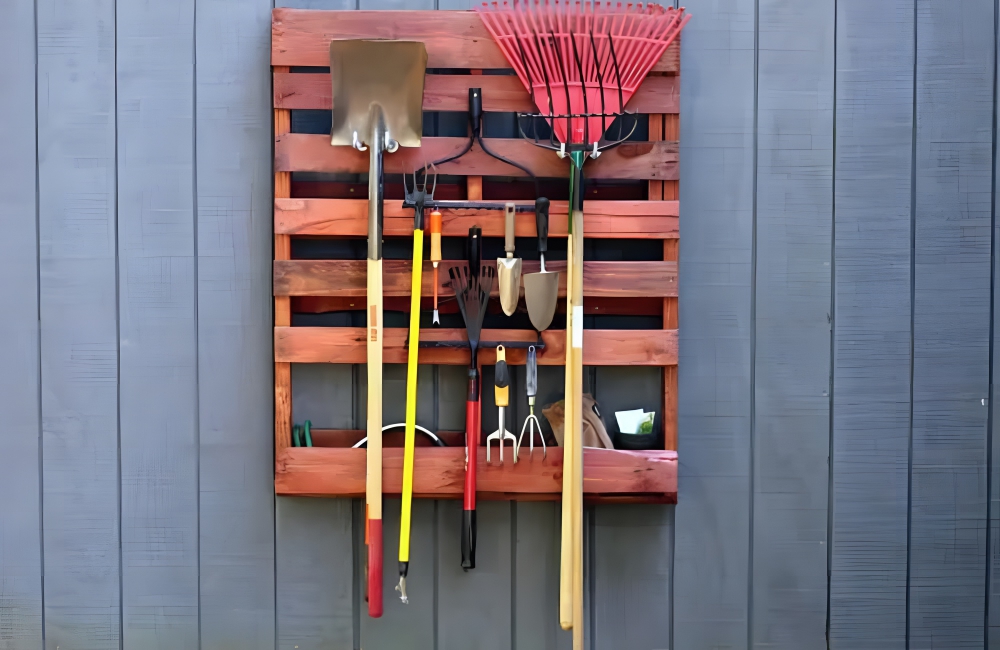
Hanging Pallet Tool Storage @rohnston9 / Pinterest
HGVT suggested using a Phillips head screwdriver to complete the project. You can repaint the pallet if you want, or leave it as it is for an extra rustic touch. In the end, you’ll have a cheaper organizing system than if you went to the hardware store and bought a tool rack.
49. Dip Roots in Honey
Materials Needed: Honey, boiling water, mason jar
Cost to Make: $8-$9*
Honey has many health benefits for humans, but we’re not the only ones that honey helps. The sweet syrup has enzymes that can promote root growth in plants. Applying honey to root cuttings acts as a “root hormone” that can get your plant growth into gear.
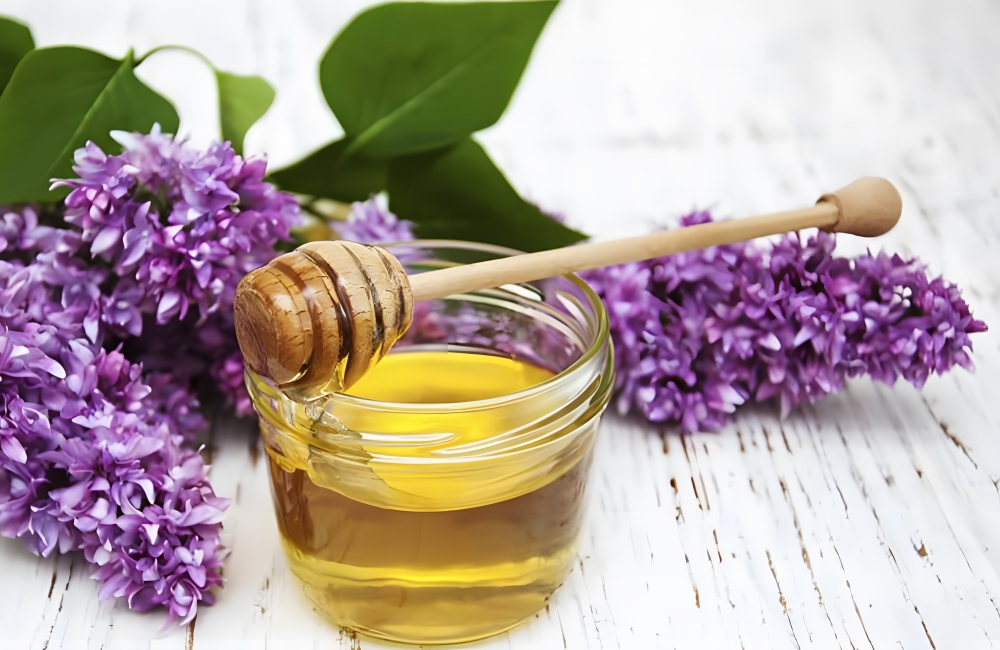
Dip Roots in Honey © almaje / Shutterstock.com
You’ll need one tablespoon of raw, unpasteurized honey and two cups of boiling water. After the water starts boiling, add the honey to it and allow the mixture to cool. Place the mix in a mason jar until you’re ready to use it, storing it in a dark place. Prepare your root cuttings and dip them into the honey water before planting.
50. Save Cooking Water for Plants
Materials Needed: Cooking water
Cost to Make: $0*
Most of us throw out our cooking water after we’re done boiling vegetables or pasta. However, if you have a green thumb, you should save this water and use it (after it’s cooled) to water plants. The cooking water from vegetables and pasta has extra nutrients that will fertilize your plants.
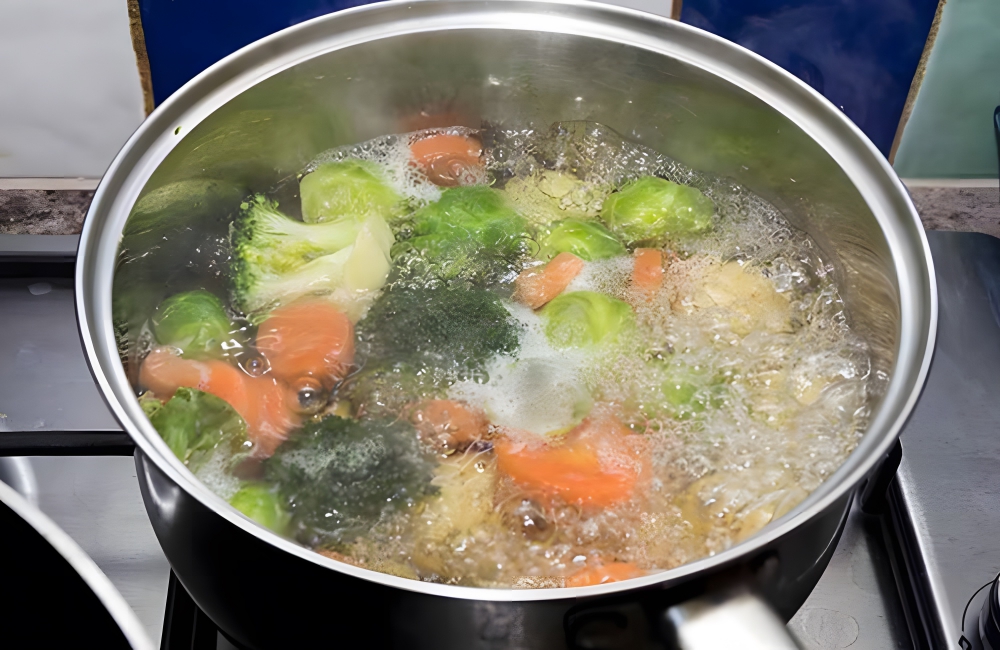
Save Cooking Water for Plants © Peter Horrox / Shutterstock.com
Water used to boil vegetables is especially mineral-rich. Though boiling vegetables still leaves them with a lot of nutrients, some of the nutrients do leak into the water. Not only will you benefit from the healthy veggies, but your plants will also get some love too with this eco-friendly approach to watering.